
Snap Assist is the suggestion box that appears after you snap a window to one side of the screen, offering thumbnails of your other open windows to fill the remaining space. To turn it off while keeping snapping itself, open Settings, go to System, then Multitasking, expand the Snap windows section, and uncheck When I snap a window, show what I can snap next to it. Windows still snap to edges and corners exactly as before. Only the suggestion box goes away.
Three things people mix up under Multitasking
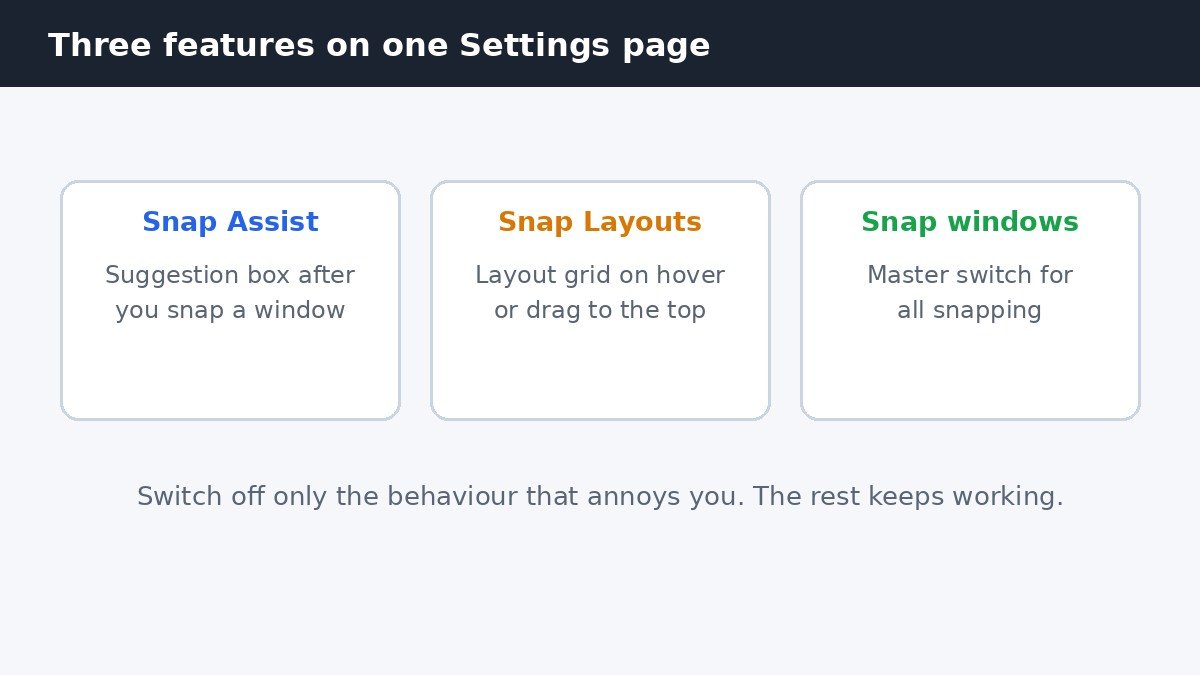
Most guides that claim to turn off Snap Assist actually turn off something else, and most complaints about it are really about a different feature. All three live on the same Settings page, which is why they get tangled. Sorting them out first means switching off exactly the behaviour that annoys you, and nothing else.
| Feature | What it does | Turn it off when |
|---|---|---|
| Snap Assist suggestions | Shows window thumbnails to fill the space next to a snapped window | The suggestion box interrupts you after every snap |
| Snap Layouts on hover or drag | Shows the layout grid when you hover over Maximize or drag a window to the top | The layout popup appears when you only wanted to maximize |
| Snap windows master switch | Controls all snapping, including dragging windows to edges | You never want windows to snap at all |
Turn off only the Snap Assist suggestions
This is the method for every edition of Windows 11, including Home, and it is the one most people actually want. It leaves the useful parts of snapping untouched: dragging a window to an edge still snaps it, and keyboard shortcuts such as Win plus Left Arrow still work.
- Press Win + I to open Settings.
- Click System in the left sidebar, then click Multitasking on the right.
- Click the Snap windows row itself to expand its options. Clicking only the switch turns the whole feature off, so expand the row instead.
- Uncheck When I snap a window, show what I can snap next to it.
- Close Settings. The change takes effect right away, with no restart.
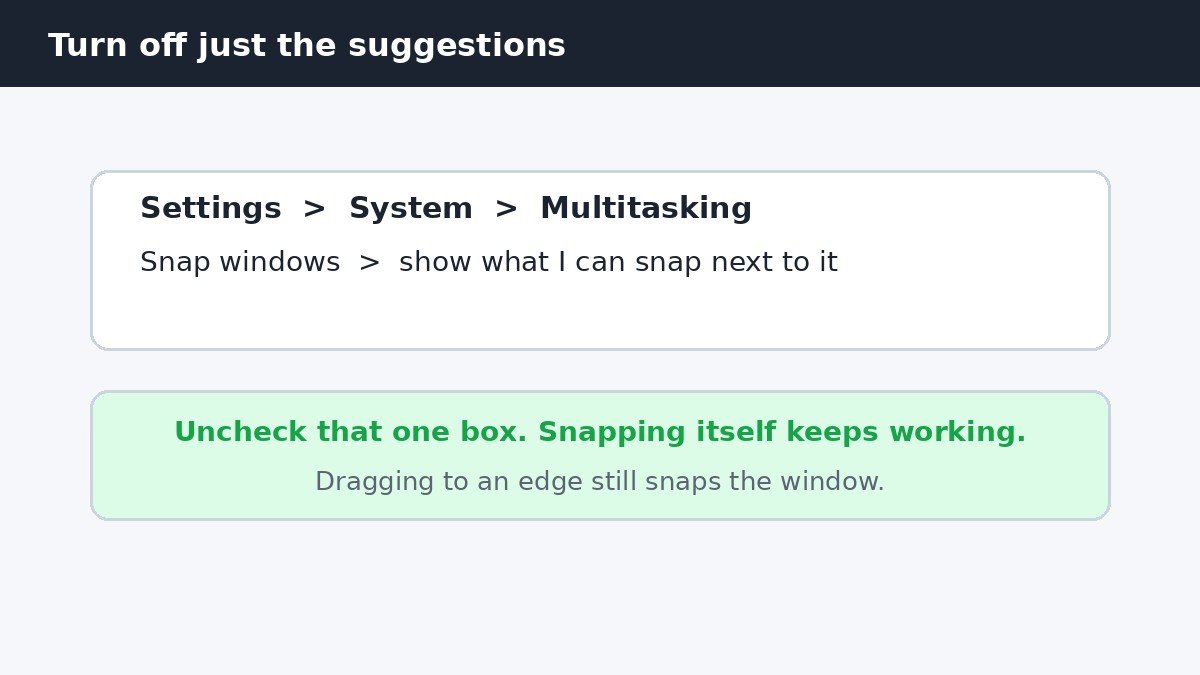
To check the result, drag any window to the left edge of the screen. It should snap and stay put, with no row of thumbnails offering a second window. To bring the suggestions back, return to the same page and check the box again.
If the layout popup is the real annoyance
On the same expanded Snap windows section, two more checkboxes control the layout grid, which is a separate feature from Snap Assist. Show snap layouts when I hover over a window’s maximize button controls the grid that appears when the mouse rests on Maximize. Show snap layouts when I drag a window to the top of my screen controls the grid that drops down during a drag. Uncheck either or both if those popups are what bother you. Our guide to turning off the Snap Layouts popup when dragging a window to the top covers that popup in more depth.
Turn off snapping entirely
If no snapping behaviour is wanted at all, the master switch is the answer. On the same page, set the Snap windows switch itself to Off. Windows then stop snapping to edges, corners, and the top of the screen, and the sub-options grey out. This is also the right move when a window manager or tiling tool of your own is fighting with Windows snapping. The switch is reversible in one click, so there is no risk in trying it for a day.
Registry fallback for multi-PC control
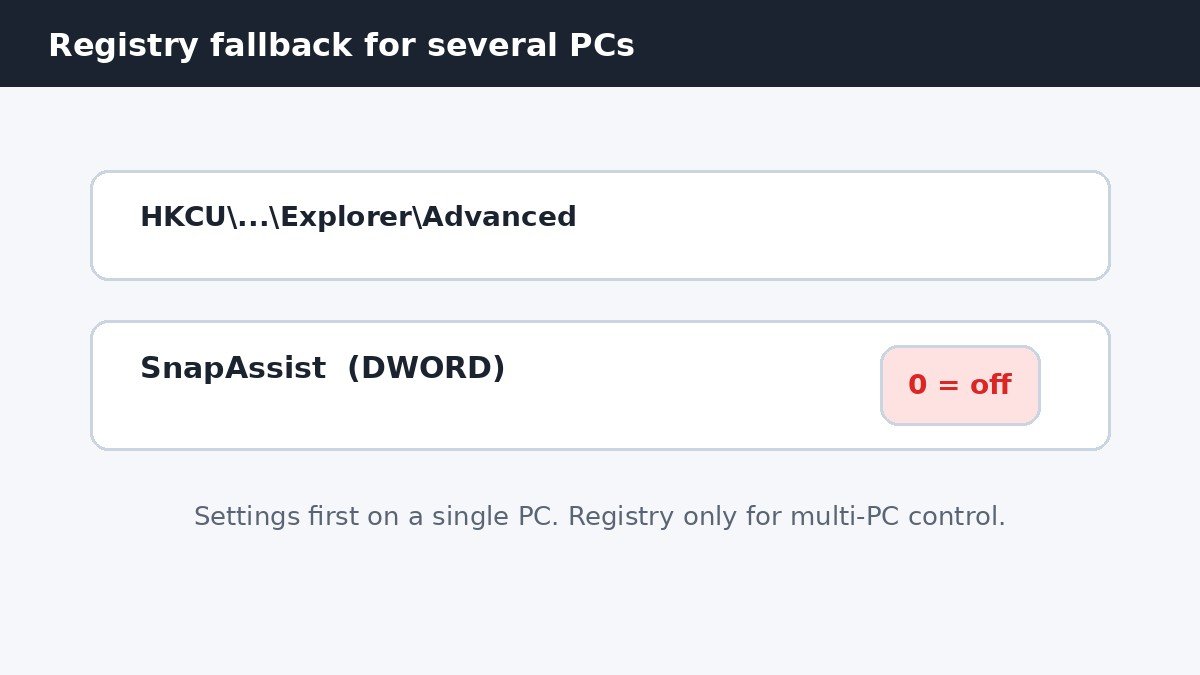
The registry method is only worth using when the same change has to be pushed to several PCs, for example through a logon script or a registry file. On a single PC, the Settings checkbox is faster and safer. Back up the registry first, and note that the checkbox wording varies slightly between Windows 11 builds: older builds phrase it as suggesting companion windows, while current builds use the show-what-I-can-snap wording. Both refer to the same setting.
- Press Win + R, type regedit, and press Enter. Approve the User Account Control prompt.
- Go to HKEY_CURRENT_USER\Software\Microsoft\Windows\CurrentVersion\Explorer\Advanced.
- Look for a DWORD value named SnapAssist. If it is absent, right-click an empty area, choose New, then DWORD (32-bit) Value, and create it.
- Double-click it and set Value data to 0 to disable Snap Assist suggestions. A value of 1 turns them back on.
- Sign out and back in, or restart Explorer, for the change to take effect.
If the checkbox is missing or greyed out
On a work or school PC, an administrator policy can lock the Multitasking page, which shows up as a greyed-out switch or a setting that reverts itself. In that case the registry edit will fight the policy and lose, so ask the administrator instead. On a personal PC, first type Multitasking into the Settings search box, since the System page is long and the entry is easy to miss, and install any pending Windows updates, which can restore a missing Multitasking section. Microsoft documents the Snap settings, including the suggestion checkbox, on its Snap your windows page.
Snap Assist is a small convenience that becomes a nuisance the moment it guesses wrong about what you want next to your window. Switching off just the suggestion box keeps everything useful about snapping and removes the interruption, and one checkbox puts it back if you ever miss it.

- How to Turn Off Snap Assist in Windows 11 - November 4, 2026
- How to Turn Off Game Mode in Windows 11 - November 3, 2026
- How to Stop Windows 11 Opening Photos When You Plug In a USB Drive - November 2, 2026