
A notification preview is the first line of a message or an email, shown right inside the notification. On a Mac that is locked, that line sits on the lock screen where anyone walking past can read it. The quick answer: click the Apple menu, open System Settings, then Notifications, and set Show previews to When Unlocked. That hides the content of every notification while your Mac is locked, and shows it again once you log in. Pick Never instead if you want the content hidden even while you are using your Mac. The change takes under a minute and applies at once.
What Always, When Unlocked, and Never actually hide
Show previews controls one thing only: whether the words inside a notification are visible. It does not stop notifications from arriving, and it does not hide the app name or the fact that a message came in. With previews hidden, a Messages notification still tells you that Messages has a new message, but the text of the message stays hidden. That distinction matters, because some people expect the whole notification to disappear, and it does not. The three choices differ only in when the content is allowed to show.
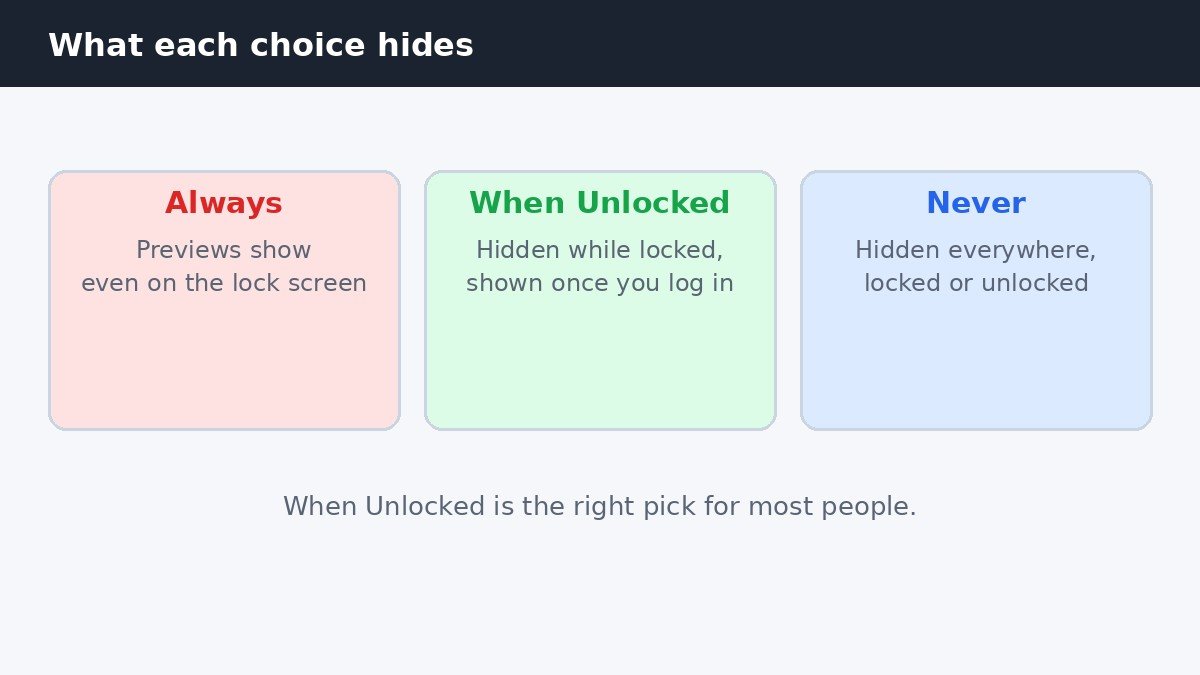
Always shows the preview everywhere, including in the login window before anyone logs in. When Unlocked shows the preview only while you are logged in to your user account, so the lock screen shows the app name and nothing else. Never hides the preview in every situation, locked or unlocked. The setting at the top of the Notifications panel is the default for every app, and each app can also use its own choice, as explained below.
| Choice | On the lock screen | While you use your Mac |
|---|---|---|
| Always | Message and email text visible | Text visible |
| When Unlocked | App name only, no text | Text visible |
| Never | App name only, no text | App name only, no text |
Hide previews for every app in four steps
The global setting covers every app at once, so this is the fastest fix when the problem is the lock screen in general rather than one chatty app. The path is the same on current macOS versions, including macOS 27, so these steps match the layout you will see on your Mac.
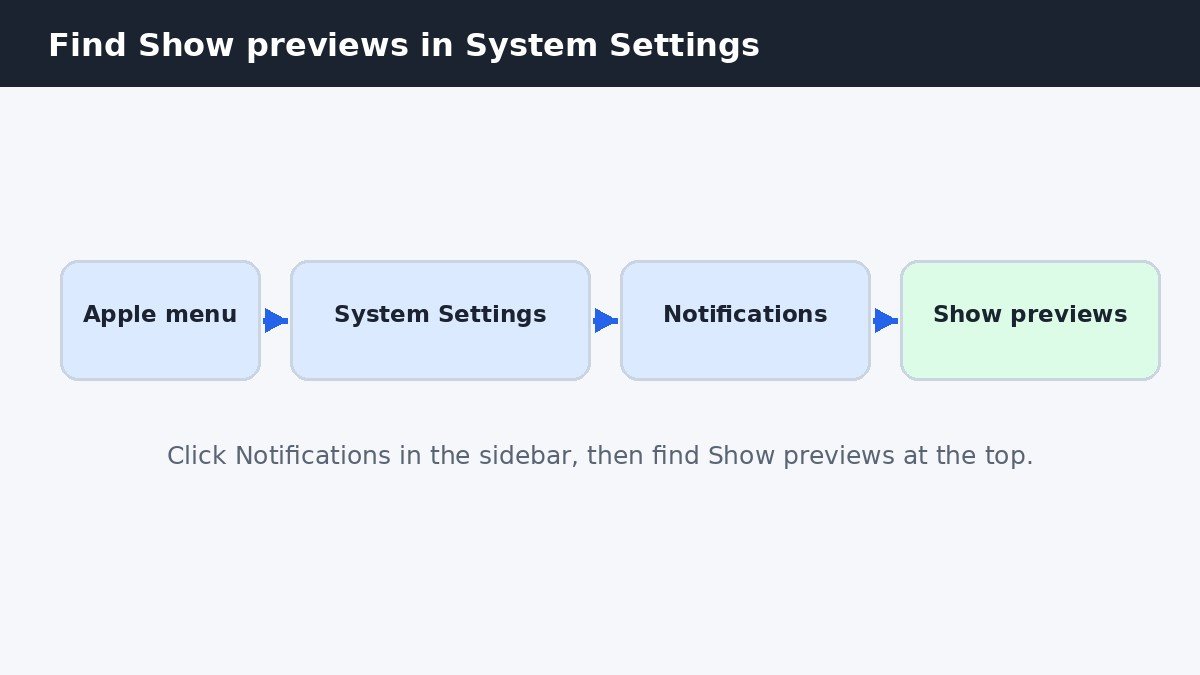
- Click the Apple menu in the top left corner, then choose System Settings.
- Click Notifications in the sidebar. You may need to scroll down to find it.
- Under Notification Center, click the Show previews pop-up menu.
- Choose When Unlocked to hide content while locked, or Never to hide it always.
That is the whole job. There is no save button and no restart, so the change takes effect at once. Lock your Mac and send yourself a test message from your phone: the notification should show the app name and no message text. Apple’s own notifications guide lists the same path and the same three choices.
Hide previews for one app only
Sometimes only one app is the problem. Messages is the usual one, because a text preview can show a private conversation, and Mail is next, because an email preview can show the first lines of a message. For those, leave the global setting alone and change the app itself.
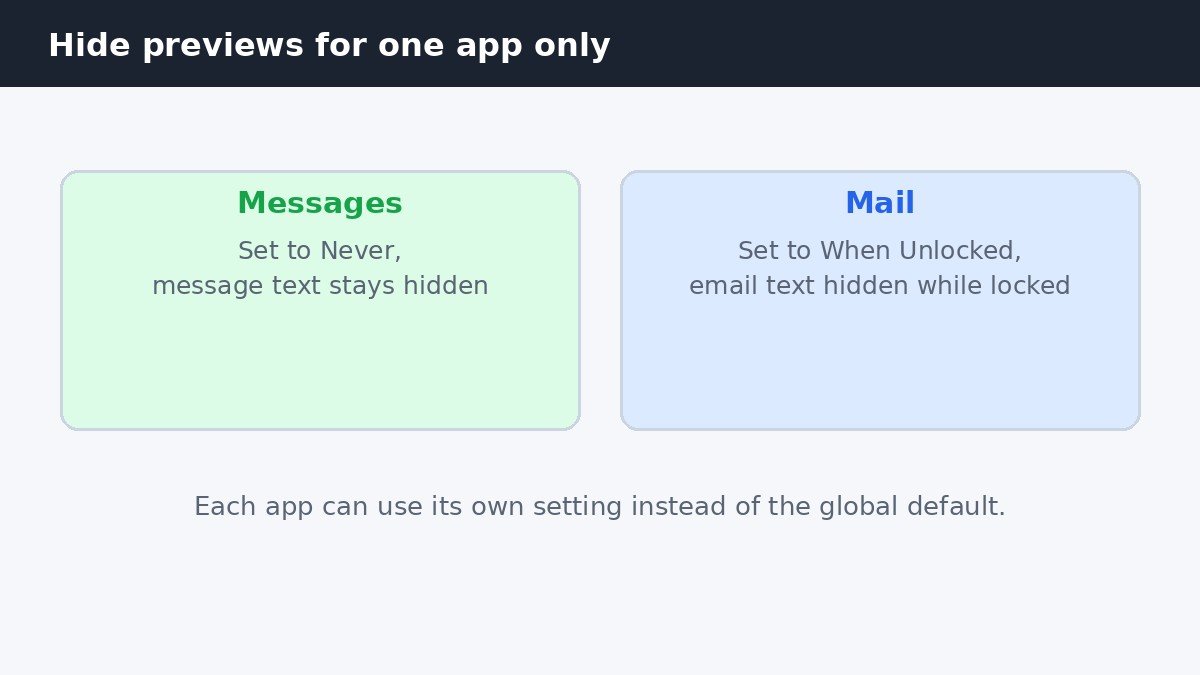
Scroll down to Application Notifications on the same Notifications screen and click Messages. Find Show previews and choose Never to hide message text everywhere, or When Unlocked to hide it only while the Mac is locked. Do the same for Mail if email previews bother you too. The Default choice means the app follows the global setting at the top of the panel, so pick Default when you want the app to match everything else. One quirk: an app only appears in the list after it has asked to send a notification at least once, so a new app may be missing until its first notification arrives.
Keep the alert, but remove it from the lock screen
Hiding the preview still leaves the notification itself on the lock screen, with the app name visible. If even that is too much, stop notifications from appearing there at all. In the Notification Center section of the same panel, turn off Allow notifications when the screen is locked. Nothing arrives while the Mac is locked, and everything waits in Notification Center until you log in.
The per-app version is finer: click an app under Application Notifications and turn off Show notifications on lock screen. That app’s alerts never appear in the login window, while other apps behave as before. This is the right choice for one sensitive app when the rest can stay as they are. Note that this hides the whole alert, not just its preview, so use it only where the alert itself is the problem.
Previews still showing? Check these three things
First, check the per-app setting. An app set to Always ignores the global choice, so open the app under Application Notifications and set its Show previews to Default or to the choice you want. Second, remember that Focus and Do Not Disturb silence notifications, they do not change what a preview shows, so a notification that does arrive still follows the preview setting. Third, the login window counts as locked, so Always is the only choice that shows previews there, and changing it to When Unlocked fixes that case too.
The same Notifications panel holds other Mac notification controls. If a different Mac alert bothers you, this guide to stopping Background Items Added notifications on Mac walks through another setting in the same panel.
Which setting should you pick?
For most people, When Unlocked is the right pick. It keeps message and email text off the lock screen, which is where strangers and coworkers can see it, and it costs nothing while you are working, because previews still show once you are logged in. Choose Never if your Mac is shared, if it sits in a busy room, or if one app handles sensitive information and you would rather never see its text in a notification at all. You can mix the two: set the global choice to When Unlocked, then set Messages or Mail to Never on their own.
Notification previews are a small convenience with a real privacy cost on a locked screen. One menu in System Settings decides what anyone passing by can read, and the fix takes less than a minute. Set it to When Unlocked, check the apps that carry your private messages, and your lock screen goes back to showing that you have a message, without showing what it says.

- How to Hide Notification Previews on Mac Lock Screen - November 12, 2026
- How to Turn Off Autocorrect in Windows 11 - November 11, 2026
- How to Turn Off Advertising ID in Windows 11 - November 10, 2026