
Nearby Sharing lets Windows PCs that are close together send each other files, photos, and links over Bluetooth or Wi-Fi. It is handy at home, and less welcome on a shared network, a work laptop, or a PC in a public place. Turning it off takes about 30 seconds, and you do not have to give the feature up for good. Most people are better off with the middle setting, My devices only, which keeps sharing working between their own PCs and closes the door to everyone else.
Turn off Nearby Sharing in 30 seconds
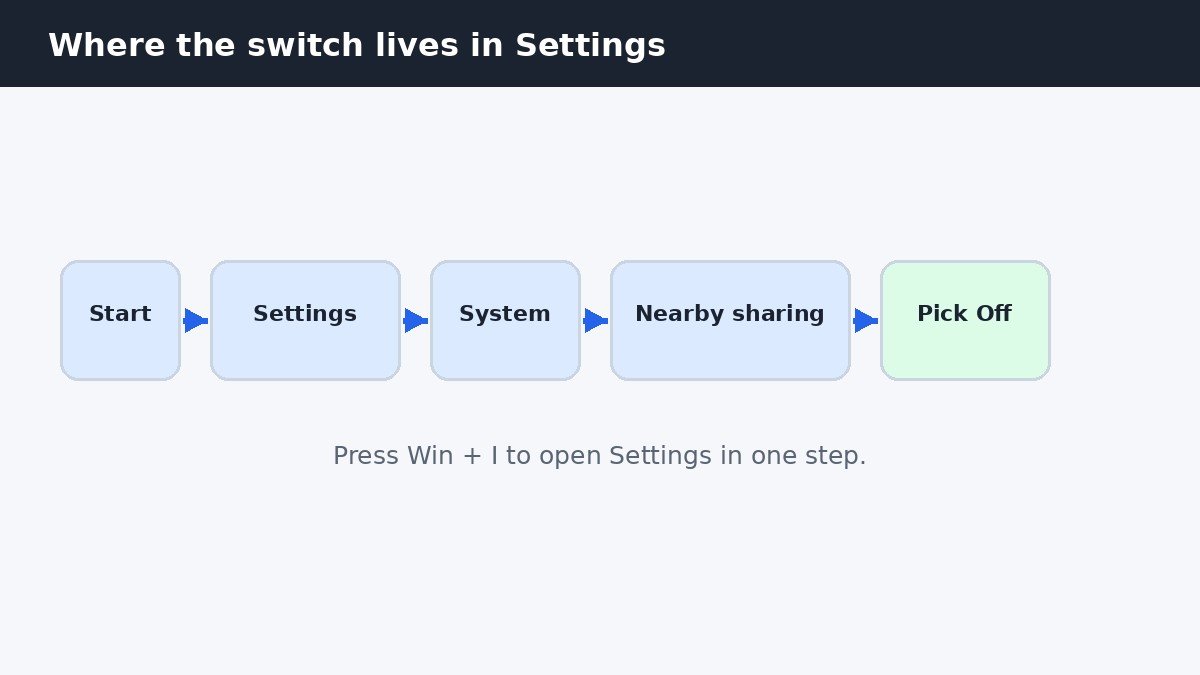
If you only need the quick answer, here it is. Press Win + I to open Settings, click System in the left sidebar, then click Nearby sharing. On the page that opens, pick Off. That is the whole job. The change applies right away, with no restart and nothing else to confirm. Your PC will stop appearing as a target when nearby devices look for somewhere to send a file.
The three modes, and which one to pick
Nearby Sharing is not a single on or off switch. It has three modes, and picking the right one matters more than finding the page. Here is what each mode does.
| Mode | What it does | Best for |
|---|---|---|
| Off | Your PC cannot send or receive files with Nearby Sharing | A work PC, a shared PC, or when you never use the feature |
| My devices only | Only PCs signed in with your Microsoft account can share with you | Everyday use across your own computers |
| Everyone nearby | Any nearby Windows PC can send you a file request | A one-time transfer from someone else's PC |
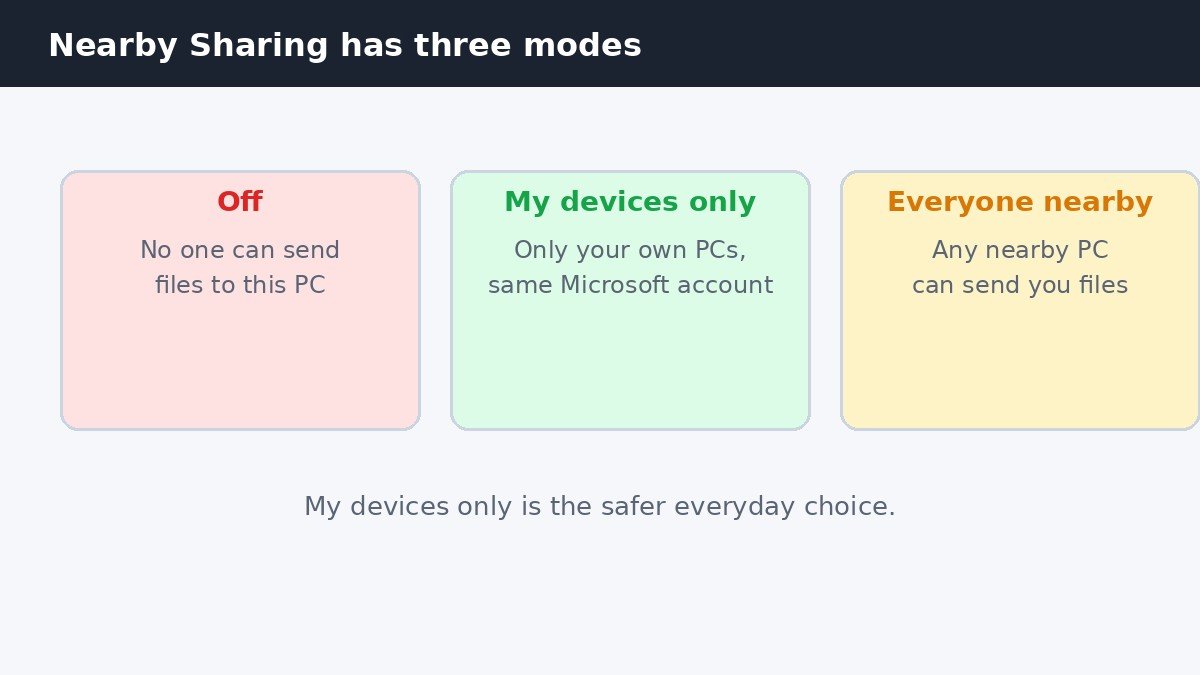
For most people, My devices only is the right default. It keeps the feature working between your own computers while keeping strangers' PCs out. You still have to accept each incoming file, so nothing lands on your PC without you saying yes. But with Everyone nearby, your PC is visible to every Windows device in range, and Microsoft notes that your PC name and Bluetooth address become available to nearby devices. That is a fair trade for a single file from a friend, and a poor setting to leave on all day in a coffee shop or an office.
Turn it off from Settings, step by step
The full path is Settings, then System, then Nearby sharing. Follow these steps.
- Press Win + I to open Settings. You can also click Start and then the Settings gear.
- Click System in the left sidebar. It is the first item, at the top of the list.
- Scroll down the System page and click Nearby sharing.
- Under Nearby sharing, pick Off. The three choices sit near the top of the page.
While you are on this page, look at the line underneath that says where received files are saved. It is labeled Save files I receive to. If you keep the feature on for your own devices, click Change next to it and pick a folder you will actually check, such as Downloads. Microsoft's guide to sharing with nearby devices covers the same page.
Use Quick Settings when you only need one transfer
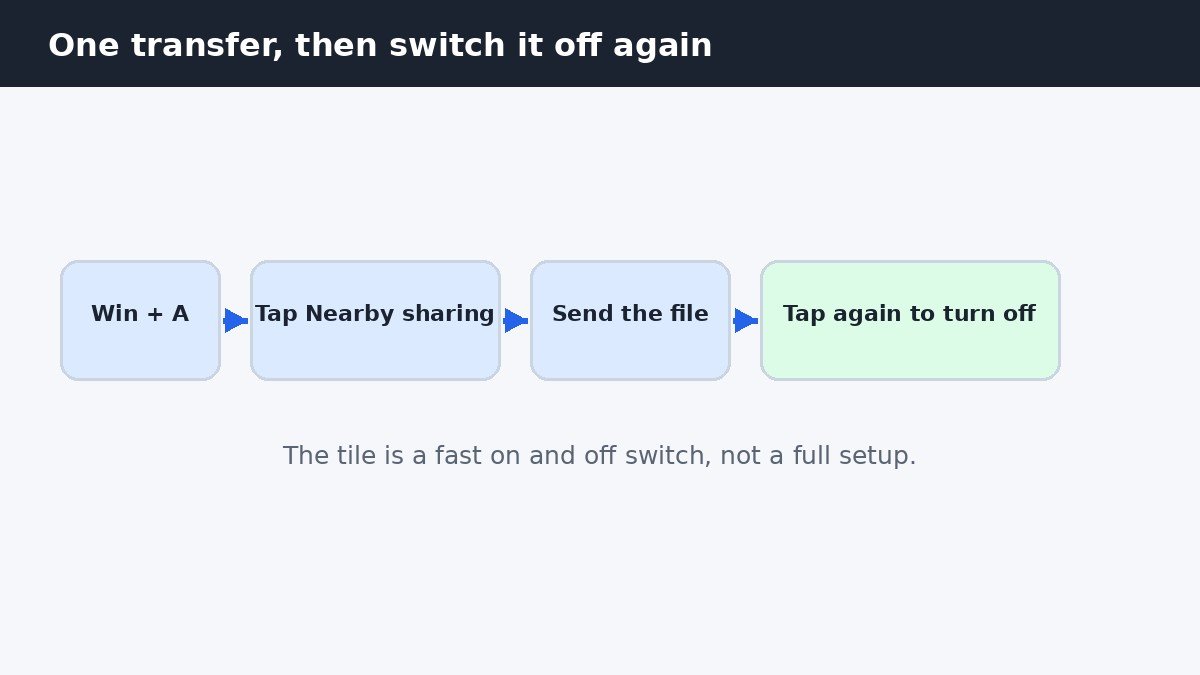
Settings is the right place to choose your mode, but it is a slow way to flip the feature on and off. Quick Settings is faster. Press Win + A, or click the network, volume, or battery icons on the right side of the taskbar, to open the Quick Settings panel. Look for the Nearby sharing tile and click it. Click it again when the transfer is done to switch the feature back off. That is the whole trick: on for one file, off again straight after.
If you do not see the tile, you can add it. Open Quick Settings, click the pencil icon, then Add, and choose Nearby sharing from the list. Click Done. One thing to know: the tile is a quick on and off switch, and it does not show which mode is active. If you are about to receive a file from someone else's PC, open Settings and check the mode first, so you do not spend the transfer wondering why your PC is not showing up.
Do not mix it up with Share across devices
Here is the mix-up that catches people. Windows 11 has a second setting with a similar name, and turning off Nearby Sharing does not touch it. It is called Share across devices, and it lives in a different place: Settings, then Apps, then Advanced app settings, then Share across devices. It has the same three choices, Off, My devices only, and Everyone nearby, which is exactly why the two get confused.
The difference is what they share. Nearby Sharing sends files, photos, and links between PCs that are physically near each other. Share across devices shares app activity between your devices, so you can pick up where you left off in supported apps. One moves files, the other moves what you were doing. If your aim is to stop your PC sharing app activity, open that second page and set it to Off as well. On older Windows 11 builds, this setting sat under System and Shared experiences instead, so if you cannot find it under Apps, check there.
If Nearby Sharing is missing or will not turn off
Sometimes the option is greyed out, missing, or the transfer still fails after you turn it on. Work through these checks in order.
- Turn Bluetooth and Wi-Fi on. Nearby Sharing needs both, and it uses Bluetooth to find nearby devices.
- Check your PC has Bluetooth at all. Microsoft's troubleshooting guide says Nearby Sharing needs Bluetooth 4.0 or later with Low Energy support. A desktop without a Bluetooth adapter will not show the option.
- Keep the two PCs close together, within about 30 feet, or 10 meters, and keep both awake during the transfer.
- For a Wi-Fi transfer, both PCs need to be on the same private Wi-Fi network. If your network is set to Public, switch it to Private first.
- If Wi-Fi keeps dropping during a transfer, the connection is the problem, not the sharing setting. See our guide to fixing Windows 11 Wi-Fi that keeps disconnecting for the steps that sort that out.
- On a work or school PC, an administrator may have locked the setting with a policy. In that case the option will be greyed out, and only your IT admin can change it.
Microsoft's troubleshooting page for Nearby Sharing walks through the same checks, including the Bluetooth version and network requirements.
Turning Nearby Sharing off is a small change, but it is worth making on purpose rather than leaving on a default you never chose. My devices only gives you the useful part, sharing between your own PCs, without advertising your PC to every nearby device. Off gives you quiet. Either one beats Everyone nearby left on by accident, and either one takes less than a minute to set.

- How to Turn Off Nearby Sharing in Windows 11 - November 13, 2026
- How to Stop Microsoft Teams From Opening on Startup in Windows 11 - November 12, 2026
- How to Turn Off Do Not Disturb in Windows 11 - November 11, 2026