
Passwords leak, get phished, and get reused. Passkeys fix all three at once: instead of a password you remember, your phone or computer creates a unique digital key for each account, and you unlock it with the fingerprint or face scan you already use.
Setup takes a few minutes per account, but the part most guides skip is what to do first. This is a recovery-first guide. We build your safety net before you touch any settings, so a lost phone never becomes a locked-out account.
What Is a Passkey, Exactly?
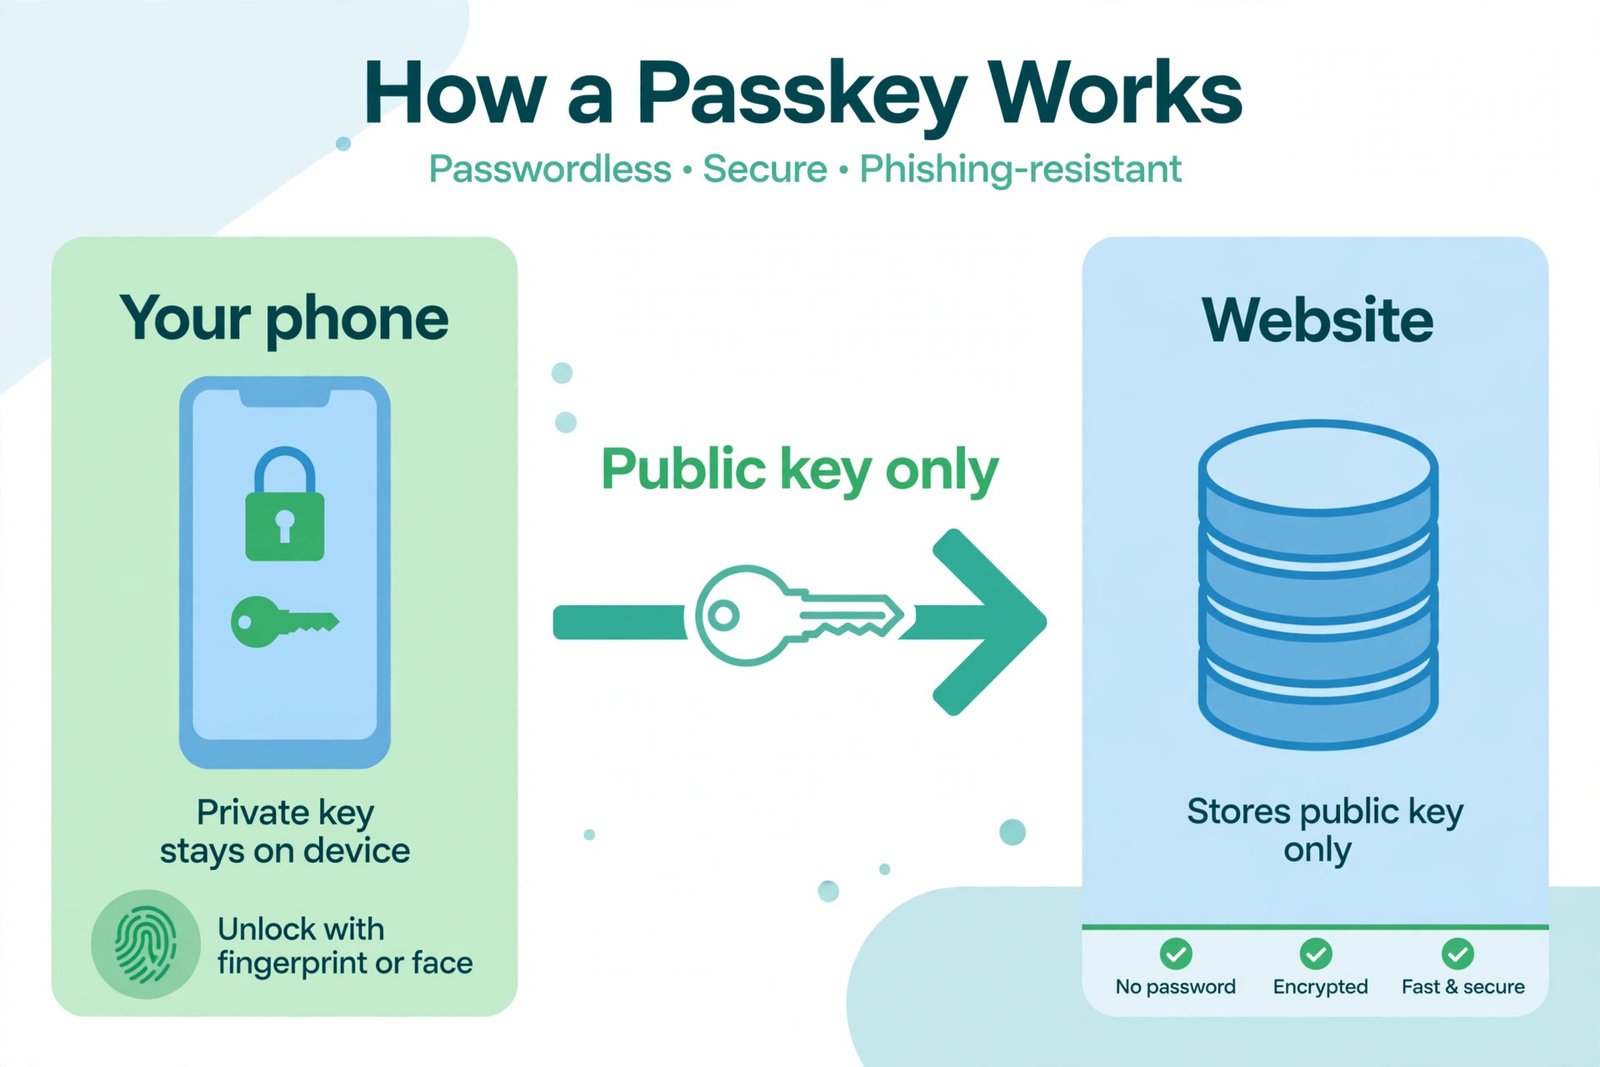
Think of a passkey as a key pair. When you register one, your device creates two linked keys: a private key that never leaves your device, and a public key that the website stores. At sign-in, the website sends a challenge that only your private key can answer, and you approve it with your fingerprint, face, or device PIN.
Three properties make this stronger than any password. Phishing sites cannot steal a passkey, because the key only works on the real website it was created for. Data breaches cannot leak it, because the website only holds the public key, which is useless on its own. And there is nothing to reuse across sites, because every account gets its own key pair.
Step Zero: The Pre-Setup Safety Checklist
This is the section most setup guides bury at the end. Do it first. The number one reason people avoid passkeys is fear of being locked out, and this checklist removes that fear before you change anything.
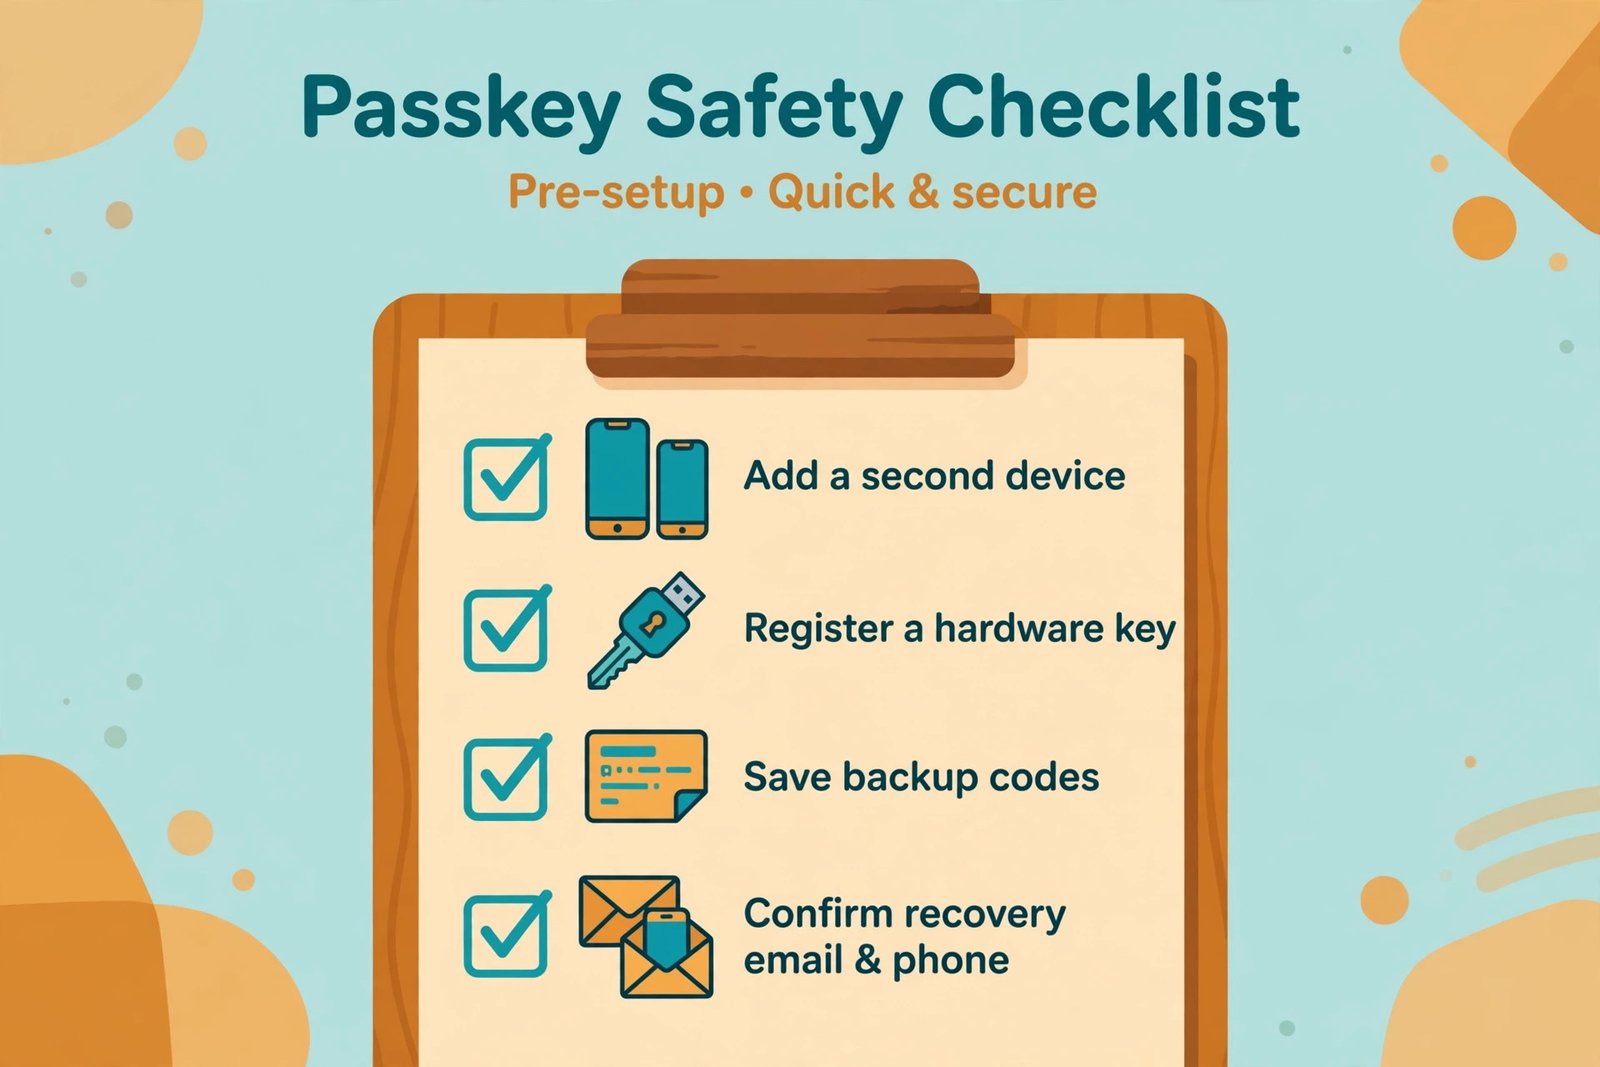
- Turn on screen lock and biometrics on every device you will use. Passkeys require a PIN, fingerprint, or face unlock, and you cannot create one without a screen lock.
- Make sure your operating system and browser are current. The baseline in 2026 is iOS 16 or later, Android 9 or later, Windows 10 or later, macOS Ventura or later, with a current Chrome, Safari, Edge, or Firefox.
- Confirm your recovery email and phone number are current on each account. If something goes wrong, these are your way back in.
- Save your backup or recovery codes. Many accounts issue one-time codes for emergencies; store them somewhere safe, separate from your phone.
- Register a passkey on a second device or a hardware security key before you remove any password. Redundancy is the whole point of this checklist.
- On Apple devices, add a recovery contact under Settings, your name, Sign-In and Security, Account Recovery, so a trusted person can help you regain access.
Only when this list is checked off should you delete a password or switch off an older sign-in method. Keep the old methods active until your passkeys are working on every device you own.
How to Set Up a Passkey on Google
Google has the most polished passkey flow of the three. Creating one opts you into a passkey-first sign-in experience: the next time you sign in, Google offers the passkey instead of the password. The steps are the same on a computer and a phone.
The steps
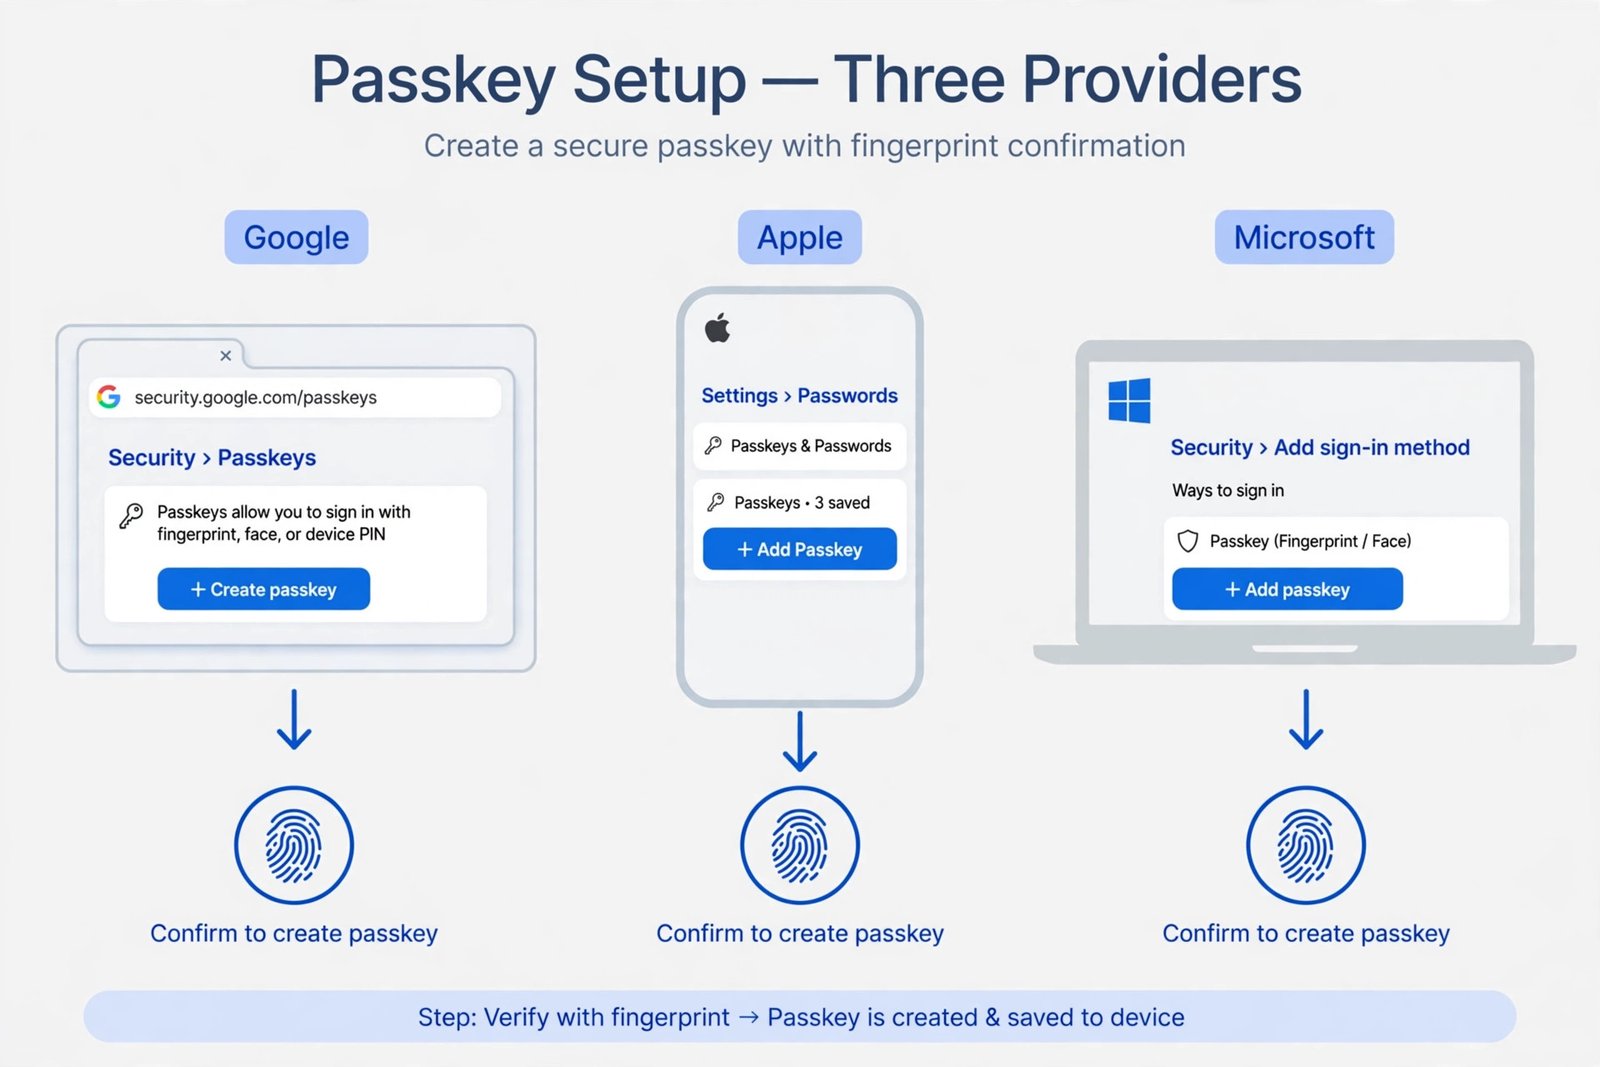
- Go to myaccount.google.com and sign in. Open Security, then choose Passkeys (the direct page is myaccount.google.com/signinoptions/passkeys).
- Select Create a passkey. Google may ask you to verify your identity first.
- Approve with your device’s screen lock: fingerprint, face scan, or PIN.
- Repeat on each device you own for the smoothest sign-ins, or let Google Password Manager sync the passkey across your signed-in devices.
To register a passkey on an external USB security key instead, choose Create a passkey, then Use another device, and follow the prompts to insert the key and touch its sensor. Google’s official help page walks through creating passkeys, including the security key option.
How to Set Up a Passkey on Apple
Apple keeps passkeys in the Passwords app and syncs them across your iPhone, iPad, and Mac through iCloud Keychain, which Apple describes as protected by end-to-end encryption. Two things must be on before anything works: two-factor authentication for your Apple Account, and iCloud Keychain sync.
iPhone and iPad
- Go to Settings, tap your name, then iCloud, then Passwords, and turn on Sync this device.
- When you sign up for or sign in to a supported website or app, look for the option to save a passkey and tap Continue.
- Confirm with Face ID, Touch ID, or your device passcode. The passkey is saved in the Passwords app, where you can see which sites it belongs to.
Mac
- Open System Settings, click your name, then iCloud, then Passwords, and turn on Sync this Mac.
- In Safari or your preferred browser, accept the prompt to save a passkey when a supported site offers one, and confirm with Touch ID or your login password.
To create a passkey for your Apple Account sign-in itself, visit the Apple Account sign-in page and choose the passkey option when it is offered. Apple’s official Passwords app documentation explains how iCloud Keychain keeps your passkeys available on all of your approved devices.
How to Set Up a Passkey on Microsoft
Microsoft’s path looks different from Google’s, and mixing up personal accounts with work or school accounts causes most of the confusion. The steps below are for personal Microsoft accounts, such as Outlook, Hotmail, Live, or Xbox. Menu labels shift over time, so follow the on-screen wording if a button reads slightly differently.
Steps for a personal Microsoft account
- Sign in at account.microsoft.com, open Security, then Advanced Security Options. You can also go directly to account.live.com/proofs/manage.
- Choose Add a new way to sign in or verify, then pick Face, fingerprint, PIN, or security key.
- Select where to save the passkey: Windows Hello on this PC, your phone, or a hardware security key, then confirm with your unlock method.
- Give the passkey a name you will recognize, like “Home laptop,” and repeat on a second device or key for redundancy.
Using your phone to sign in on a Windows PC
If your PC has no fingerprint reader or camera, you can still use a passkey. Choose the option to use another device, scan the QR code with your phone’s camera, and approve on your phone. Keep Bluetooth on for this handoff to work. On the PC itself, set up Windows Hello first under Settings, Accounts, Sign-in options, since the passkey prompt hands off to it. If your Windows 10 machine is nearing the end of its supported life, it is worth checking your Windows 10 upgrade and support options alongside this security cleanup.
What to Do When You Get a New Phone
This is where the ecosystems diverge, so take it one at a time.
On Apple, your passkeys sync through iCloud Keychain, which works separately from your iCloud backup, so restoring from backup is not the real test. On the new iPhone, sign in with the same Apple Account, confirm iCloud Keychain sync is on, and open the Passwords app to check your passkeys are there. If one seems missing, look under the All and Deleted views.
On Android, passkeys stored in Google Password Manager sync to any device signed in to the same Google Account, so they arrive with your account sign-in on the new phone.
For Microsoft, passkeys saved through Windows Hello are tied to that PC. Register the new computer as an additional passkey the same way you did the first one, then remove the old device from your account’s sign-in methods. If you are moving to a new iPhone specifically, our guide to transferring everything to your new iPhone pairs well with this checklist.
| Provider | Where passkeys sync | If you lose every device |
|---|---|---|
| Google Password Manager, across devices on your account | Account recovery with backup codes or your recovery email | |
| Apple | iCloud Keychain, across your Apple devices | Recovery contact, or iCloud Keychain recovery with your device passcode and a trusted number |
| Microsoft | Windows Hello (per PC) or your phone or authenticator app | Sign in with a backup method and re-register the new device |
Troubleshooting Common Passkey Problems
There is no option to create a passkey
Update your operating system and browser, then confirm a screen lock and biometrics are enabled. Also check that you are on a personal account: work or school accounts can have passkeys disabled by the administrator, even after you create one.
Your passkey is missing on your new phone
Check the sync, not the backup. On Apple, confirm iCloud Keychain sync is on, verify you are signed in to the same Apple Account, and look in the Passwords app under All and Deleted. On Android, confirm you signed in with the same Google Account that created the passkey.
You are locked out of an account
Do not panic, and do not delete anything. Use the backup method from the checklist: a second device, a hardware key, backup codes, or the account’s recovery email flow. This is exactly why the checklist came first.
Sign-in keeps asking for your password anyway
Some sites still show the password field first out of habit. Look for a “Sign in with passkey” link on the sign-in page, or open the account’s security settings to confirm the passkey is registered and active.
Where to Use Passkeys Next
Once the big three are done, extend the habit. Amazon, PayPal, eBay, and GitHub all support passkeys now, and each one follows the same pattern: open the account’s security settings, look for the passkey or security key option, and confirm with your device unlock. Every account you convert is one fewer password that can be phished or leaked.
Passkeys ask for ten minutes of setup and a little discipline up front, and they pay it back every day in faster sign-ins and accounts that resist phishing. Do the checklist first, register that second device, and you will wonder why you ever trusted a password.

- How to Set Up Passkeys on Google, Apple, and Microsoft: The Complete 2026 Guide - October 17, 2026
- How to Transfer Everything to iPhone Duo from iPhone or Android - October 16, 2026
- Windows 10 ESU Extended to 2027: What to Do Now - October 15, 2026