
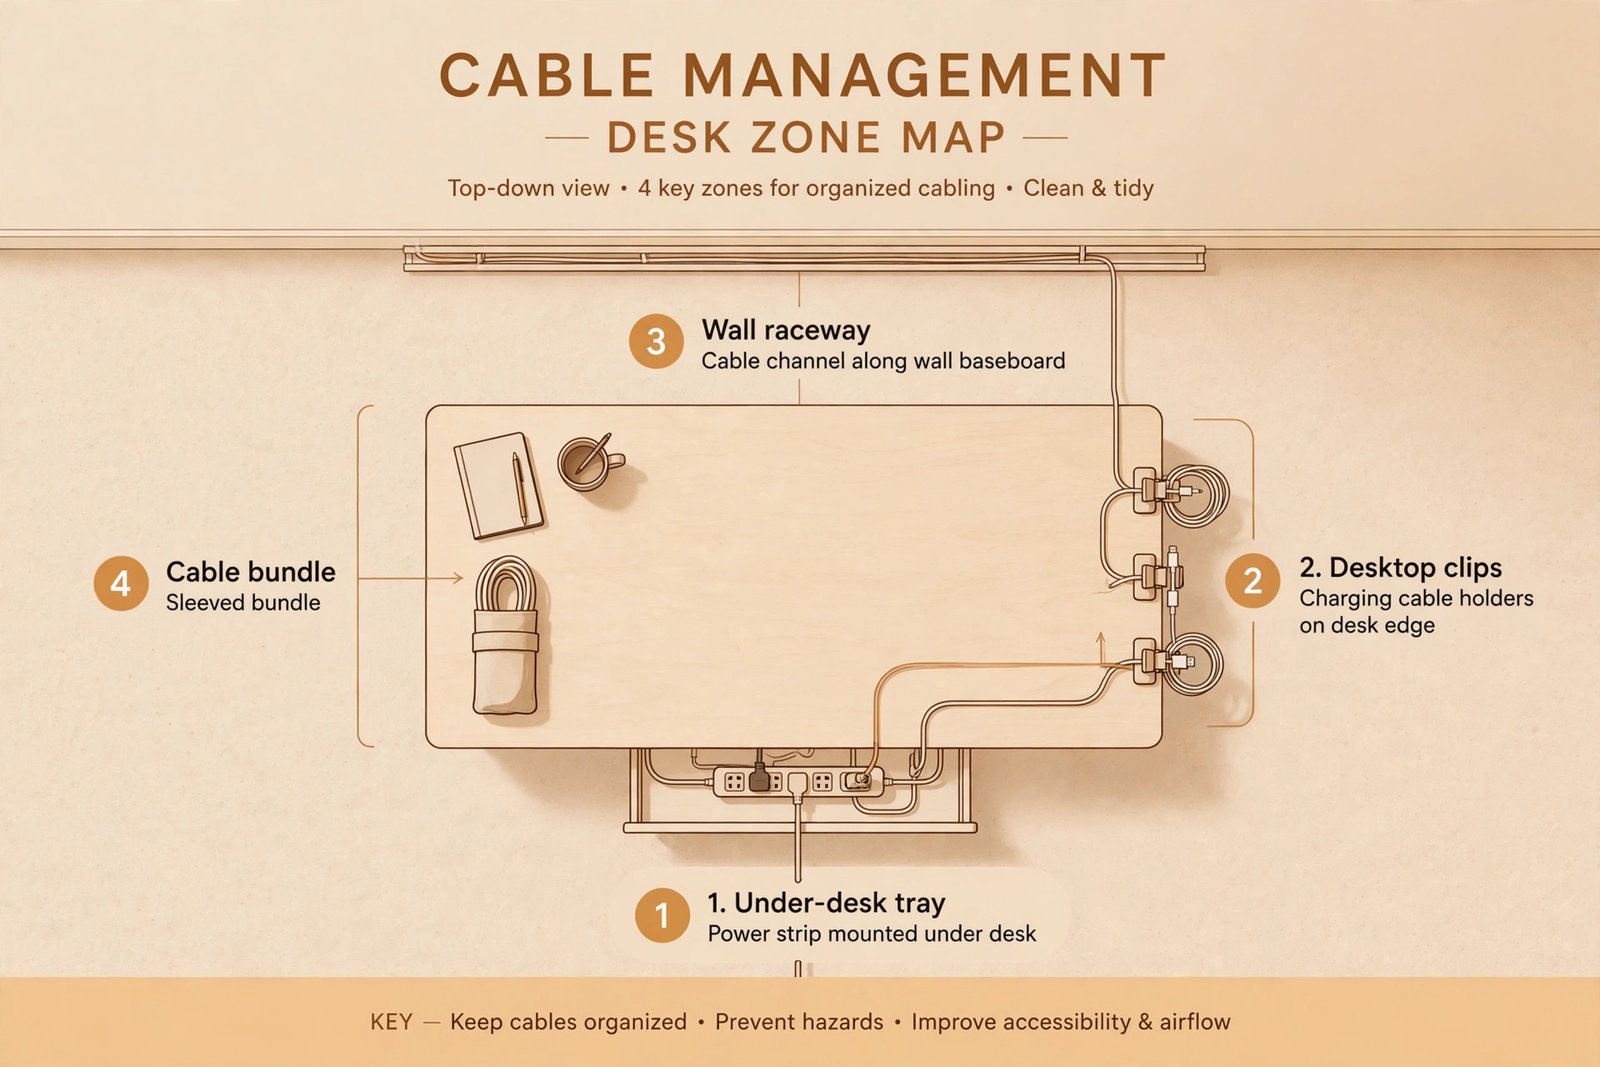
The secret to a clean desk is not buying more organizers. It is deciding where your power strip lives. Mount it under the desk first, and every cable suddenly has a destination. Everything in this guide follows that one rule, organized into four zones: under the desk, the desktop surface, the wall and the floor, and the bundle itself. Eleven tricks, about $25 to start, no drilling required.
The One Rule Everything Else Follows
A messy desk is really a dozen cables with nowhere to go. The moment your power strip hangs under the desk surface, only one cord has to travel down to the wall outlet. Every device cable plugs in above, where it is short, tidy, and out of sight. Buy the tray first, mount the strip inside it, then do everything else. This order matters: people who start with clips and sleeves end up redoing the whole job.
Zone 1: Under the Desk
This is where most of the mess lives, and the zone that rewards you the most. Four tricks.
1. Hang a clamp-on cable tray (about $12)
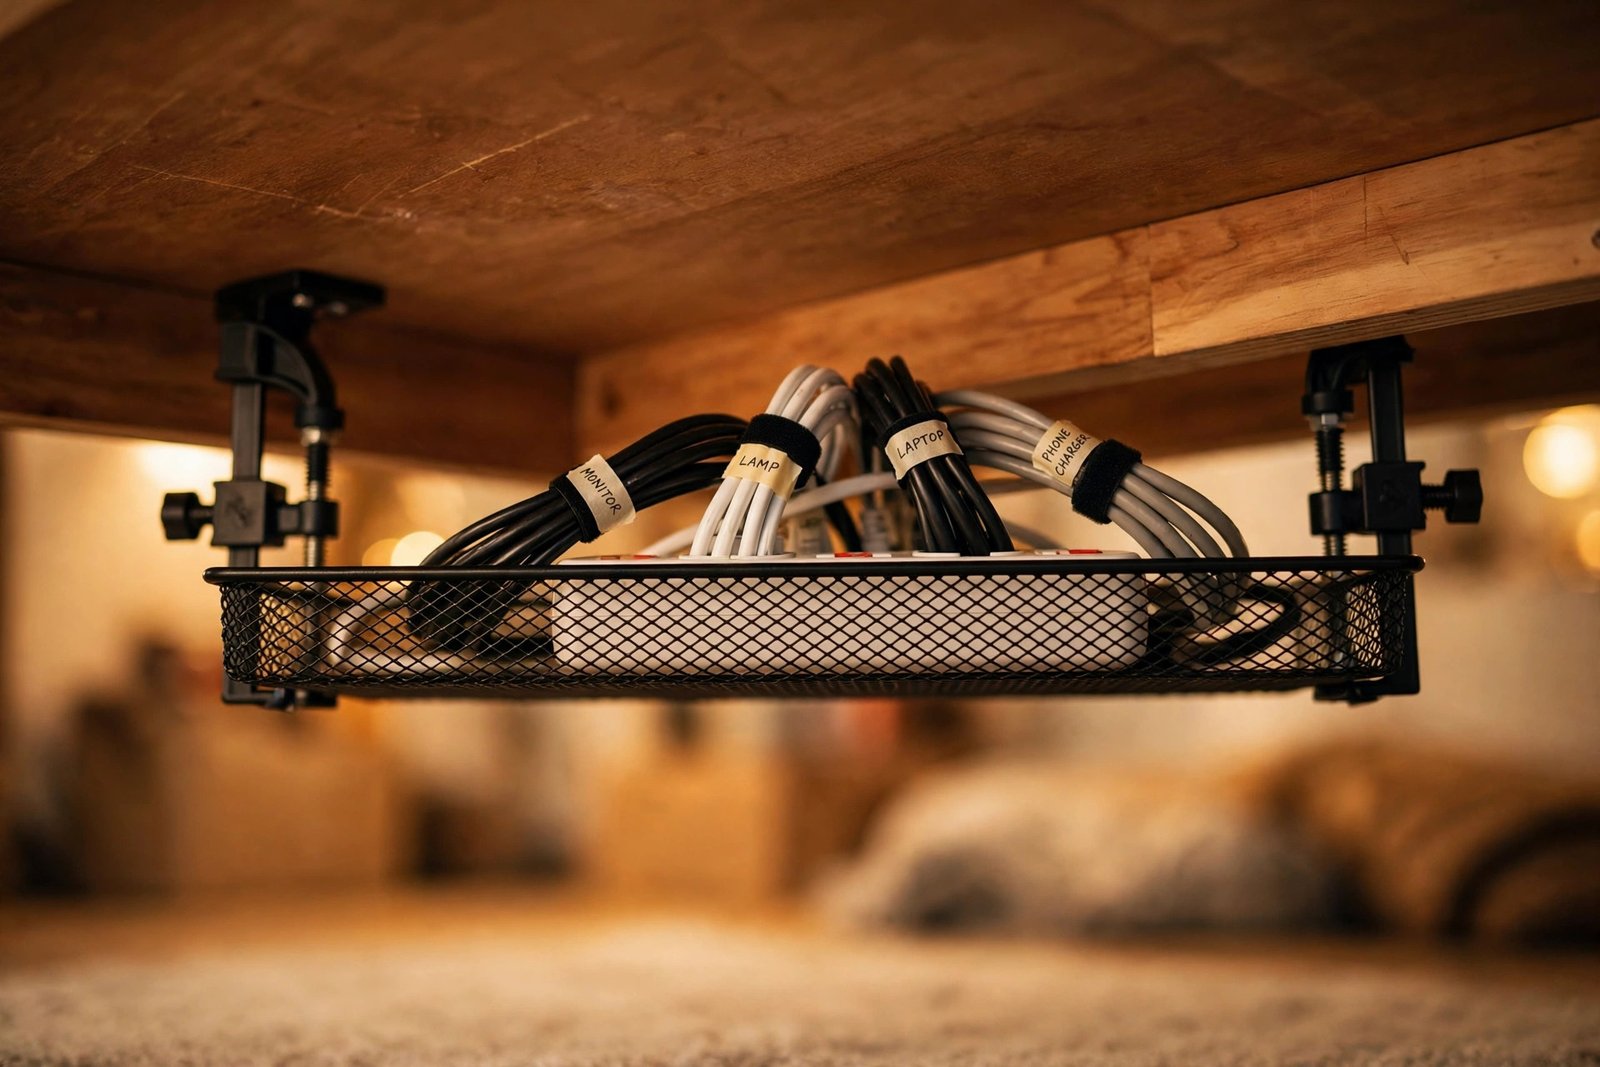
The single best value in cable management. A wire tray clamps to the back edge of the desk, no drilling, and the good ones ship with a handful of Velcro ties in the box. PCWorld’s senior editor recommends the $12 mesh kind, or the open-wire version if you like routing freedom. Choose the clamp variety for a standing desk or a rental; screws only if you own the desk and never move it.
2. Park the power strip inside the tray
This trick does half the work by itself. A power strip on the floor collects dust and slowly crawls away from the wall. The same strip inside a tray sits exactly where your cables are shortest. Coil the excess cord length inside the tray too; that is what the tray is for.
3. Give power bricks their own tray
Monitor power bricks and laptop chargers are the heavy, awkward members of the family. If you have two or more, hang a second small tray for them alone. One tray for the power strip, one for the bricks: separating them keeps the main tray light and stops plugs from working loose under the weight.
4. Label both ends of every cable
Before you close the tray up, label each cable at both ends with masking tape and a marker, or a label maker if you own one. “Monitor”, “lamp”, “dock”. This two-minute habit is what makes future you fast: when something stops working, you trace one labeled line instead of unplugging everything in a panic.
Zone 2: The Desktop Surface
With the mess underneath handled, only the cables you touch daily deserve desk space: a charger, a headphone cable, maybe a dock lead. Three tricks.
5. Switch to magnetic clips if your desk moves
Magnetic cable management is the dominant format of 2026, and it exists because of standing desks. Adhesive clips peel when a desk rises and falls every day; magnets just hold. A 3-pack of neodymium clips runs about $20 with no adhesive to fail, and they snap onto any steel frame. If your desk has no steel in it, weighted desktop blocks do the same job on the surface itself.
6. Keep one quick-grab spot for your daily charger
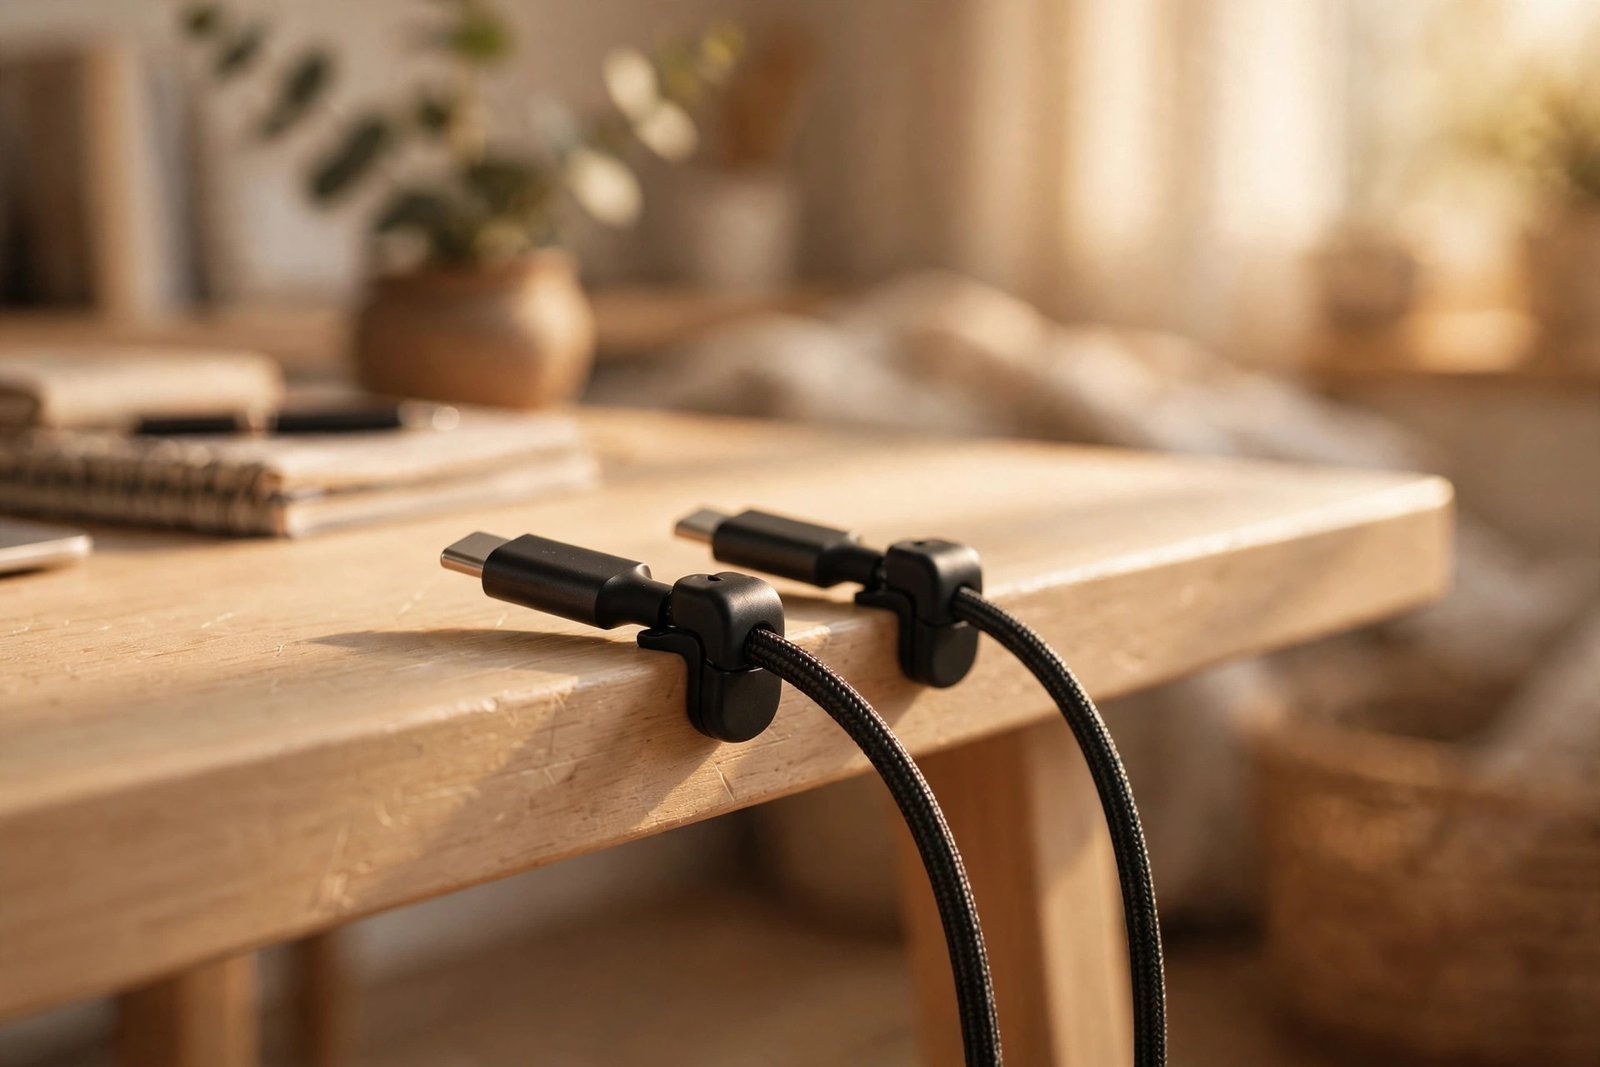
The cable you plug in every day should not live in the tray. Give it a dedicated holder on the desk edge: a reusable adhesive bar or a weighted block that sits on the surface on its own. One grab point, always in the same place, and the cable never slides behind the desk again.
7. When nothing sticks, use weight instead of glue
Glass desks and some laminates reject adhesive entirely. Weighted cable blocks just sit there, heavy enough that the cable stays put when you yank the charger free. No residue, no drilling, completely renter-safe.
Zone 3: The Wall and the Floor
After the power strip move, exactly one cable travels from desk to wall. Make that last run disappear. Two tricks.
8. Run a paint-matched raceway along the baseboard
A J-channel raceway hides the final cord run so completely that visitors will not believe there is a cable at all. The trick is matching it to your wall: white on white, or paint a beige one to blend in. Peel-and-stick versions exist for renters, and they remove cleanly.
9. Add a cable spine if the desk goes up and down
Standing desks have a special problem: the vertical run has to flex. A cable spine, a segmented chain that guides cords down the leg, keeps that run tidy through hundreds of height changes. Magnetic channel versions snap onto the steel leg and pair with the magnetic clips from Zone 2, around $44 for the pair.
Zone 4: The Bundle Itself
Individual cables are chaos; one thick bundle is a design choice. Two tricks.
10. Sleeve the main run into a single line
Once your cables head the same direction, feed them through a fabric cable sleeve or spiral wrap. Five visible wires become one clean tube. Sleeves are the fastest visual upgrade after the tray, and they protect cables from snagging on chair wheels and desk legs.
11. Choose Velcro straps, not zip ties
Zip ties are permanent, they cut into cable jackets, and adding one cable means cutting them all off. Reusable Velcro-style straps cost a few dollars for a big pack and reopen whenever your setup changes. Save zip ties for runs you will never touch again, like inside a raceway.
The $25 Starter Kit
You do not need the full system on day one. This kit covers the zones that matter most, and the tray plus the ties alone transform most desks.
| Item | Covers | Costs around |
|---|---|---|
| Clamp-on cable tray | Zone 1 | $12 |
| Velcro cable ties, large pack | Zones 1 and 4 | $5 |
| Adhesive cable clips | Zone 2 | $8 |
| Fabric cable sleeve (first upgrade) | Zone 4 | $9 |
5 Mistakes That Ruin a Clean Desk
- Buying cables that are too short. A cable that barely reaches pulls tight and looks messy. Size up by half a meter to a meter; the slack lives in the tray.
- Skipping surface prep. Adhesive clips fail on dusty or oily surfaces. Wipe with isopropyl alcohol first, and give the adhesive a day to cure before loading it.
- Routing before testing. Confirm everything works before you bundle it. Rerouting a finished setup is the most frustrating hour in home office life.
- Zip-tying everything. One permanent bundle means one big problem when you add a device. Keep the main runs reopenable.
- Ignoring the floor. A spotless desk with a cable nest on the floor behind it is a job half done. The raceway trick in Zone 3 finishes it.
Worth Upgrading?
The starter kit handles most desks. Two upgrades earn their price in specific cases: a full kit with raceway, clips, and ties in one box if you want the professional look in a single purchase, and the magnetic clip-and-channel system, around $44 to $50, if you have a steel-frame standing desk. The first buys appearance; the second buys survival through daily height changes.
Cable management is a twenty-minute job that pays you back every day you sit down. Start with the tray, label as you go, and stop when it looks clean from your chair. Your video calls will thank you.

- 11 Cable Management Tricks for a Clean Desk (2026) - October 10, 2026
- Best Gmail Alternatives in 2026: Proton Mail vs Tuta (Duel) - October 10, 2026
- The 7 Best Linux Distros for Raspberry Pi in 2026 (Matched to Your Pi) - October 10, 2026