
A notification sound is useful exactly once, when it tells you something arrived. After that it is just noise, especially when half a dozen apps all want your attention at the same time. Windows 11 gives you three levels of control over that noise: every sound off at once, one app silent while the rest keep chiming, or everything quiet for a set period. The trick is picking the smallest change that fixes the sound you actually hear, because the master switch and the per-app switch sit on the same page but do very different jobs.
What actually makes the sound
Every notification in Windows 11 has two parts that can be controlled separately: the banner you see and the sound you hear. Turning off banners does not silence anything, and turning off sounds does not hide the banners. That split is the reason many people change a setting and still hear the ding. The sound switch lives inside each app’s own notification page, not next to the banner switch. The banners still arrive in the notification center when the sound is off, which means you miss nothing, you just stop being interrupted by it.
Turn off every notification sound at once
This is the fastest fix when the problem is the noise itself rather than one noisy app. Open Settings, then System, then Notifications. At the top of the page you will find the master control for notification sounds. On newer builds of Windows 11 it is labelled Play notification sound. On older builds the same page shows Allow notifications to play sounds instead, and you may need to expand the Notifications row to see it. Either way, turn that switch off and every app goes silent at once. The notifications themselves keep arriving silently, and you can still read them in the notification center whenever you like.
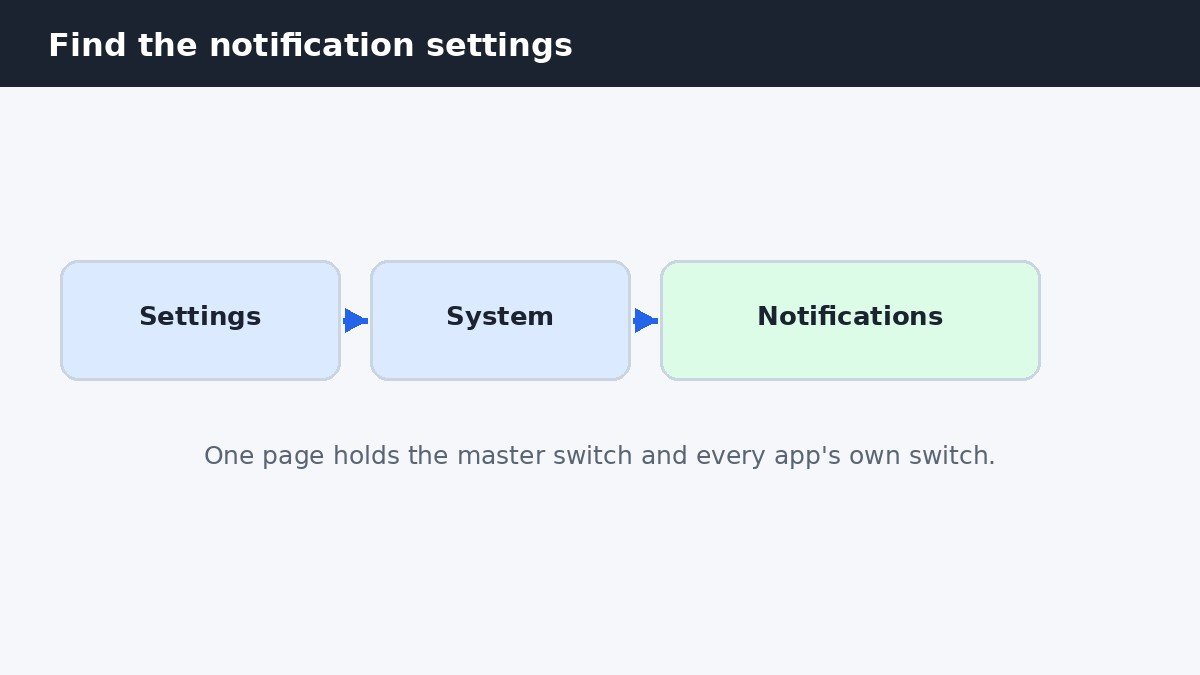
If the wording on your page does not match either label exactly, check for a Windows update before assuming the setting is missing. Microsoft has renamed this control more than once, and the page on a fully updated PC uses the newer wording. The switch takes effect immediately, with no restart and no sign-out needed.
Silence one app and leave the rest alone
When only one app is the problem, silencing everything is overkill. On the same Notifications page, scroll down to Notifications from apps and other senders. This is where most people get stuck: to open an app’s own settings you must click the app’s name, not its toggle. Clicking the toggle only turns that app’s notifications on or off. Clicking the name opens a page with that app’s banner, sound, and priority options, including Play a sound when a notification arrives. Turn that switch off and that app goes quiet while every other app keeps its sound.
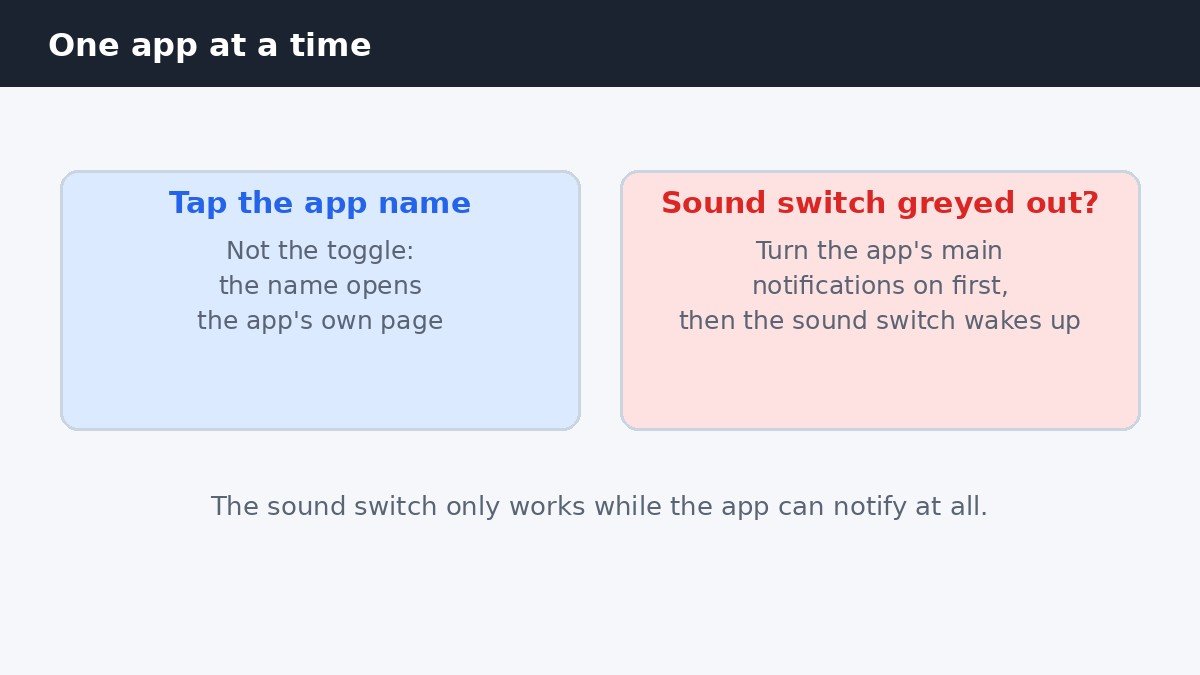
There is one trap on this page. The per-app sound switch is greyed out while that app’s notifications are switched off, which looks like a fault. It is not. Windows will not let you set a sound for notifications an app is not allowed to send, so turn the app’s main notifications switch on first, and the sound switch wakes up. Set the sound switch off, and the app stays silent. Repeat the same steps for any other app that needs quieting, and leave the rest untouched.
Which option fits your problem
The three options below cover nearly every noisy-PC situation, and choosing the right one saves you from turning things off that you will only have to turn back on later. A single chatty app needs the per-app switch. A PC that dings all day needs the master switch. A meeting or a focused hour needs Do Not Disturb, which is covered in the next section.
| Your problem | What to change | What stays the same |
|---|---|---|
| One app is too noisy | That app’s sound switch off | Every other app keeps its sound |
| Every app dings all day | Master sound switch off | Banners still arrive silently |
| Quiet needed for an hour | Do Not Disturb on | Everything returns when it ends |
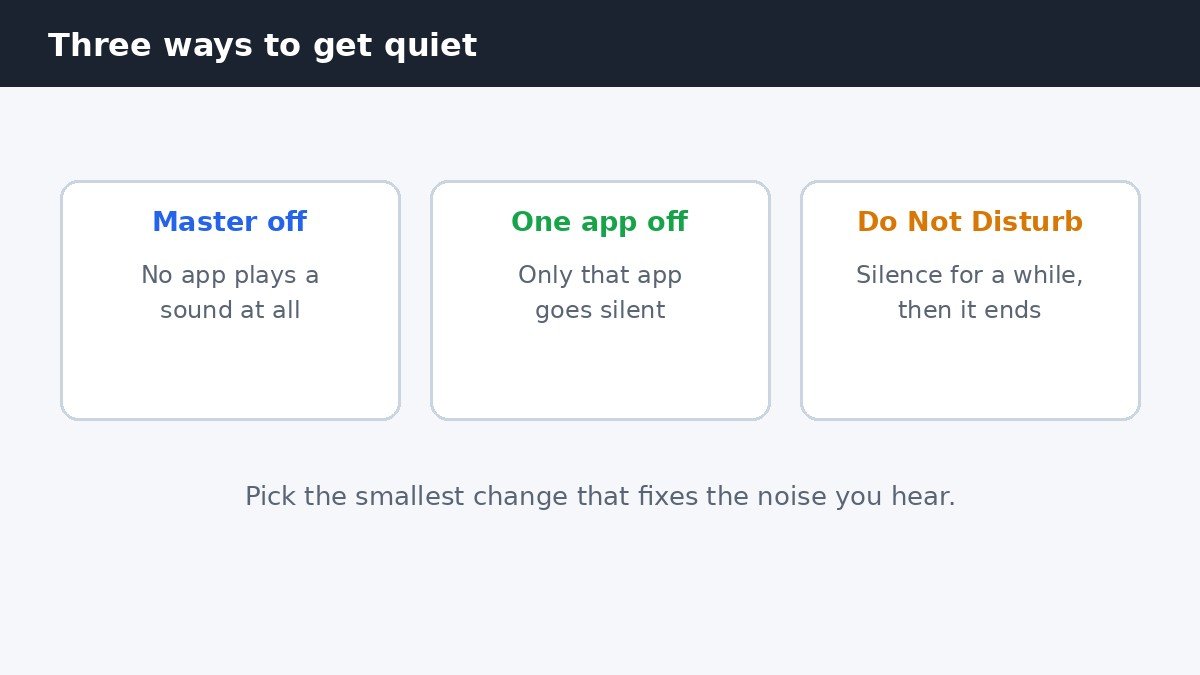
Work through the table from the top. If the first row does not match your situation, the second one probably does, and the third is for times when the noise is temporary rather than a permanent annoyance.
Use Do Not Disturb when the quiet is temporary
Do Not Disturb lives on the same Notifications page, and it is the right tool when you want silence for a meeting, a film, or a focused stretch of work rather than forever. Turn it on and Windows holds every notification silently until you switch it off again. You can also set it to switch on automatically, for example when you are duplicating your display, playing a game, or during hours you choose. Priority notifications can still break through while it is on, so check the priority list if an important call or reminder must still reach you. Microsoft documents the full set of notification and Do Not Disturb controls in its guide to notifications and Do Not Disturb in Windows. When the quiet period ends, turn Do Not Disturb off and everything returns to normal, with no other setting changed.
If you want a different sound instead
Turning sounds off is one job. Changing the sound itself is a different one, and the settings above cannot do it. To pick a different tone, open the classic Sound dialog, find the Notification event under Windows sounds, and choose another sound from the list. Only .wav files work here, so a downloaded MP3 has to be converted first. For advanced users who manage many PCs, there is also a registry route: the NOC_GLOBAL_SETTING_ALLOW_NOTIFICATION_SOUND DWORD value controls the same master sound setting. That route is for managed machines and scripts rather than everyday use, and a wrong edit in the registry can cause real problems, so the Settings page is the safer choice on a personal PC.
Notification sounds should work for you, not against you. Start with the per-app switch when one app is the culprit, use the master switch when the whole PC is too loud, and reach for Do Not Disturb when the quiet only needs to last an hour. The banners keep arriving either way, so nothing important slips past, it just stops announcing itself out loud.

- How to Turn Off Notification Sounds in Windows 11 - November 7, 2026
- How to Stop Your Laptop Screen from Dimming Automatically in Windows 11 - November 6, 2026
- How to Turn Off Quick Share on a Samsung Galaxy Phone - November 5, 2026