
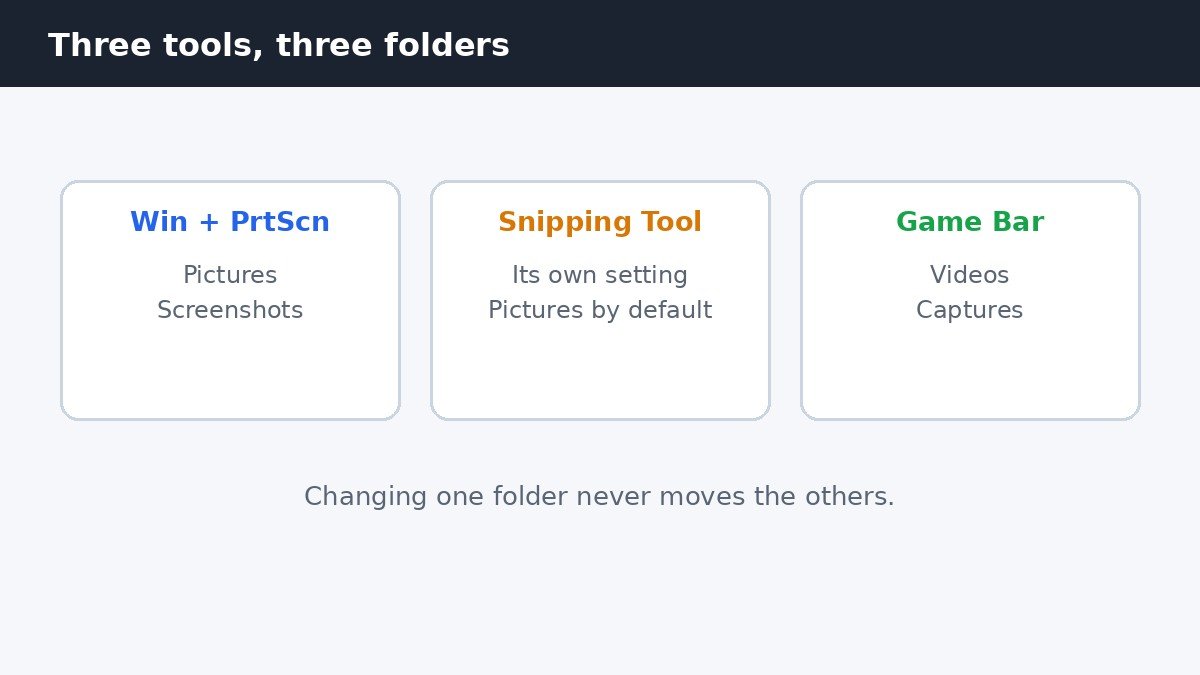
Windows 11 has no single screenshot save setting, because three different tools each save to their own folder. Win + PrtScn saves to Pictures, then Screenshots. Snipping Tool saves to a folder you choose inside its own settings. Xbox Game Bar saves clips and screenshots to Videos, then Captures. Changing one folder never moves the others, which is why the change so often seems not to work. Change that tool’s folder, then test it once with a fresh capture.
Which tool saves where
The first step is matching the shortcut to the folder, because the three tools look similar on screen but write to different places. A plain PrtScn press saves nothing at all: it only copies the screen to the clipboard, so there is no folder to change for that one.
| How you capture | Default folder | How to change it |
|---|---|---|
| Win + PrtScn | Pictures, then Screenshots | Folder Properties, Location tab, Move |
| Snipping Tool (Win + Shift + S) | Pictures, then Screenshots | Snipping Tool Settings, Change save folder |
| Xbox Game Bar (Win + Alt + PrtScn) | Videos, then Captures | Move the Captures or Videos folder |
| PrtScn alone | Clipboard only, no file | Nothing to change, paste it somewhere |
If you also use a Mac, the same job works differently there, because macOS keeps one default location for all screenshots: our guide to changing the screenshot save location on a Mac covers that side. On Windows, keep the three folders in mind and change only the one that matches the shortcut you actually press.
Move the Win + PrtScn Screenshots folder
- Take one screenshot with Win + PrtScn first, so the Screenshots folder definitely exists.
- Create the destination folder, for example D:\Screenshots, before you move anything.
- Open File Explorer, go to This PC, then Pictures, and right-click the Screenshots folder.
- Choose Properties, open the Location tab, and click Move.
- Pick the folder you created, click Select Folder, then Apply.
- When Windows asks whether to move your existing screenshots, click Yes.
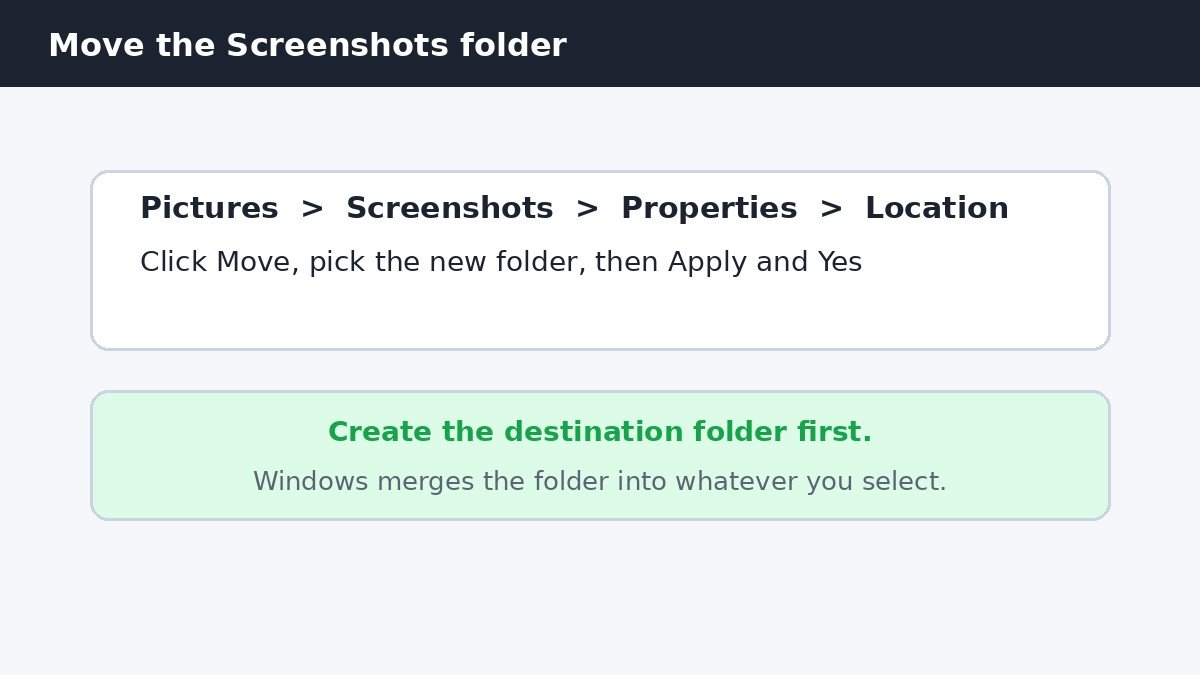
Create the destination folder first, because Windows merges the Screenshots folder into whatever folder you select. If you point it at a folder that already holds other files, your screenshots simply join them, which is harmless but messy. If the Location tab is missing, you are looking at a copy or a shortcut rather than the real Screenshots folder inside Pictures. Open the real one from This PC, then Pictures, and the tab will be there.
Change Snipping Tool’s own save folder
Snipping Tool has its own save setting, and it does not follow the Screenshots folder move above. Open Snipping Tool from the Start menu, click the three-dot See more menu at the top right, and choose Settings. Make sure Automatically save original screenshots is turned on: with it off, snips only go to the clipboard and no file is saved anywhere. Under it, the Screenshots are saved to row shows the current folder, with a Change button beside it. Click Change, pick a folder, and confirm with Select Folder. The next snip lands in the new folder, and Open folder on the same settings page takes you straight to it.
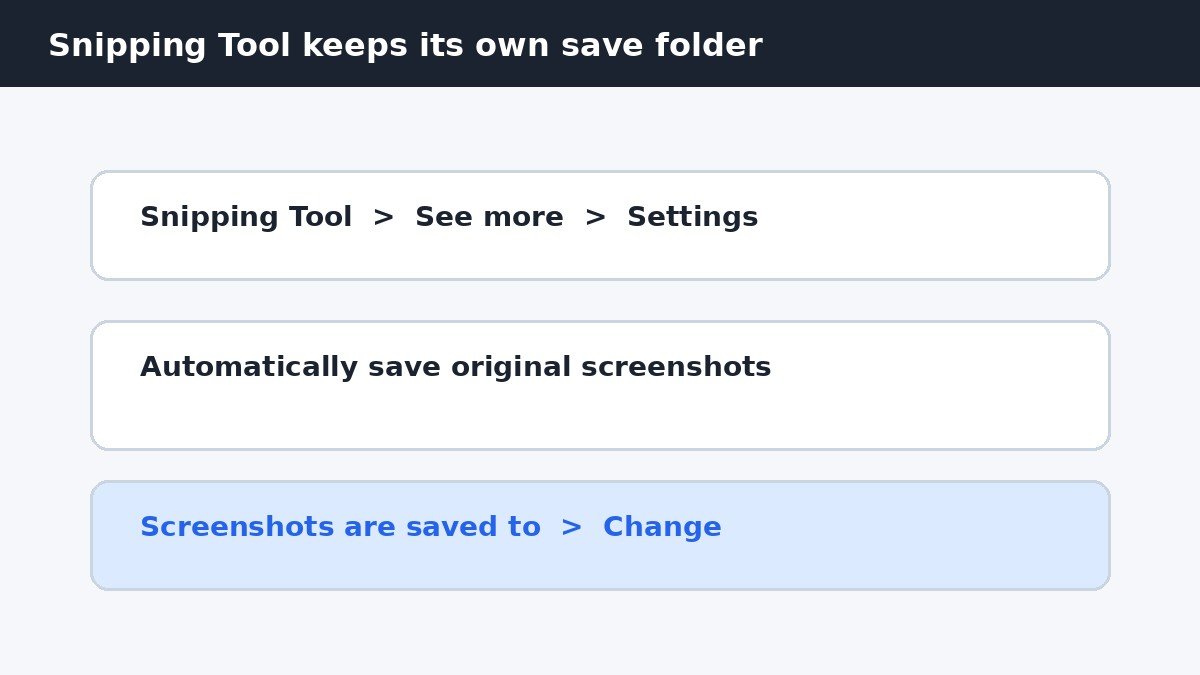
The label of the auto-save switch varies slightly between app versions: some builds call it Automatically save screenshots instead of Automatically save original screenshots, but it is the same switch. Moving the Screenshots folder does not change this setting, and changing this setting does not move Win + PrtScn captures, so check both if you use both shortcuts. Microsoft documents the tool on its use Snipping Tool to capture screenshots support page.
Move the Xbox Game Bar Captures folder
Game Bar clips and screenshots save to Videos, then Captures, and the way to move them is the same Location tab trick. First, check the current path in Settings, then Gaming, then Captures, where the Capture location row shows the folder and an Open folder button sits beside it. Then open File Explorer, go to This PC, then Videos, right-click the Captures folder, choose Properties, open the Location tab, click Move, pick the new folder, and click Apply, then Yes to move your existing clips. Open Settings, then Gaming, then Captures again afterwards, and the Capture location row should show the new path. Moving the whole Videos folder works too, but it moves every video on the PC, not just the clips, so moving only Captures is the tidier choice.
If screenshots land in OneDrive instead
The most common surprise is finding new screenshots under OneDrive, then Pictures, then Screenshots, instead of the local Pictures folder. That happens when OneDrive is backing up your Pictures folder, so the Pictures folder you see actually lives inside OneDrive. Check both paths before changing anything. If the files sit in the OneDrive copy, either set Snipping Tool’s save folder to the one you want, or stop OneDrive from backing up Pictures. Open the OneDrive icon in the taskbar, click the gear, choose Settings, go to Sync and backup, then Manage backup, and turn off Pictures. Either route works, but do not do both at once, or you will lose track of which folder is live.
Put it back: restore the default folder
To undo any move, open the same Properties window, go to the Location tab, and click Restore Default, then Apply and Yes. Windows fills in the original path, so there is nothing to type. Test every change the same way: take one screenshot with the shortcut you changed and confirm the file is in the new folder. If it lands in the old folder, you changed a different tool’s setting: check the table at the top and match the shortcut to the right folder.
Screenshots pile up fast, and a folder on a small drive fills up faster than anyone expects. Pointing each tool at a folder you actually check keeps captures findable and the main drive clear. Change one tool, test it once, and move on: the whole job takes five minutes.

- How to Change Screenshot Save Folder in Windows 11 - November 5, 2026
- How to Stop Samsung Galaxy Apps Running in the Background - November 4, 2026
- How to Turn Off Bixby Voice Wake-Up on Samsung Galaxy - November 3, 2026