
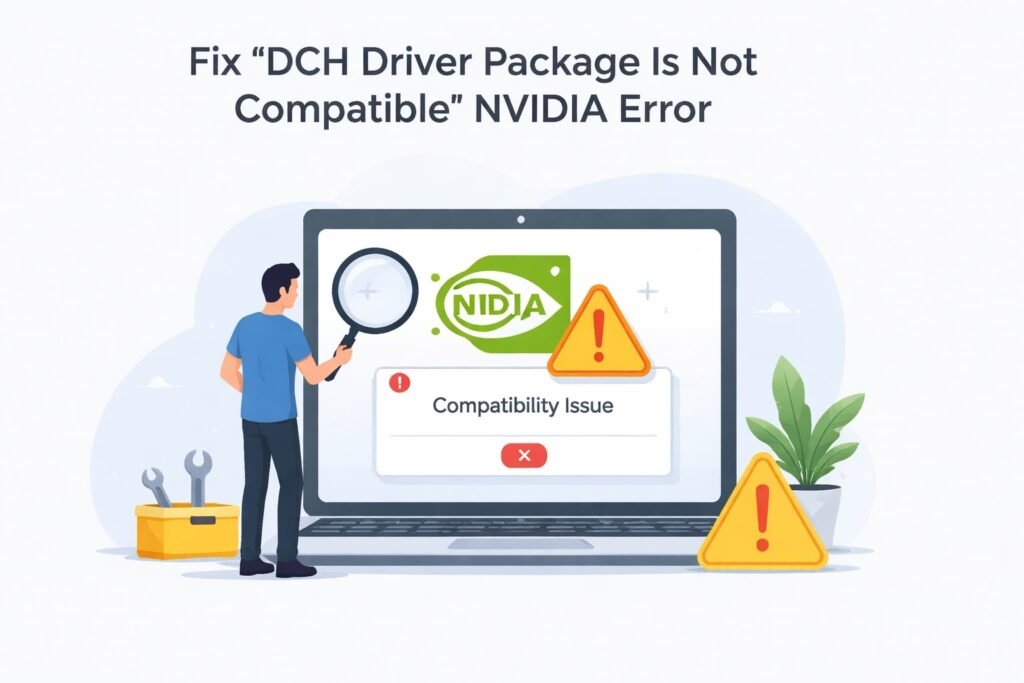
The “DCH Driver Package Is Not Compatible” NVIDIA error appears when you try to install a graphics driver on your Windows computer, but the installer refuses to proceed. DCH stands for “Driver Component Hub.” This is NVIDIA’s newer driver architecture.
Here’s what’s really happening: You’re trying to install a DCH driver on a system that either doesn’t support it, or you already have an older driver format installed that conflicts with it. Windows gets confused about which driver format to use.
This error is frustrating because NVIDIA now offers two driver types:
- Standard drivers (older format)
- DCH drivers (newer format)
Your computer needs the right type, and mixing them causes this compatibility issue.
The Main Reason This Error Occurs
The primary cause is a mismatch between your Windows version and the driver type you’re installing.
DCH drivers require:
- Windows 10 version 1909 or newer (or any Windows 11)
- A system that originally came with DCH drivers
- Clean driver installation without old driver remnants
If your system has any older driver files still present, Windows can’t cleanly install the new DCH driver. It’s like trying to install two different apps that want to control the same thing.
Step-by-Step Fix for NVIDIA DCH Driver Compatibility Error
Step 1: Check Your Windows Version First
Before attempting any fix, verify which Windows version you have.
Press Windows Key + R, type winver, then press Enter. A window shows your Windows version and build number.
If you’re on Windows 10, note the version number. If it’s older than version 1909, you need to update Windows first. This is non-negotiable for DCH drivers.
To update Windows:
- Go to Settings
- Click Update & Security
- Select Check for Updates
- Install all available updates
- Restart your computer when prompted
Step 2: Remove Old NVIDIA Drivers Completely
This is the critical step most people skip. Partial driver removal causes this error to persist.
Use the official uninstall method:
- Go to Control Panel
- Select Programs and Features
- Find NVIDIA Graphics Driver in the list
- Click Uninstall
- Follow the on-screen prompts
- Choose “Express” or “Clean Install” when asked
- Restart your computer
After restart, go to Device Manager to verify. Press Windows Key + R, type devmgmt.msc, then Enter. Expand “Display adapters.” If you see NVIDIA listed with a yellow exclamation mark, the driver is truly removed. If there’s no entry at all, perfect.
For stubborn driver removal, use Display Driver Uninstaller (DDU). This tool removes every trace of NVIDIA drivers.
Download DDU from GURU3D, which is trusted and widely used.
Here’s how to use DDU:
- Download and extract DDU
- Restart Windows in Safe Mode (restart, hold Shift, select Troubleshoot, then Advanced Options, then Startup Settings)
- Run DDU in Safe Mode
- Select NVIDIA as the vendor
- Choose “Clean and restart”
DDU removes everything related to NVIDIA drivers, leaving your system clean for a fresh installation.
Step 3: Download the Correct Driver Version
Visit the official NVIDIA driver download page at nvidia.com/Download/driverDetails.aspx.
Select your graphics card model carefully. If you’re unsure which GPU you have:
- Right-click the desktop
- Check NVIDIA Control Panel (if installed)
- Or go to Device Manager, expand Display adapters, and note your GPU name
When downloading, you’ll see two options:
- Standard Driver
- DCH Driver
Choose DCH Driver. Verify you’re downloading for your specific Windows version (Windows 10 or Windows 11).
Write down the driver version number. Example: Driver 551.52 DCH.
Step 4: Install the DCH Driver Correctly
Before installation, disable these services temporarily:
- Press Windows Key + R
- Type
services.mscand press Enter - Find “NVIDIA Display Driver Service”
- Right-click it
- Select Properties
- Change Startup Type to “Disabled”
- Click Apply, then OK
- Restart your computer
Now install the driver:
- Run the driver installer you downloaded
- Accept the license agreement
- Select “Custom (Advanced)” installation
- Uncheck “Audio” and “PhysX” if you only need display drivers
- Proceed with installation
- Choose “Clean Install” when prompted
- Follow remaining prompts
- Restart when installation completes
Re-enable the NVIDIA service after installation:
- Open Services again (Windows Key + R, type services.msc)
- Find NVIDIA Display Driver Service
- Right-click and select Properties
- Change Startup Type back to “Automatic”
- Click OK
Step 5: Verify Installation Success
After restart, check Device Manager again. Your graphics card should appear without yellow exclamation marks. The name should be your GPU model (like GeForce GTX 1660 or RTX 3080).
Right-click the GPU name and select Properties. If it says “This device is working properly,” installation succeeded.
When Standard Drivers Might Be Your Solution
Some older systems cannot use DCH drivers. If you’ve completed all steps above and still get the error, try the Standard driver instead.
Download the Standard version from NVIDIA’s download page. Repeat the uninstall process, then install the Standard driver.
This typically happens on:
- Older Windows 10 builds (before version 1909)
- Systems with custom OEM driver packages
- Laptops with manufacturer-specific driver requirements
Check with your laptop manufacturer’s support page. They sometimes provide their own driver versions.
Common Mistakes That Prevent This Fix from Working
Mistake 1: Not fully removing old drivers
Leaving driver files behind causes the compatibility error to return. Always use DDU for complete removal.
Mistake 2: Installing while other services are running
Background processes interfere with installation. Disable NVIDIA services and close all graphics-intensive applications.
Mistake 3: Wrong Windows version
DCH drivers absolutely require Windows 10 version 1909 or newer. There’s no workaround. Update Windows first.
Mistake 4: Downloading driver from third-party sites
Always download directly from NVIDIA. Third-party sites sometimes offer modified versions that cause conflicts.
Mistake 5: Not restarting between steps
Windows needs restarts to properly disconnect old drivers. Skipping restarts leaves remnants that interfere.
Troubleshooting When the Fix Doesn’t Work
If you’ve completed all steps and still see the error, try these additional solutions:
Check Windows Update Service
Sometimes Windows Update interferes with driver installation. Pause Windows Updates temporarily:
- Go to Settings
- Select Update & Security
- Click Advanced Options
- Toggle “Pause Updates” on for up to 35 days
- Try driver installation again
Disable Antivirus Temporarily
Security software occasionally blocks driver installation. Temporarily disable your antivirus (not recommended long-term) and retry installation.
Use Windows Safe Mode
Safe Mode loads minimal drivers, reducing conflicts. Here’s how:
- Restart your computer
- Hold Shift while clicking restart
- Select Troubleshoot
- Choose Advanced Options
- Select Startup Settings
- Press 4 to enter Safe Mode
- Attempt driver installation
- Restart normally
Check BIOS Settings
Rarely, BIOS settings prevent proper GPU recognition. Restart your computer and enter BIOS (usually by pressing Delete, F2, or F12 during startup). Look for integrated graphics settings and ensure your discrete GPU is prioritized.
Comparison: Standard vs DCH Drivers
| Feature | Standard Driver | DCH Driver |
|---|---|---|
| Windows Requirement | Windows 7 and newer | Windows 10 v1909+ |
| Installation Size | Smaller | Larger |
| Modern Updates | Limited | Full support |
| Update Method | Individual files | Component-based |
| Compatibility | Wider range | Newer systems |
| Support Duration | Ending | Long-term |
NVIDIA is transitioning to DCH drivers. New systems come with DCH preinstalled. Standard drivers are for backward compatibility with older systems.
Prevention: How to Avoid This Error in Future
After successfully installing DCH drivers:
- Enable automatic Windows Updates. NVIDIA drivers auto-update through Windows.
- Keep Windows fully updated. Microsoft patches compatibility issues regularly.
- Avoid manual driver updates unless necessary. Windows Update handles most updates cleanly.
- Document your driver version. Keep records of what you installed.
- Create a system restore point before major driver updates. If something breaks, you can revert.
To create a restore point:
- Type “Create a restore point” in Windows Search
- Click System Protection tab
- Click Create button
- Enter a name and click Create
- Wait for completion
Understanding DCH Driver Architecture
DCH drivers work differently than standard drivers. Instead of one monolithic package, they’re component-based. Windows Update can update individual components without reinstalling everything.
This offers advantages:
- Faster updates
- Smaller download sizes
- More stable installations
- Better Windows integration
The trade-off is stricter system requirements. DCH drivers demand specific Windows versions and clean driver installation history.
Think of standard drivers as single large boxes. DCH drivers are building blocks that fit together. Windows must be set up correctly to accept these blocks.
Alternative: Clean Windows Installation
If nothing else works, a clean Windows installation guarantees resolution. This is the nuclear option, but it works 100% of the time.
Before doing this, back up all personal files to external storage.
- Create Windows installation media on a USB drive using Windows Media Creation Tool
- Insert USB and restart your computer
- Boot from USB (usually by pressing F12 or Del during startup)
- Follow Windows installation prompts
- Select your drive and choose “Custom Installation”
- Format the drive and perform clean install
- After Windows setup completes, immediately download and install latest DCH drivers
This removes every trace of old drivers and system conflicts. It’s time-consuming but guaranteed to resolve DCH compatibility errors.
Key Takeaways
The DCH driver compatibility error stems from driver conflicts or Windows version mismatches. The solution involves three core actions:
- Update Windows to version 1909 or newer
- Completely remove all old NVIDIA drivers using DDU
- Install the latest DCH driver from NVIDIA’s official page
Most people who follow these exact steps resolve the error within 30 minutes. The remaining percentage usually have older systems that require Standard drivers instead.
Always verify successful installation through Device Manager. Your GPU should appear without warning symbols and report proper functionality.
Conclusion
The “DCH Driver Package Is Not Compatible” error is frustrating, but it’s completely fixable. The issue isn’t defective hardware or unfixable software. It’s simply a driver conflict or Windows version mismatch.
Your path forward is clear:
- Check your Windows version matches DCH requirements
- Completely remove old drivers with DDU
- Download the correct DCH driver version
- Perform clean installation
- Verify through Device Manager
If you follow these steps precisely, you’ll resolve the error. If your system genuinely can’t use DCH drivers, you’ll discover this through the process and can switch to Standard drivers.
Keep your Windows updated going forward. DCH drivers are NVIDIA’s future, and Windows Update integration makes them easier to maintain.
FAQ
Can I use both Standard and DCH drivers at the same time?
No. Windows can only use one driver type at a time. Attempting to mix them causes the compatibility error. Complete removal of one type is necessary before installing the other.
Why does NVIDIA force DCH drivers on newer systems?
NVIDIA designed DCH to integrate better with Windows Update and modern Windows architecture. It reduces manual intervention and keeps systems current automatically. Newer systems ship with DCH to establish this standard.
Is it safe to use Display Driver Uninstaller (DDU)?
Yes. DDU is widely trusted in the PC community and recommended even by system builders and technicians. It removes drivers more thoroughly than Windows built-in uninstall. Always restart in Safe Mode when using DDU.
Can outdated BIOS cause the DCH driver compatibility error?
Rarely, but possibly. Outdated BIOS can cause GPU recognition issues, which may prevent driver installation. Update your BIOS if you’re on hardware older than five years. Check your motherboard manufacturer’s website for BIOS updates.
Will reverting to Windows 10 from Windows 11 cause driver issues?
Yes. Reverting operating systems often causes driver conflicts. If you must downgrade, use DDU to remove all drivers before reverting. After Windows downgrade completes, reinstall appropriate drivers for that Windows version.
