
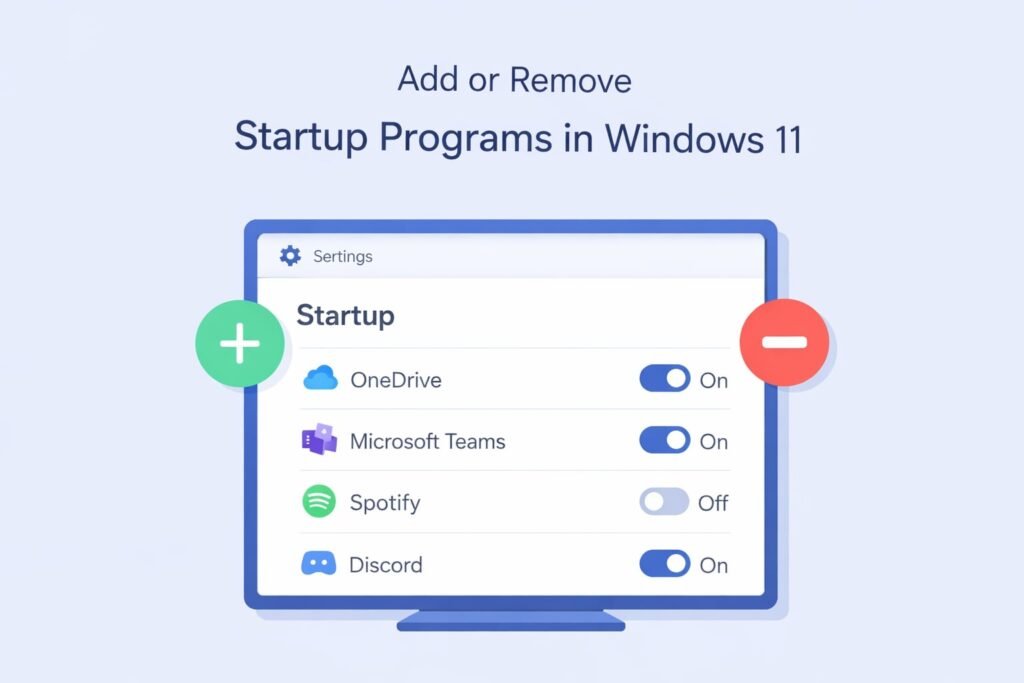
You can add or remove startup programs in Windows 11 through three main methods: the Startup Apps settings panel, Task Manager, and the Startup folder. The easiest way is opening Settings > Apps > Startup and toggling programs on or off. This takes about 30 seconds and requires no technical knowledge.
Why Startup Programs Matter
When you turn on your Windows 11 computer, some programs launch automatically. These are startup programs. They run in the background without you asking them to. This slows down your boot time and uses system resources.
Too many startup programs mean:
- Your computer takes longer to start
- Your RAM gets consumed faster
- Your hard drive works harder than needed
- Your overall performance suffers
Managing startup programs is one of the simplest ways to speed up Windows 11.
Method 1: Using Settings (Easiest Way)
This is the quickest method for most users.
Step-by-Step Instructions
Step 1: Open Settings
Click the Start menu. Type “Settings” and press Enter. Or press Windows key + I on your keyboard.
Step 2: Navigate to Apps
In the Settings window, click “Apps” on the left sidebar.
Step 3: Find Startup
Click “Startup” under the Apps section. You’ll see a list of programs that load when Windows starts.
Step 4: Toggle Programs Off or On
Each program has a toggle switch next to it. Click the toggle to turn it off. The switch turns gray, meaning the program won’t start automatically anymore.
Click it again to turn it back on if needed.
Step 5: Verify Changes
Restart your computer to see the difference. Programs you disabled won’t appear in your system tray or background.
What You’ll See in the Startup Tab
The Startup panel shows:
- Program name
- Publisher (who made it)
- Status (On or Off)
- Last BootTime impact (shown as High, Medium, or Low)
The “BootTime impact” column is important. Programs marked “High” slow down your startup the most. Start by disabling those.
Method 2: Using Task Manager
Task Manager gives you more control and information about startup programs.
How to Open Task Manager
Right-click your taskbar at the bottom of the screen. Click “Task Manager.” Or press Ctrl + Shift + Esc.
Finding the Startup Tab
Click the “Startup” tab at the top. You’ll see all programs set to launch when Windows starts.
Disabling Programs in Task Manager
Right-click any program in the Startup tab. Click “Disable.” The program is now turned off. Its status changes to “Disabled.”
Re-enabling Programs
Right-click a disabled program. Click “Enable” to turn it back on.
Advantages of Task Manager Method
Task Manager shows more details:
- Startup type (Automatic, Manual, Disabled)
- Current status (Running, Not running)
- Command line information
- Registry location
This method is better for advanced users who want detailed control.
Method 3: Managing Startup Folder Manually
Some older programs still use the Startup folder method. You can manage these directly.
Accessing the Startup Folder
Press Windows key + R. Type this exactly:
shell:startupPress Enter. A folder opens showing programs that launch at startup.
Adding Programs to Startup
Find a program you want to start automatically. Right-click it. Select “Create shortcut.” Move the shortcut to the Startup folder you just opened.
Removing Programs from Startup
Go to the Startup folder (using the command above). Right-click any program shortcut. Click “Delete.” It won’t start automatically anymore.
Finding the All Users Startup Folder
Some programs use a shared Startup folder. Press Windows key + R again. Type:
shell:common startupThis shows programs that start for all user accounts on the computer.
Important Programs to Keep in Startup
Before disabling everything, know which programs should stay.
| Program | Why Keep It | Impact |
|---|---|---|
| Antivirus software | Protects your computer from malware | High importance |
| Windows Defender | Built-in Windows protection | High importance |
| Graphics driver updates | Keeps your display working smoothly | Medium importance |
| Audio drivers | Ensures sound works properly | Medium importance |
| Keyboard/mouse drivers | Makes peripherals responsive | Medium importance |
Do not disable Windows security software. Your computer becomes vulnerable to viruses and malware.
Programs Safe to Disable from Startup
Most third-party software is safe to disable from startup. You can launch these programs manually when needed.
Commonly Safe to Disable
- Browser extensions and toolbars
- Cloud storage services (Google Drive, OneDrive syncing)
- Media players
- Photo editing software
- Office applications
- Messaging apps
- Torrent clients
- Game launchers
- Streaming services
If you use a cloud service constantly, you might want it in startup. But if you only use it occasionally, disable it.
Step-by-Step: Optimizing Your Startup Programs
Here’s a practical approach to managing startup programs safely.
Step 1: Check Startup Impact
Open Settings > Apps > Startup. Look at the “BootTime impact” column. Programs marked “High” should be your focus.
Step 2: Research Each High-Impact Program
Research what each program does before disabling it. Search the program name online. Ask yourself: “Do I need this running all the time?”
Step 3: Start Small
Don’t disable everything at once. Disable a few programs. Restart your computer. See if everything still works normally.
Step 4: Test Thoroughly
Use your computer normally for a few days. Make sure nothing breaks. If something doesn’t work, re-enable that program.
Step 5: Continue Optimizing
Once you’re confident, disable more programs. Gradually optimize over time.
Common Problems and Solutions
Problem: A Program Won’t Disable
Some system programs can’t be disabled through Settings. This is normal. Windows protects certain programs. You don’t need to disable them. They run efficiently.
Problem: You Need a Program to Start Again
Simply re-enable it through Settings or Task Manager. Toggle it on. It will start automatically at next boot.
Problem: Your Computer Still Runs Slow
Startup programs aren’t the only cause of slowness. Check these too:
- Run a malware scan (Windows Defender)
- Delete temporary files (Settings > System > Storage)
- Update Windows and drivers
- Close heavy programs running in the background
- Check your hard drive health
Problem: You Don’t Recognize a Program Name
Use Windows search or open Settings > Apps > Installed apps. Search for the program name. This tells you what it is and who made it. You can often uninstall programs from here too.
Advanced: Checking Startup Services
Some programs run as “services” rather than regular startup apps. These are harder to see.
Accessing Services
Press Windows key + R. Type:
services.mscPress Enter. You see all Windows services. This includes both system services and software services.
Identifying Services
Services have technical names. They’re not always obvious. Only change services if you know what they do. Wrong changes can break Windows.
Most users should stick to the three methods above. Services are for advanced users only.
Windows 11 Startup Settings You Should Know
Fast Startup
Windows 11 has a feature called “Fast Startup.” This makes your computer boot faster. Keep it enabled.
To check: Settings > System > Power > Power and sleep > Additional power settings > Choose what the power button does > Change settings that are currently unavailable > Check “Turn on fast startup”
Sleep Mode
Sleep uses less power than running. More power than being fully off. If you don’t use your computer for a while, use Sleep mode. This keeps startup programs from running until you wake it.
Automatic Updates
Windows updates can run at startup. This is necessary for security. Don’t disable Windows Update startup tasks.
Real-World Example: Cleaning Up Startup
Let’s say you’re experiencing a slow startup. Here’s exactly what to do.
Your Situation
Your Windows 11 computer takes 3 minutes to fully start. You want it faster.
Your Action Plan
Week 1: Open Settings > Apps > Startup. You see 12 programs with “High” impact. Research each one. You identify:
- Razer gaming software (High impact, you rarely use)
- Adobe Creative Cloud (High impact, you use once a month)
- Dropbox (High impact, you check manually)
- Norton Antivirus (High impact, keep this)
- Microsoft OneDrive (High impact, you use daily)
Week 1 Action: Disable Razer, Adobe, and Dropbox. Keep Norton and OneDrive.
Week 2: Restart your computer. Boot time is now 90 seconds. That’s faster. Everything works normally.
Week 3: Review remaining startup programs. Disable a few more you don’t need running constantly.
Week 4: Your startup time is now 45 seconds. Much better.
Monitoring Startup Performance
After making changes, monitor how your computer performs.
Using Task Manager to Check Performance
Open Task Manager. Click the “Performance” tab. Select “Startup impact.” This shows how much each disabled program would have slowed your boot.
Measuring Boot Time
Note how long your computer takes to start before and after changes. Restart several times. Some variation is normal.
Most users see 30-60 second improvements by disabling 5-10 unnecessary startup programs.
When to Reset Everything
If you’ve disabled too many programs and things aren’t working, you can reset.
Using System Restore
Windows 11 has a backup feature. Press Windows key + R. Type:
rstrui.exePress Enter. Select “System Restore.” Choose a date before you made changes. This restores all startup settings to that point.
Manually Re-enabling Programs
Or simply re-enable programs through Settings or Task Manager. You can do this one at a time.
Best Practices for Long-Term Management
Create a Schedule
Check your startup programs every 3-6 months. New software sometimes adds itself to startup.
Keep Notes
When you disable a program, remember why. If you come back in 6 months, you’ll remember if you actually need it.
Update Drivers and Software
Keep your hardware drivers updated. Updated software runs more efficiently. Both reduce startup time.
Clean Your Hard Drive
Old files accumulate. Delete files you don’t need. Uninstall software you never use. Windows runs better on a less cluttered hard drive.
Summary: Your Action Plan
- Open Settings > Apps > Startup (takes 30 seconds)
- Sort by BootTime impact (look for “High”)
- Research programs you don’t recognize
- Disable 5-10 unnecessary programs
- Restart your computer
- Test for a few days
- Repeat if needed
That’s it. You’ve now optimized your Windows 11 startup.
FAQ
Will disabling startup programs damage Windows?
No. You’re simply turning off autostart. The programs are still installed. You can launch them manually anytime. Windows itself remains unchanged and safe.
Why does Windows 11 keep adding programs to startup?
When you install new software, it often asks permission to start automatically. During installation, these boxes are checked by default. After installing anything, check Settings > Apps > Startup and disable what you don’t need.
Is OneDrive safe to disable from startup?
Yes. OneDrive is safe to disable. It will start when you need to access cloud files. However, if you use OneDrive constantly, keeping it in startup means your files sync continuously in the background.
Can I disable Windows Defender from startup?
You can, but don’t. Windows Defender is your built-in antivirus. It’s essential for security. Disabling it leaves your computer unprotected.
How often should I clean up startup programs?
Check every 3-6 months. New software gets installed regularly. Some programs add themselves to startup without asking. Regular maintenance keeps your startup fast over time.
Conclusion
Managing startup programs in Windows 11 is straightforward and effective. The Settings app makes it simple for anyone. You don’t need technical expertise.
Start with the Settings > Apps > Startup method. Disable programs with high boot impact that you don’t need running constantly. Restart and test. Most users see noticeable improvements within days.
Startup optimization alone rarely solves major slowness, but it’s a quick win. Combined with other maintenance tasks like deleting temp files and updating drivers, you’ll have a much faster, more responsive Windows 11 computer.
Your computer is a tool. Taking 10 minutes every few months to maintain startup settings keeps it running efficiently. That’s time well spent.

- How to Clear Cache on Windows 11: Quick Guide in 2026 - February 23, 2026
- Top 10 Trending AI Apps in 2026 You Should Actually Be Using - February 22, 2026
- Top 10 AI Based Resume Makers in 2026 That Actually Get You Hired - February 22, 2026