
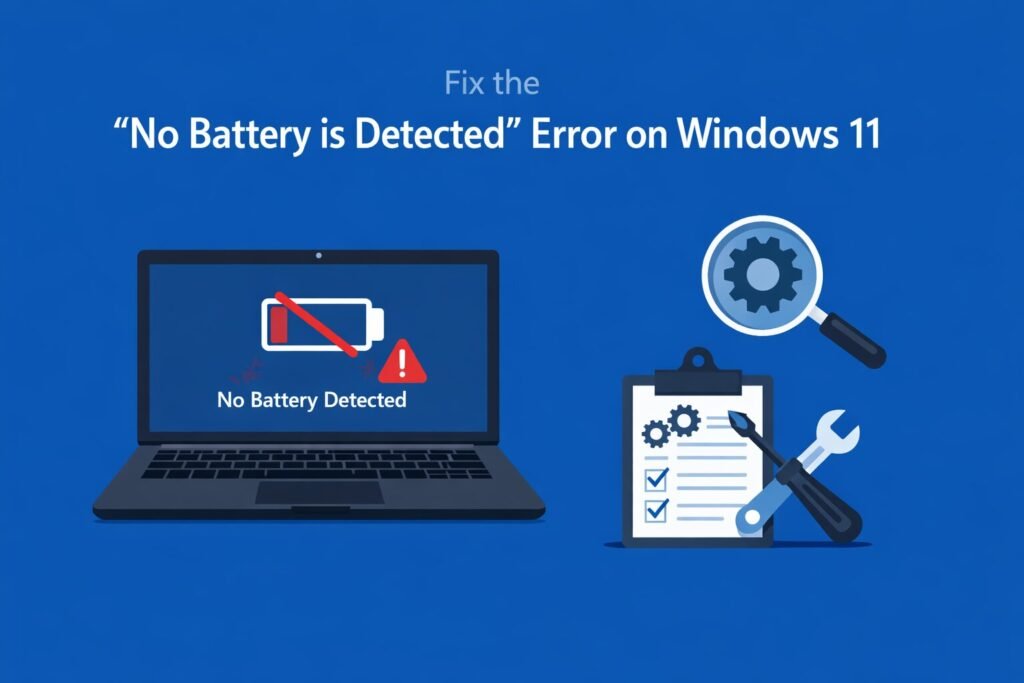
You’re working on your laptop, and suddenly Windows 11 claims your battery doesn’t exist. The battery icon shows a red X, or Windows tells you “no battery is detected” even though your laptop clearly has one. This error is frustrating, but it’s usually fixable without replacing hardware.
The short answer: This error typically stems from outdated battery drivers, corrupted power management settings, or loose physical connections. Most people can resolve it by updating or reinstalling the battery driver through Device Manager, running Windows troubleshooters, or performing a power reset.
Let me walk you through exactly how to fix this problem, starting with the simplest solutions and moving to more advanced fixes.
Understanding Why Windows 11 Loses Track of Your Battery
Before jumping into fixes, it helps to know what causes this error. Windows 11 communicates with your battery through drivers and firmware. When something disrupts this communication, the operating system can’t detect the battery even though it’s physically present.
Common triggers include:
- Driver corruption after Windows updates
- BIOS or UEFI firmware glitches
- Temporary power management conflicts
- Physical connection issues (less common but possible)
- Failing battery controllers on the motherboard
The good news is that hardware failure is rarely the culprit. Most cases involve software issues you can fix yourself.
Method 1: Restart Your Laptop Properly
Start with the simplest fix. A full restart clears temporary glitches in Windows’ power management system.
Here’s the right way to do it:
- Click the Start button
- Select the Power icon
- Choose “Restart” (not “Shut down”)
- Wait for your laptop to fully reboot
If the battery icon returns to normal, you’re done. If not, move to the next method.
Method 2: Perform a Power Reset
This technique drains residual power from your laptop’s hardware, forcing everything to reinitialize. It works surprisingly often.
For laptops with removable batteries:
- Shut down your laptop completely
- Unplug the power adapter
- Remove the battery
- Press and hold the power button for 30 seconds
- Reinsert the battery
- Plug in the power adapter
- Turn on your laptop
For laptops with non-removable batteries:
- Shut down your laptop
- Unplug the power adapter
- Press and hold the power button for 60 seconds
- Plug the power adapter back in
- Turn on your laptop
This reset clears the embedded controller cache, which often resolves detection issues.
Method 3: Update or Reinstall Battery Drivers
Corrupted battery drivers are the most common cause of this error. Windows 11 sometimes messes up these drivers during system updates.
Update the battery driver:
- Right-click the Start button and select “Device Manager”
- Expand the “Batteries” category
- Right-click “Microsoft ACPI-Compliant Control Method Battery”
- Select “Update driver”
- Choose “Search automatically for drivers”
- Let Windows find and install the latest driver
- Restart your laptop
Reinstall the battery driver (more effective):
- Open Device Manager again
- Expand “Batteries”
- Right-click “Microsoft ACPI-Compliant Control Method Battery”
- Select “Uninstall device”
- Check “Delete the driver software for this device” if the option appears
- Click “Uninstall”
- Restart your laptop (Windows will automatically reinstall the driver)
After the restart, check if Windows detects your battery. This method fixes the problem about 60% of the time.
Method 4: Run Windows Troubleshooters
Windows 11 includes built-in diagnostic tools that can identify and fix power-related issues automatically.
Run the Power troubleshooter:
- Press Windows + I to open Settings
- Click “System” in the left sidebar
- Select “Troubleshoot”
- Click “Other troubleshooters”
- Find “Power” and click “Run”
- Follow the on-screen instructions
- Apply any recommended fixes
Run the Hardware and Devices troubleshooter:
This troubleshooter isn’t visible in Settings on Windows 11, but you can still run it through Command Prompt:
- Press Windows + X and select “Terminal (Admin)”
- Type this command:
msdt.exe -id DeviceDiagnostic - Press Enter
- Click “Next” in the troubleshooter window
- Let it scan and apply fixes
- Restart your laptop
Method 5: Update Your BIOS or UEFI Firmware
Outdated firmware can cause Windows to lose communication with battery hardware. BIOS updates often include fixes for power management bugs.
Check your current BIOS version:
- Press Windows + R
- Type
msinfo32and press Enter - Look for “BIOS Version/Date” in the System Summary
Update your BIOS:
Visit your laptop manufacturer’s support website and search for your exact model. Download the latest BIOS update and follow their installation instructions carefully. Common manufacturers:
- Dell: Dell Support
- HP: HP Customer Support
- Lenovo: Lenovo Support
- ASUS: ASUS Support
- Acer: Acer Support
Warning: Never interrupt a BIOS update. Make sure your laptop is plugged in and has sufficient charge before starting.
Method 6: Reset Windows Power Plans
Corrupted power settings can interfere with battery detection. Resetting them to default often helps.
Reset power plan settings:
- Press Windows + X and select “Terminal (Admin)”
- Type this command:
powercfg -restoredefaultschemes - Press Enter
- Restart your laptop
This command deletes custom power plans and restores Windows default power schemes.
Method 7: Check for Windows Updates
Microsoft regularly releases patches that fix hardware compatibility issues. Your battery detection problem might already have an official fix.
Install pending updates:
- Press Windows + I for Settings
- Click “Windows Update” in the left sidebar
- Click “Check for updates”
- Install any available updates, especially driver updates
- Restart when prompted
Pay special attention to optional updates, which sometimes include chipset or battery firmware updates.
Method 8: Disable and Re-enable the Battery Driver
Sometimes Windows just needs you to turn it off and on again, but for the battery specifically.
Disable and re-enable:
- Open Device Manager (Windows + X, then select Device Manager)
- Expand “Batteries”
- Right-click “Microsoft ACPI-Compliant Control Method Battery”
- Select “Disable device”
- Click “Yes” on the warning
- Wait 10 seconds
- Right-click the same device again
- Select “Enable device”
- Close Device Manager
Check if the battery icon returns to normal.
Method 9: Clean Boot to Eliminate Software Conflicts
Third-party software can interfere with Windows power management. A clean boot starts Windows with minimal drivers and startup programs.
Perform a clean boot:
- Press Windows + R
- Type
msconfigand press Enter - Click the “Services” tab
- Check “Hide all Microsoft services”
- Click “Disable all”
- Click the “Startup” tab
- Click “Open Task Manager”
- Disable all startup items
- Close Task Manager
- Click “OK” in System Configuration
- Restart your laptop
If the battery is detected after a clean boot, a third-party program is causing the conflict. Re-enable services and startup items one by one to identify the culprit.
Return to normal startup:
- Run
msconfigagain - Click “Normal startup”
- Click “OK” and restart
Method 10: Check Physical Battery Connection
If software fixes haven’t worked, a loose physical connection might be the problem. This requires opening your laptop, which voids warranties on some models.
Before opening your laptop:
- Check if your warranty is still valid
- Watch a disassembly video for your specific laptop model
- Gather the right tools (usually a small Phillips screwdriver)
- Work on a static-free surface
Reseat the battery connector:
- Shut down and unplug your laptop
- Remove the bottom panel (screw locations vary by model)
- Locate the battery connector on the motherboard
- Carefully disconnect it
- Inspect for corrosion or damage
- Reconnect it firmly
- Replace the bottom panel
- Boot up and check battery detection
Only attempt this if you’re comfortable working with electronics.
Method 11: Update Chipset Drivers
Chipset drivers control communication between Windows and your laptop’s hardware, including the battery controller.
Update chipset drivers:
- Visit your laptop manufacturer’s support site
- Search for your exact model number
- Download the latest chipset drivers
- Run the installer
- Restart your laptop
Intel and AMD also provide chipset driver utilities directly:
- Intel Driver & Support Assistant
- AMD Chipset Drivers
When to Consider Battery Replacement
If none of these methods work, your battery or its controller might have failed physically. Here are signs you need a replacement:
- Your laptop is more than 3 years old
- The battery never holds a charge, even when “detected”
- Windows detects the battery intermittently
- The battery is physically swollen or damaged
Contact your laptop manufacturer or a certified repair shop for battery replacement. Genuine replacement batteries typically cost between $50 and $150 depending on your model.
Prevention Tips for Future Battery Issues
Once you’ve fixed the detection error, take these steps to prevent it from happening again:
Keep Windows updated: Enable automatic updates so you always have the latest drivers and patches.
Update regularly: Check your manufacturer’s support site quarterly for BIOS and driver updates.
Avoid hard shutdowns: Always shut down Windows properly instead of holding the power button.
Monitor battery health: Use Windows’ battery report feature to track degradation. Press Windows + X, select Terminal, type powercfg /batteryreport, and press Enter. Open the generated HTML file to see detailed battery statistics.
Calibrate your battery occasionally: Fully charge your battery, then let it drain completely, then charge it to 100% again. Do this every 2-3 months.
Summary
Here’s a quick reference table of all the methods:
| Method | Difficulty | Success Rate | Time Required |
|---|---|---|---|
| Restart laptop | Easy | Low | 2 minutes |
| Power reset | Easy | Medium | 5 minutes |
| Update battery drivers | Easy | High | 10 minutes |
| Run troubleshooters | Easy | Medium | 15 minutes |
| Update BIOS | Medium | Medium | 20 minutes |
| Reset power plans | Easy | Medium | 5 minutes |
| Windows updates | Easy | Medium | 30 minutes |
| Disable/enable driver | Easy | Medium | 3 minutes |
| Clean boot | Medium | Low | 30 minutes |
| Physical connection | Hard | Medium | 45 minutes |
| Update chipset drivers | Medium | Medium | 15 minutes |
Conclusion
The “no battery is detected” error on Windows 11 looks scary, but it’s usually a software problem with a software solution. Start with the driver reinstall method, since that fixes most cases. If that doesn’t work, move through the BIOS update and power reset options.
Most people resolve this issue within 30 minutes using the methods in this guide. The key is working systematically through the solutions rather than jumping around randomly.
If you’ve tried everything here and still see the error, your battery or motherboard controller may need professional service. But for the vast majority of users, one of these fixes will get Windows recognizing your battery again.

- How to Clear Cache on Windows 11: Quick Guide in 2026 - February 23, 2026
- Top 10 Trending AI Apps in 2026 You Should Actually Be Using - February 22, 2026
- Top 10 AI Based Resume Makers in 2026 That Actually Get You Hired - February 22, 2026