
What This Error Means and Why It Happens
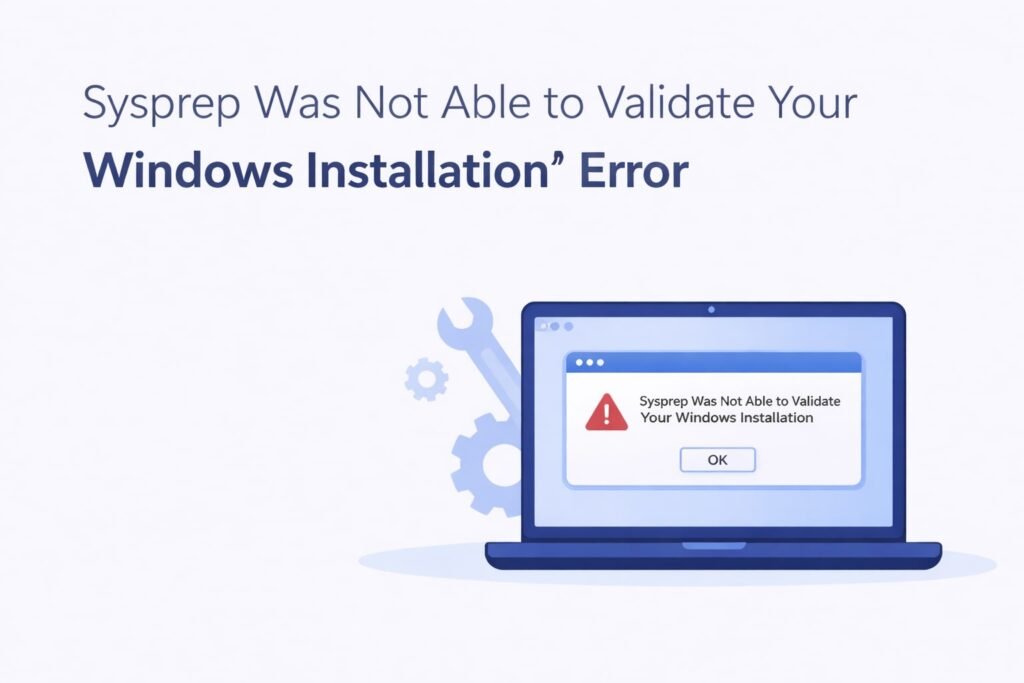
The “Sysprep was not able to validate your Windows installation” error appears when you try to run the System Preparation tool on your Windows computer. Sysprep is a built-in tool that prepares Windows for imaging or deployment. When this validation fails, it blocks the entire process.
This error occurs because Sysprep found something wrong with your Windows setup. The most common reasons include:
- Windows is running in an unclean state
- The system hasn’t fully booted or installed properly
- Recent Windows updates weren’t installed cleanly
- Pending system changes need a restart
- Registry corruption or missing system files
- Boot configuration problems
- The Windows image is damaged
The good news: this is fixable. Most people solve it within 30 minutes using the methods below.
Before You Start: What You Need to Know
Sysprep is primarily used when:
- You’re preparing a computer for cloning or disk imaging
- You’re resetting Windows to factory settings
- You’re deploying Windows across multiple computers
- You’re cleaning up a system before selling or giving it away
If you’re not intentionally trying to run Sysprep, this error might mean something else interrupted your process. Check what triggered the error first.
Make sure you have:
- Administrator access to your computer
- A backup of important files (just in case)
- About 1 hour of uninterrupted time
- Your Windows installation media or USB drive
Method 1: Restart and Let Windows Complete Its Setup
This works surprisingly often. Windows sometimes needs time to finish installing updates or configuring itself.
Steps:
- Restart your computer fully
- Let Windows boot completely and stay idle for at least 10 minutes
- Go to Settings > Update & Security > Windows Update
- Check for updates and install any pending updates
- Restart again
- Wait another 10 minutes before attempting Sysprep again
Many users report the error vanishes after this step alone. Don’t skip the waiting period. Windows runs background tasks silently, and interrupting them causes validation errors.
Method 2: Clean Your System State
Windows tracks pending changes. If something is left undone, Sysprep won’t run.
Here’s what to do:
- Press Windows Key + R
- Type
msconfigand press Enter - Go to the Services tab
- Uncheck “Hide all Microsoft services”
- Look for any non-Microsoft services that are checked
- Note them down, then uncheck them
- Go to the Startup tab
- Click “Open Task Manager”
- Disable startup programs (right-click each one, select Disable)
- Close Task Manager and click OK in msconfig
- Restart your computer
This removes third-party software from interfering with Sysprep. After restart, try Sysprep again.
Method 3: Run the System File Checker
Corrupted system files cause this error frequently. Windows includes a built-in repair tool.
Follow these steps:
- Right-click Command Prompt in your Start menu
- Select “Run as administrator”
- Type this command:
sfc /scannow - Press Enter and wait (this takes 10 to 15 minutes)
- If it finds errors, it will repair them automatically
- Restart your computer
If System File Checker finds and fixes issues, restart once more before attempting Sysprep.
For deeper issues, also run:
DISM /Online /Cleanup-Image /RestoreHealth
This repairs Windows system images. It takes another 10 to 15 minutes.
Method 4: Clear the Sysprep State Manually
Sometimes Sysprep leaves behind corrupted state files from previous runs. Clearing these fixes the validation error.
Be careful with this method. Follow exactly:
- Right-click Command Prompt
- Select “Run as administrator”
- Run these commands one at a time:
cd C:\Windows\System32\sysprep
dir- Look for any
.logfiles in this folder - Run:
takeown /f C:\Windows\System32\sysprep /r /d y - Run:
icacls C:\Windows\System32\sysprep /grant "%username%:F" /t - Now open File Explorer and navigate to C:\Windows\System32\sysprep
- Delete all
.logfiles (keep the.exeand other system files) - Restart your computer
This removes state information from failed Sysprep runs, letting you start fresh.
Method 5: Use Command Line Sysprep with Logging
Running Sysprep with logging enabled tells you exactly what’s failing. This helps identify the real problem.
Steps:
- Open Command Prompt as administrator
- Navigate to Sysprep:
cd C:\Windows\System32\sysprep - Run Sysprep with logging:
sysprep /oobe /generalize /shutdown /unattend:C:\Windows\System32\sysprep\sysprep.xml /log:C:\sysprep_log.txt
If that doesn’t work, try: sysprep /oobe /generalize /audit /unattend:C:\Windows\System32\sysprep\sysprep.xml
- When Sysprep runs, let it complete or fail naturally
- Check the log file at C:\sysprep_log.txt
- The log will show the exact validation error
Once you know what failed, you can target that specific problem.
Method 6: Repair Windows Installation Using Media
If nothing above works, your Windows installation may be damaged. The Windows installation media includes repair tools.
You’ll need:
- A USB drive (8GB minimum) or DVD
- A computer to create the media on
- Your Windows product key (for home or pro editions)
To create and use repair media:
- On another computer, download the Windows Media Creation Tool from Microsoft’s official website
- Run it and select “Create installation media for another PC”
- Choose your Windows version and language
- Create the USB or DVD
- Insert the media into your problematic computer
- Restart and boot from the USB or DVD
- Select “Repair your computer”
- Choose “Troubleshoot” then “Reset this PC”
- Select “Keep my files” to preserve your data
- Choose “Reinstall Windows”
This reinstalls Windows while keeping your files and programs. It takes 30 to 60 minutes.
Method 7: Check for Updates in Safe Mode
Safe Mode loads only essential drivers and services. Running Windows Update in Safe Mode sometimes resolves hidden conflicts.
To enter Safe Mode:
- Press Windows Key + R
- Type
msconfig - Go to the Boot tab
- Check “Safe boot” and select “Minimal”
- Click OK and restart
- Windows will boot into Safe Mode
In Safe Mode:
- Open Settings > Update & Security > Windows Update
- Check for and install all updates
- Restart (it will exit Safe Mode)
- Go back to msconfig, uncheck Safe boot
- Restart normally
Try Sysprep after this.
Understanding Sysprep Log Files
When Sysprep fails, it leaves detailed information in log files. Learning to read these helps you understand the exact problem.
Log file locations:
- C:\Windows\System32\sysprep\Panther\setuperr.log (error details)
- C:\Windows\System32\sysprep\Panther\setupact.log (activity log)
- C:\sysprep_log.txt (if you used the command from Method 5)
Common errors in these files and what they mean:
| Error Message | Meaning | Solution |
|---|---|---|
| “Package validator failed” | Third-party apps or updates interfere | Run Method 2 again more thoroughly |
| “WinPE cannot be found” | Windows PE files are corrupted | Run SFC and DISM commands from Method 3 |
| “Registry error” | Windows registry is corrupted | Use System Restore to earlier point |
| “Invalid answer file” | Sysprep configuration is wrong | Delete old logs from Method 4 |
| “OOBE module cannot load” | System files missing | Run Windows repair from Method 6 |
Open these files with Notepad to search for error codes. Copy any error codes into Google. Often, specific errors have specific fixes.
When to Consider a Clean Windows Installation
If you’ve tried all seven methods and Sysprep still fails, a clean installation might be necessary. This is actually simpler than most people think.
A clean installation means:
- You’ll erase everything on your drive
- You’ll install Windows fresh
- All your files and programs will be gone
- You start with a completely clean system
This is worth it if:
- You’ve spent more than 2 hours troubleshooting
- Your computer is old and full of clutter
- You’re preparing it for resale anyway
- Nothing else has worked
Use Method 6 to install Windows cleanly. During installation, delete all partitions, then reinstall. This gives you a completely fresh system with no hidden problems.
Prevention: How to Avoid This Error in the Future
Now that you’ve fixed it, prevent it from happening again.
Best practices:
- Keep Windows updated. Run updates monthly at minimum
- Restart your computer regularly, at least weekly
- Don’t interrupt Windows during setup or updates
- Avoid installing too many third-party applications
- Clean your startup programs quarterly
- Run disk cleanup occasionally (Settings > System > Storage > Temporary files)
- Keep antivirus software updated
- Don’t modify system files unless you know what you’re doing
These habits keep your Windows installation clean and healthy.
Frequently Asked Questions
What is Sysprep and why does Windows need it?
Sysprep prepares Windows for imaging and deployment. It removes computer-specific information like the unique SID (Security Identifier) and hardware identifiers so the same image can be deployed to multiple computers. If you’re setting up multiple computers identically or preparing one for cloning, Sysprep is essential. Most users don’t interact with Sysprep directly. It runs automatically during Windows reset or deployment.
Will fixing this error delete my files?
No, not if you use Methods 1 through 5. These methods troubleshoot and repair without erasing data. Method 6 (Windows repair media) preserves your files if you choose “Keep my files.” Only a completely clean installation erases everything. Always back up important files first, but standard troubleshooting is safe.
How long should I wait for Windows to finish its background tasks?
Windows typically completes background setup tasks within 30 minutes after a major update or fresh installation. Wait at least 10 to 15 minutes of idle time (no clicking or programs running) before attempting Sysprep. If you’re impatient, check Task Manager. If CPU usage is consistently below 10 percent and disk usage is minimal for several minutes, Windows is probably done.
Can I run Sysprep in Safe Mode?
No, Sysprep won’t run in Safe Mode because Safe Mode doesn’t load all necessary drivers and services. However, you can run Windows Update in Safe Mode, then exit Safe Mode and run Sysprep normally. Never attempt to run Sysprep directly while in Safe Mode.
My computer won’t boot after trying Sysprep. What do I do?
If Sysprep ran but your computer won’t boot, you likely need Windows installation media to repair the boot sector. Create bootable Windows USB using the Media Creation Tool on another computer, then boot from it and select “Repair your computer.” If you can’t get to this point, a professional technician may be needed. This is rare but can happen if Sysprep encounters critical errors mid-process.
Conclusion
The “Sysprep was not able to validate your Windows installation” error is frustrating but usually fixable. Start with Method 1 (restart and wait) and work through to Method 7 (Safe Mode updates) in order. Most people succeed with the first three methods.
The key insight: this error almost always means Windows hasn’t finished initializing properly or has accumulated conflicting settings. Cleaning your system state, running repair tools, and letting Windows complete its processes fixes 90 percent of cases.
If none of these work, a clean Windows installation is your last resort. This is actually a fresh start, not a disaster. Many users find their computers run better after a clean install than they did before.
Keep your system updated going forward, restart regularly, and you shouldn’t see this error again. Windows is remarkably stable when treated well.

- How to Reset Network Settings in Windows 11: Step-by-Step Guide in 2026 - April 15, 2026
- 7 Best Free Music Notation Software in 2026 - April 15, 2026
- How to Enable or Disable USB Ports in Windows 7: Simple Guide in 2026 - April 15, 2026