
USB ports that won’t turn off when you need them to, or won’t turn back on when you desperately need to transfer files. This frustration is common, but fixable.
Quick answer: You can enable or disable USB ports in Windows 7 through Device Manager, Registry Editor, BIOS settings, or Group Policy Editor. The Device Manager method takes about 2 minutes and works for most situations. Registry editing offers permanent control but requires administrative access.
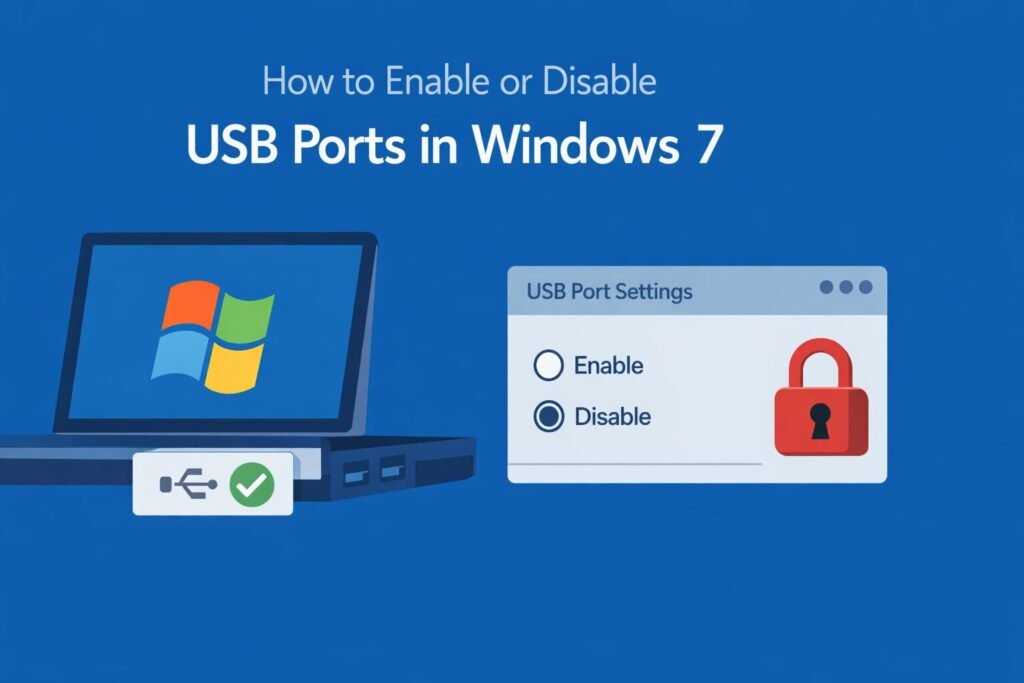
This guide shows you every method that actually works, with clear steps for each approach.
Why You Might Need to Control USB Ports
Before diving into the how, understanding the why helps you choose the right method.
Security reasons top the list. Companies disable USB ports to prevent data theft. If someone can plug in a flash drive, they can copy sensitive files in seconds. Healthcare providers, financial institutions, and government offices frequently lock down USB access for exactly this reason.
Preventing malware infections ranks second. USB drives spread viruses faster than any other method. One infected drive plugged into your system can compromise your entire network.
Saving power matters on laptops. Disabled USB ports drain less battery. If you’re working on a flight or in a meeting, every minute of battery life counts.
Troubleshooting hardware conflicts sometimes requires temporarily disabling USB ports. When devices fight for resources, isolating the problem means turning things off systematically.
Controlling children’s computer access gives parents peace of mind. Kids can’t install unauthorized games or software from USB drives if the ports don’t work.
Understanding USB Port Control in Windows 7
Windows 7 gives you multiple layers of control. Each method has different permanence and security levels.
Device Manager provides quick, temporary control. This works perfectly for troubleshooting or short-term needs. The system remembers settings until you change them, but a determined user could reverse them.
Registry Editor creates deeper, more permanent changes. These settings survive restarts and require technical knowledge to undo. This method suits situations requiring stronger security.
BIOS/UEFI settings offer the strongest protection. Changes made at this level happen before Windows even loads. Only someone with physical access and the BIOS password can reverse these settings.
Group Policy Editor exists only in Professional, Ultimate, and Enterprise editions. This method works best in business environments managing multiple computers.
Method 1: Using Device Manager (Fastest Method)
This approach takes 2-3 minutes and requires no technical expertise.
Disabling USB Ports Through Device Manager
Press Windows key + R to open the Run dialog.
Type devmgmt.msc and press Enter. Device Manager opens.
Look for Universal Serial Bus controllers in the list. Click the arrow next to it to expand the section.
You’ll see multiple entries. Each represents different USB functionality:
- USB Root Hub (handles the main USB connections)
- USB Host Controller (manages USB device communication)
- USB Mass Storage Device (controls flash drives and external hard drives)
Right-click on USB Root Hub. Select Disable from the menu.
A warning appears asking if you’re sure. Click Yes.
The USB Root Hub icon now shows a small downward arrow, indicating it’s disabled.
Repeat this process for each USB Root Hub entry you see. Most systems have 2-4 entries.
Test immediately. Plug in a USB device. If it doesn’t work, you’ve succeeded. If it still works, you missed a USB Root Hub entry or need to disable USB Host Controllers too.
Enabling USB Ports Through Device Manager
Follow the same steps to open Device Manager.
Find the disabled USB Root Hub entries. They show downward arrows on their icons.
Right-click each disabled entry. Select Enable instead of Disable.
The downward arrow disappears. Your USB ports work again within seconds.
Plug in a device to confirm functionality.
What Happens to Currently Connected Devices
Any USB device connected when you disable the port stops working immediately. Your mouse stops moving. Your keyboard stops typing. Your external drive disconnects.
Important warning: If you use a USB keyboard or mouse, this method will lock you out. You’ll need a PS/2 keyboard and mouse to reverse the change, or you’ll need to restart in Safe Mode.
Method 2: Registry Editor Method (More Permanent)
The Registry method creates changes that persist across restarts and resist casual reversal.
Before You Start: Create a System Restore Point
This step saves you if something goes wrong.
Click Start, type create a restore point in the search box.
Click Create a restore point from the results.
Click the Create button at the bottom of the System Protection tab.
Name it something clear like “Before USB Registry Change” and include today’s date.
Click Create again. Windows builds the restore point in 1-2 minutes.
Disabling USB Storage Through Registry
Press Windows key + R to open Run.
Type regedit and press Enter. Click Yes when User Account Control asks for permission.
Registry Editor opens. The left side shows a folder tree.
Navigate to this exact path: HKEY_LOCAL_MACHINE\SYSTEM\CurrentControlSet\Services\USBSTOR
Click on USBSTOR to select it.
Look at the right pane. Find the entry named Start.
Double-click Start. A small window labeled “Edit DWORD Value” appears.
The current Value data shows 3. Change it to 4.
Click OK.
Close Registry Editor.
Restart your computer for changes to take effect.
What This Registry Change Actually Does
The Start value controls how Windows handles the USB storage driver:
| Value | Meaning | Effect |
|---|---|---|
| 0 | Boot | Driver loads at boot time |
| 1 | System | Driver loads during system initialization |
| 2 | Automatic | Driver loads automatically when needed |
| 3 | Manual | Driver loads when specifically requested |
| 4 | Disabled | Driver never loads |
Setting it to 4 prevents Windows from loading the USB storage driver at all. USB storage devices appear as unknown devices and don’t mount.
Critical detail: This only affects storage devices. USB keyboards, mice, printers, and other non-storage devices continue working normally.
Re-enabling USB Storage Through Registry
Follow the same steps to open Registry Editor.
Navigate back to HKEY_LOCAL_MACHINE\SYSTEM\CurrentControlSet\Services\USBSTOR
Double-click the Start entry.
Change the Value data from 4 back to 3.
Click OK and close Registry Editor.
Restart your computer.
Method 3: BIOS/UEFI Settings (Strongest Control)
BIOS-level changes happen before Windows loads. This provides maximum security.
Accessing BIOS on Windows 7
Restart your computer.
Watch the screen during startup. You’ll see a message like “Press F2 to enter Setup” or “Press DEL for BIOS.”
The key varies by manufacturer:
- Dell: F2 or F12
- HP: F10 or ESC
- Lenovo: F1 or F2
- ASUS: F2 or DEL
- Acer: F2 or DEL
Press the indicated key repeatedly during startup until BIOS opens.
Disabling USB in BIOS
BIOS layouts differ significantly between manufacturers. Look for sections named:
- Integrated Peripherals
- Advanced
- Onboard Devices
- USB Configuration
- Security
Once you find USB settings, you’ll see options like:
- USB Controller: Enabled/Disabled
- Legacy USB Support: Enabled/Disabled
- USB Ports: Enabled/Disabled
Set USB Controller to Disabled to turn off all USB functionality.
For more selective control, some BIOS versions let you disable specific ports or USB types.
Press F10 to save changes (or follow the on-screen save instructions).
Select Yes when asked to confirm.
The computer restarts with USB ports disabled.
Re-enabling USB in BIOS
Restart and enter BIOS again using the same startup key.
Find the USB settings you changed.
Set USB Controller back to Enabled.
Save with F10 and restart.
BIOS Password Protection
Setting a BIOS password prevents others from reversing your changes.
Find the Security section in BIOS.
Look for Set Supervisor Password or Administrator Password.
Enter a strong password you won’t forget. Write it down and store it securely.
Without this password, no one can access BIOS to re-enable USB ports.
Warning: Losing your BIOS password can permanently lock you out. Some systems require professional service to reset.
Method 4: Group Policy Editor (Professional/Enterprise Only)
This method works only on Windows 7 Professional, Ultimate, and Enterprise editions.
Checking Your Windows 7 Edition
Right-click Computer on the desktop or Start menu.
Select Properties.
Look under “Windows edition.” If it says Home Basic or Home Premium, you cannot use this method.
Using Group Policy to Disable USB Storage
Press Windows key + R.
Type gpodit.msc and press Enter.
Local Group Policy Editor opens with a two-pane interface.
On the left, expand Computer Configuration.
Expand Administrative Templates.
Expand System.
Click on Removable Storage Access.
The right pane now shows multiple policies. Find Removable Disks: Deny read access.
Double-click it. Select Enabled.
Click Apply, then OK.
Repeat for Removable Disks: Deny write access and Removable Disks: Deny execute access.
Close Group Policy Editor.
Run gpupdate /force in Command Prompt to apply changes immediately.
Understanding Group Policy vs Other Methods
Group Policy offers granular control. You can:
- Block read access but allow write access
- Prevent execution but allow viewing files
- Create exceptions for specific user accounts
- Apply policies across network domains
This flexibility makes it ideal for business environments.
Troubleshooting Common Problems
USB Ports Still Work After Disabling
You likely missed a driver or setting. In Device Manager, disable all USB Root Hubs AND all USB Host Controllers.
Some systems have hidden USB controllers. Click View in Device Manager, select Show hidden devices, then disable those too.
Can’t Access BIOS
Your keyboard might need USB support to work during startup. Look for a BIOS setting called “Legacy USB Support” or “USB Keyboard Support.” This must stay enabled for USB keyboards to function in BIOS.
Registry Change Didn’t Take Effect
Verify you changed the USBSTOR Start value to 4, not another USB-related key. Many similar keys exist.
Ensure you restarted the computer after making the change. Registry changes don’t activate until restart.
Accidentally Locked Yourself Out
If you disabled USB ports and only have a USB keyboard/mouse:
Restart in Safe Mode by pressing F8 during startup. Safe Mode loads minimal drivers, sometimes enabling USB.
If that fails, you need a PS/2 keyboard and mouse. These use round connectors, not rectangular USB ports. You might need to buy a USB-to-PS/2 adapter.
As a last resort, use System Restore from the Windows 7 installation disc to revert to your restore point.
Security Considerations and Best Practices
Disabling USB ports creates security, but also creates new problems.
Backup becomes harder. If you regularly back up to USB drives, you’ll need to temporarily enable ports or switch to network backups.
Software installation gets complicated. Many programs still come on USB drives. Plan alternative installation methods.
Emergency access matters. Always maintain one method to restore USB functionality. Keep a PS/2 keyboard available, or write down BIOS passwords.
Legitimate users need exceptions. In businesses, IT staff often need USB access. Group Policy lets you create exceptions by user account.
Physical security still matters. Determined attackers with physical access can reset BIOS passwords or boot from other media. USB port control is one layer, not complete protection.
According to Microsoft’s security guidelines, combining multiple methods creates the strongest protection. Use Registry changes AND BIOS settings for maximum security.
Alternative Approaches
Third-Party Software
Programs like USB Block, USB Drive Disabler, and Endpoint Protector offer features beyond Windows’ built-in tools:
- Whitelisting specific USB devices
- Logging all USB connection attempts
- Temporary access codes
- Remote management
These tools cost money but provide enterprise-grade control.
Physical USB Port Locks
Small plastic locks insert into USB ports and require keys to remove. This prevents physical connection entirely.
Advantages: Simple, cheap, impossible to bypass through software.
Disadvantages: Inconvenient, easy to lose keys, doesn’t scale well.
Network-Based Data Transfer
If security is the goal, disable USB and require all file transfers through monitored network shares. This creates audit trails and prevents unauthorized data removal.
Real-World Scenarios and Solutions
Scenario 1: Small Business Owner
You run a dental office. Patient records must stay secure, but the front desk staff needs to scan insurance cards via USB scanner.
Solution: Use Group Policy to disable Removable Storage but allow other USB devices. The scanner works, but employees can’t plug in flash drives.
Scenario 2: Parent Controlling Kids’ Computer
Your teenager keeps installing games from friends’ USB drives.
Solution: Use BIOS to disable USB ports, protected with a password. When they need legitimate USB access for school work, you enter the password temporarily.
Scenario 3: Library or Public Computer
The public uses these computers. You need to prevent software installation while allowing keyboard/mouse use.
Solution: Registry method targeting USBSTOR specifically. Storage devices don’t work, but input devices function normally. Pair this with Deep Freeze or similar software.
Performance Impact
Disabling USB ports uses virtually no system resources. You won’t notice any speed increase or decrease.
The only performance consideration: if you disabled ports to troubleshoot conflicts, resolving those conflicts might improve performance. But the disabling itself changes nothing.
Summary
Controlling USB ports in Windows 7 protects data, prevents malware, and helps troubleshoot problems. You have four proven methods:
Device Manager works for quick, temporary changes. It takes 2 minutes but users can reverse it easily.
Registry Editor creates persistent changes that survive restarts. This targets storage devices specifically while leaving keyboards and mice functional.
BIOS settings provide maximum security because changes happen before Windows loads. Combined with a BIOS password, this approach can’t be bypassed through software.
Group Policy Editor offers the most granular control for business environments. Available only in Professional, Ultimate, and Enterprise editions.
Choose based on your needs. Home users troubleshooting problems should use Device Manager. Parents controlling children’s access should use BIOS with password protection. Businesses protecting sensitive data should combine Registry changes with Group Policy.
Always create a System Restore point before making changes. Keep a PS/2 keyboard available as backup. Write down BIOS passwords.
These methods work in 2026 exactly as they did when Windows 7 launched. The operating system may be older, but the techniques remain effective and reliable.
For more information on Windows 7 security features, visit Microsoft’s official Windows 7 security documentation. For general computer security best practices, the Cybersecurity & Infrastructure Security Agency provides excellent guidance.

- How to Clear Cache on Windows 11: Quick Guide in 2026 - February 23, 2026
- Top 10 Trending AI Apps in 2026 You Should Actually Be Using - February 22, 2026
- Top 10 AI Based Resume Makers in 2026 That Actually Get You Hired - February 22, 2026