
On a domain-joined PC, you sign in with your work or school credentials, and the network controls your login. Switching to a local account moves that login onto the PC itself: you sign in with a username and password stored on the machine. This guide covers Windows 11 and Windows 10, walks through the switch step by step, and shows how to roll back if you change your mind. You will need administrator rights on the PC, and on a company-managed device you may need your IT team’s approval.
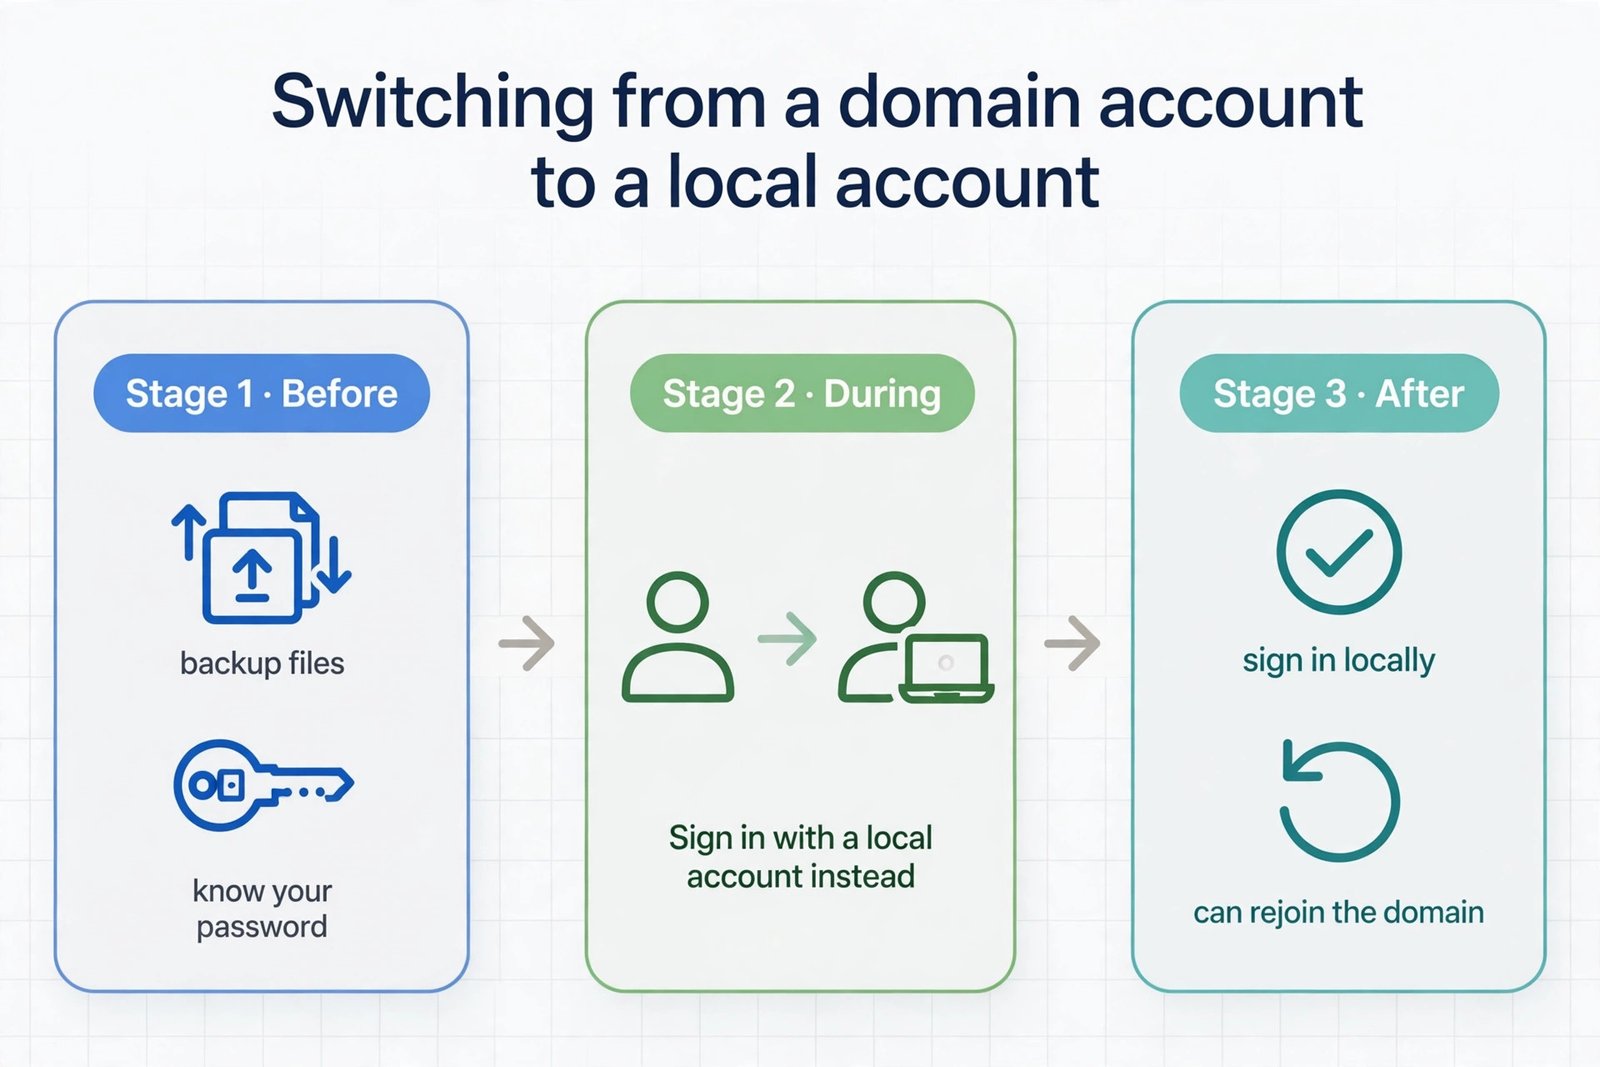
Before you switch
Run through this checklist first so nothing surprises you:
- Back up your important files. Copy Documents, Desktop, and anything else you cannot lose to an external drive or cloud storage.
- Make sure you know your current domain password. You need it to authorize the switch.
- Confirm you have local administrator rights. On a company PC, check with IT if you are unsure.
- Save your BitLocker recovery key if the drive is encrypted. You can find it in your Microsoft account or ask IT.
- Understand what changes: your files stay where they are, but domain features such as mapped network drives and automatic sign-in to work apps will start asking for credentials.
- Check that no company policy blocks the switch. On some managed PCs the option is hidden entirely.
Step 1: Open Your info
- Sign in with the domain account you want to convert. The switch must start from inside that account.
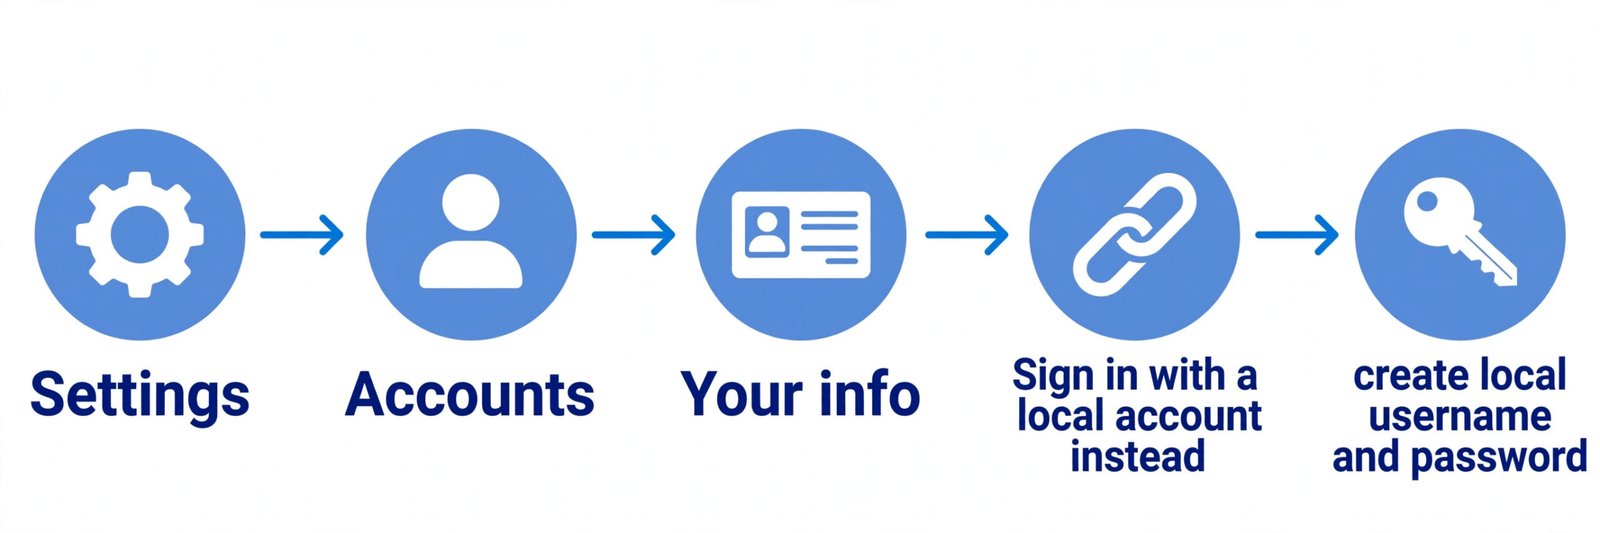
- Open Settings by pressing Win + I.
- Go to Accounts, then Your info. This page shows your current account type and how you sign in.
Step 2: Start the switch
Under Account settings, click “Sign in with a local account instead.” This link only appears when you are signed in with a domain or Microsoft account. Windows shows an information screen explaining that you will need to sign out to finish. Continue past it.
Step 3: Verify and create your local credentials
- Enter your current domain password when Windows asks, to confirm your identity.
- Type a username, a password, and a password hint for the new local account. Set up the security questions if Windows offers them; they are your recovery path if you forget the password.
- Click Next.
Step 4: Sign out and sign back in
Click “Sign out and finish.” Windows signs you out. Sign back in with the new local username and password you just created. Your desktop, programs, and files are the same as before; only the login changed.
After the switch: what to check
- Confirm the account type in Settings, then Accounts, then Family & other users. If you need full control of the PC, set the account type to Administrator.
- If you created a separate new local account instead of converting the old one, copy your files from C:\Users\(old account name) into the matching folders of the new profile.
- Reconnect email and work apps. They will now ask for credentials instead of signing in automatically.
- Optional: once everything works, you can remove the old domain account under Family & other users by selecting it and clicking Remove.
Rolling back: switching to a domain account again
You are not locked in. To go back to a domain account, open Settings, go to Accounts, then Access work or school, click Connect, and sign in with your domain credentials. If the PC was removed from the domain entirely, it must rejoin the domain first, which usually requires IT help and a live connection to the domain controller. If the rejoin throws a trust error, our guide to fixing the trust relationship between workstation and domain error walks through the repair.
When the switch will not work
- Company policy or mobile device management blocks the option. Talk to your IT team.
- The PC is joined to Entra ID (formerly Azure AD) rather than a classic on-premises domain. The local-account path works differently there and may be restricted.
- You do not have local administrator rights. The change cannot complete without them.
Our take
Converting in place with “Sign in with a local account instead” is the cleanest path: one account, the same profile, the same files. Creating a second local account and copying files over is the fallback for when the direct option is blocked. If you use Remote Desktop on this PC, also review how to allow saved credentials for Remote Desktop connections, since credential behavior changes when you leave the domain. Microsoft’s own community discussion on switching accounts back to local has more edge cases from other users.

- What Is Google Gemini Agent? What It Does and Who Gets It - October 17, 2026
- What Happened to ChatGPT Atlas? And What to Use Instead in 2026 - October 16, 2026
- How to Avoid Black Friday Scams in 2026: The Scam-Spotting Field Guide - October 15, 2026