
Old prints fade, scratch, and tear a little more every year they sit in a box. The good news is that you can restore old damaged photos at home now, with tools that did not exist a decade ago. This guide covers three methods, from one-click AI fixes to full professional restoration, so you can pick the one that matches your photos and your budget.
Key takeaways: Scan every photo at 600 DPI before you touch anything, and never edit the original scan. Light damage like fading and scratches can be fixed in minutes with one-click AI tools. Torn, stained, or water-damaged photos get better results from desktop software or a professional restorer. And remember: AI guesses at missing detail, it cannot recover what was never in the photo.
Before anything else: scan the photo properly
Restoration starts with a good digital copy. A phone snapshot of a print will not give any tool enough detail to work with. If you have a flatbed scanner, scan at 600 DPI and save the file as TIFF or PNG, not JPEG. Clean the scanner glass first, because every speck of dust becomes a spot you will have to fix later. Save the original scan in a separate folder and do all your work on copies, so you can always start over.
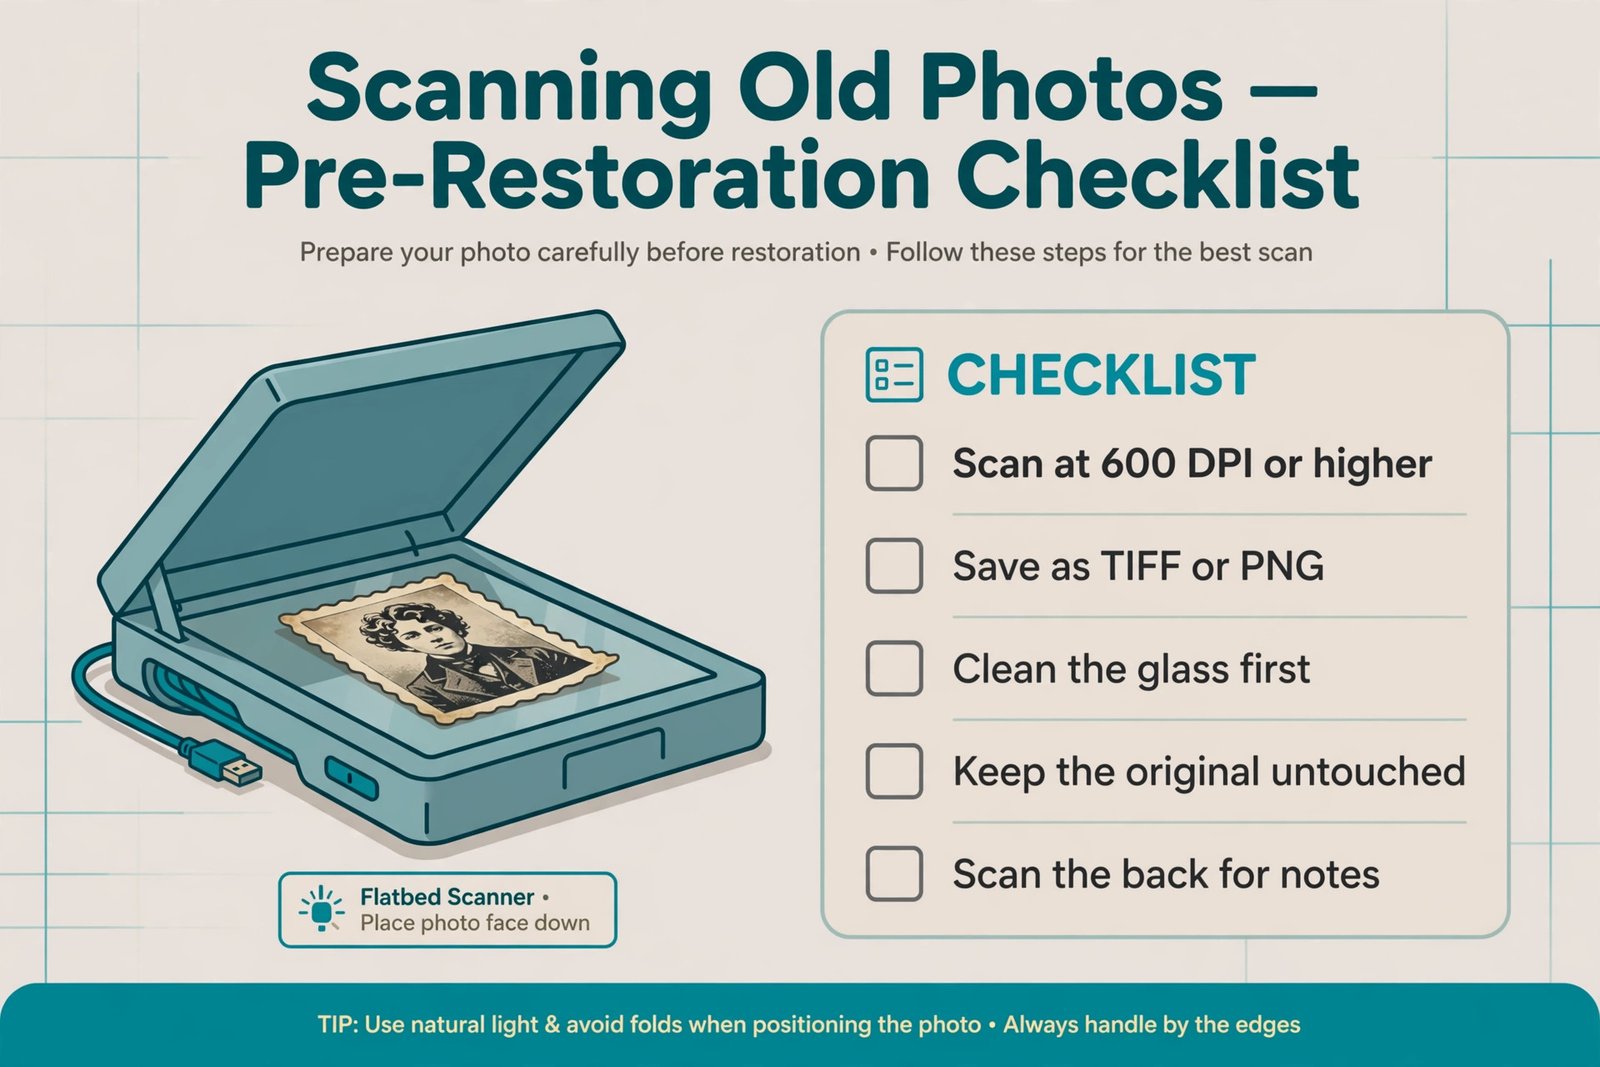
No scanner at home? A scanning app on your phone and good daylight will do for light restoration work. For badly damaged photos that matter to you, a local print shop can usually make a high-resolution scan for a small fee. If you are digitizing a whole family album, our guide on how to transfer photos from an Android phone to a PC covers the backup side of the job.
Method 1: One-click AI restoration apps and websites (fastest)
This is where most people should start. AI restoration tools repair fading, scratches, and blur automatically, and the whole process takes a few minutes per photo. Good options in 2026 include Remini (especially strong on faces), PicWish and Fotor (simple browser workflows with free tiers), MyHeritage (built for family archives), and VanceAI (dedicated scratch and fade repair, credits-based pricing from a few dollars). Most offer a free trial or a few free restorations, with paid plans for bigger batches. Pricing changes often, so check the current price before you commit to a large album.
- Upload your scan to the tool of your choice. Use the highest-resolution file you have.
- Run the restoration or enhance function. Some tools do everything in one click; others let you pick scratch removal, colorization, or face enhancement separately.
- Compare before and after at full zoom. Faces are where AI makes the most mistakes, so look closely at eyes and mouths.
- Download the result at the highest quality offered, and keep it alongside your original scan.
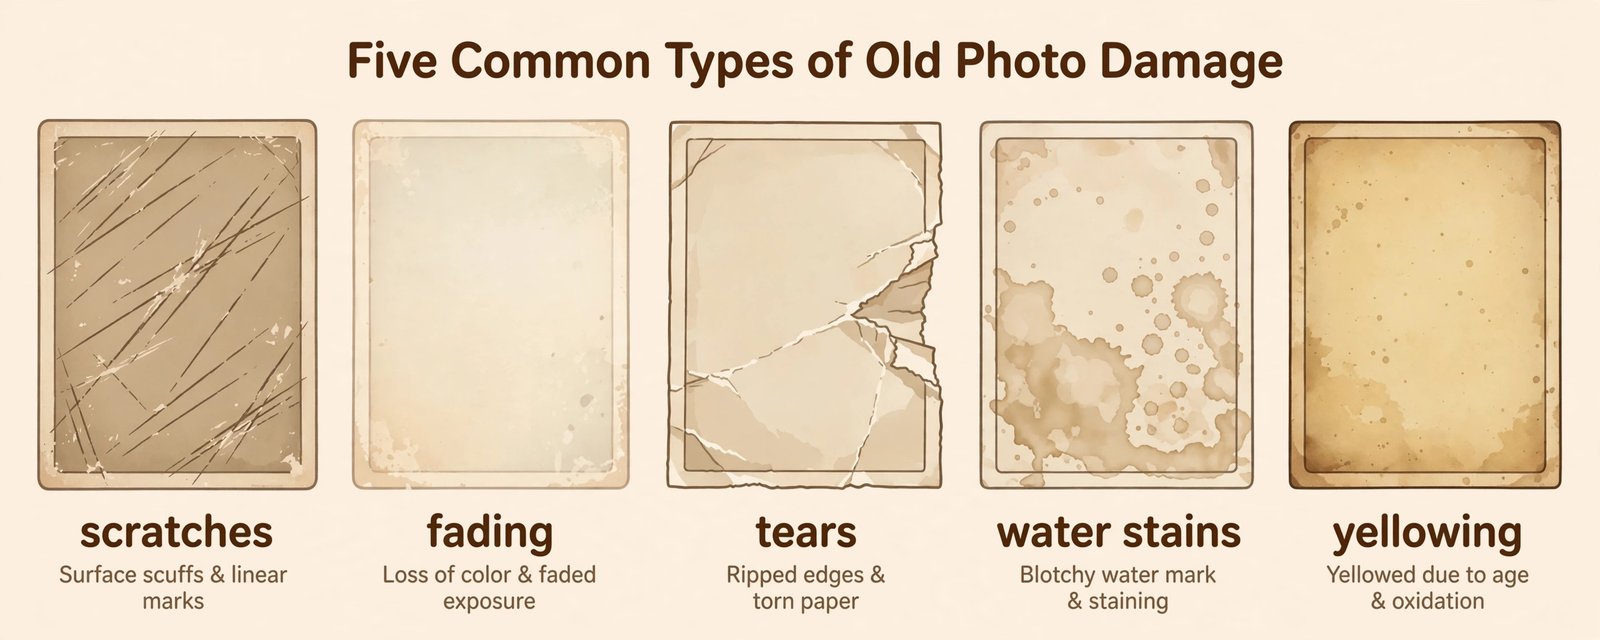
Note: one-click tools work best on light to moderate damage. If a photo has large tears, missing pieces, or heavy water stains, the AI will invent plausible-looking detail to fill the gaps. That is fine for a casual keepsake, but it is not a true restoration of what was there.
Method 2: Desktop editing software for careful repairs (most control)
When AI results look wrong, or the damage is too specific for automation, desktop software gives you full control. GIMP (free, from gimp.org) and handles the core repair tools well: the Clone tool and Heal tool for scratches, and Curves for fixing faded contrast. It is the best no-cost option if you are willing to learn a little. Adobe Photoshop (via adobe.com) goes further with its Photo Restoration Neural Filter, which combines AI cleanup with manual layers, at a subscription price. A sensible workflow: open your scan, duplicate the layer, remove scratches and spots with healing tools, correct fading with Curves or Levels, and only then consider colorizing a black-and-white photo.
Tip: do all repair work on a duplicate layer, never on the background layer. If a fix goes wrong, you can delete the layer instead of starting over. For extra cleanup, like removing a distracting background element after restoration, see our guide to the best background remover tools.
Colorizing deserves a separate decision. It is tempting, but a colorized photo is an interpretation, not a restoration. If the photo has documentary value for your family history, keep a restored black-and-white version as the archival copy and treat the colorized one as a bonus.
Method 3: Send severely damaged photos to a professional restorer
Some photos are beyond what software can honestly fix: large missing pieces, water damage that has eaten the emulsion, mold, or faces that are badly blurred in an irreplaceable portrait. A professional restorer can reconstruct missing features, sometimes using reference photos of the same person, which AI cannot do reliably. Look for local photo labs that advertise restoration, or established online services with before-and-after portfolios and clear per-photo pricing. Expect to pay per photo based on damage severity, and be wary of anyone who promises museum quality overnight at a suspiciously low price.
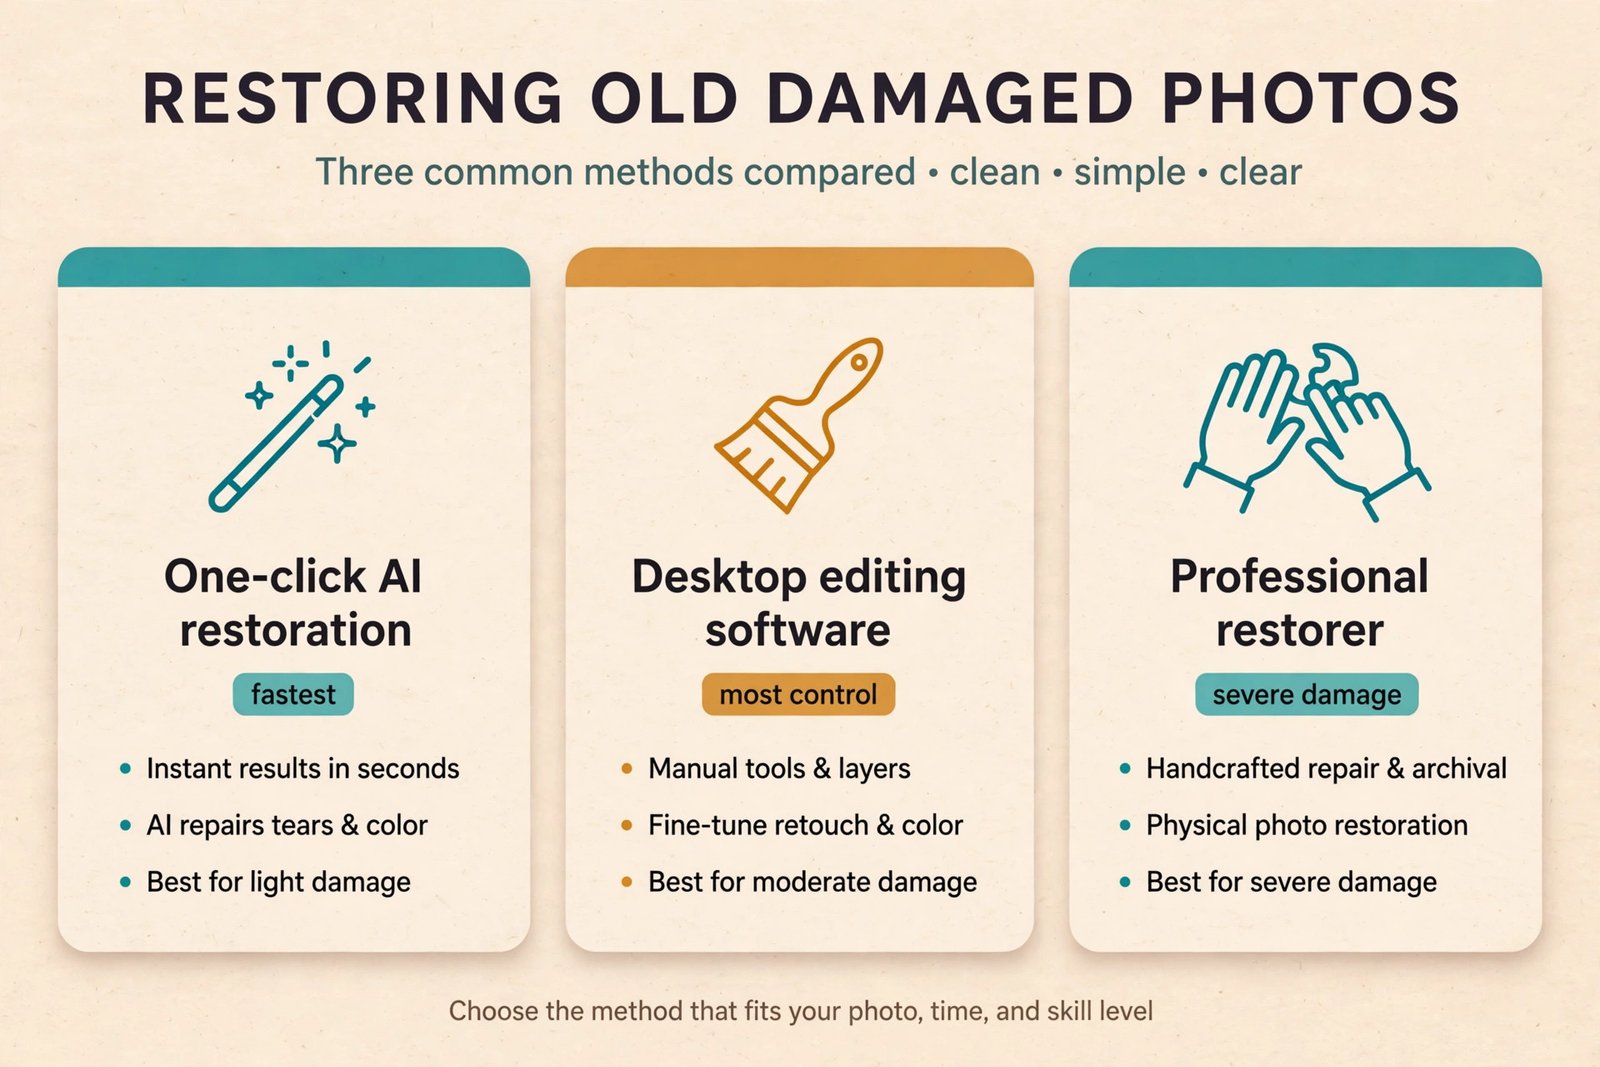
Tip: ask the restorer to return both a restored version and an untouched high-resolution scan. That way your family archive keeps the honest original alongside the repaired copy.
Your restored photo: print it, share it, back it up
A restored photo sitting on a hard drive is only half saved. Print the ones that matter, share digital copies with family members (they are the best off-site backup you will ever have), and keep three copies of your archive: the original scans, the restored versions, and one copy somewhere other than your house, like cloud storage or a relative’s drive. The restoration took effort; the backup takes five minutes.
Frequently asked questions
Can AI restore a photo that is torn in half?
AI can blend the tear line and guess at the missing strip, and the result often looks convincing at a glance. But it is inventing that detail, not recovering it. For a photo that matters, scan both halves at high resolution, align them in desktop software or have a professional do it, and keep expectations honest.
Is it free to restore old photos?
Mostly, yes, for a handful of photos. GIMP is completely free, and tools like PicWish, Fotor, and Remini offer free tiers or trials. Costs appear when you have an entire album to process or want the highest output quality, which is when paid plans and credit packs start making sense.
Will restoring a photo change the original?
Not if you work the right way. Your original scan stays untouched in its folder, and every fix happens on a copy. The physical print is never altered by any of these methods, so there is no risk to the original as long as you handle it gently while scanning.
How long does restoring one photo take?
A one-click AI restoration takes two to five minutes including upload and download. Careful manual repair in GIMP or Photoshop can take thirty minutes to a few hours per photo depending on the damage. A professional restorer typically quotes a few days to a couple of weeks per photo.

- How to Change the Screenshot Save Location on Mac - October 24, 2026
- How to Turn Off Stage Manager on Mac - October 23, 2026
- How to Reset Your Private Space PIN on Android If You Forgot It - October 22, 2026