
You just listened to a voicemail you really need to keep, whether it is a sentimental message from a loved one, a legal record, or a work instruction. The problem is voicemails do not live forever on your phone. Carriers delete them after 14 to 30 days, and phones get lost, broken, or reset. So you need to save that voicemail now, somewhere permanent.
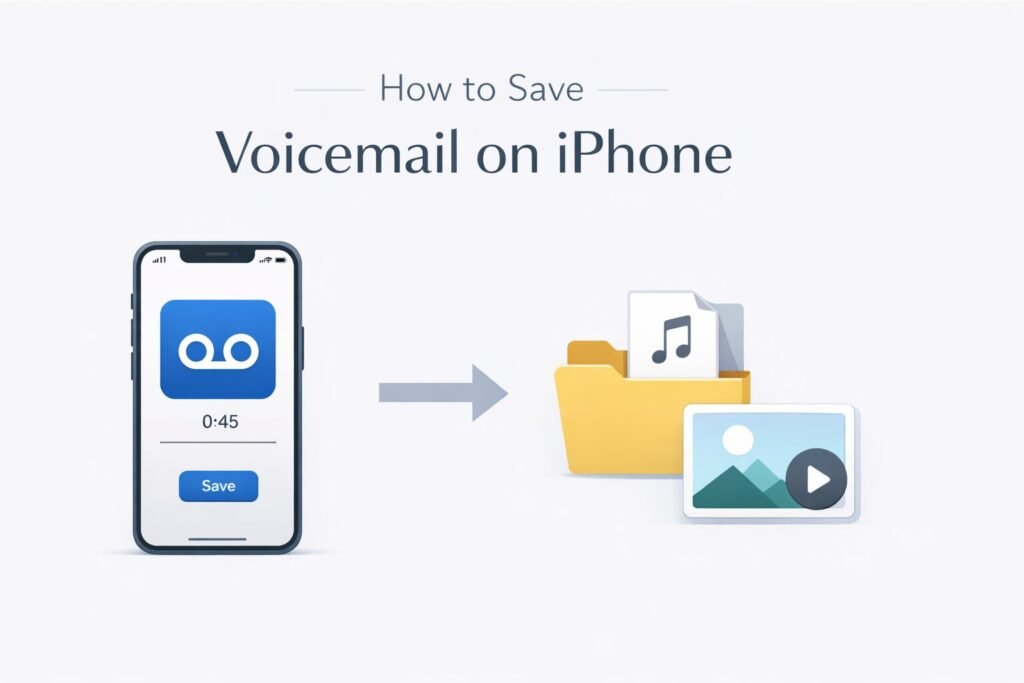
Here is the short answer: on iPhone, you can save a voicemail by going to the Phone app, tapping Voicemail, selecting the message, tapping the share icon, and sending it to Files, Notes, Mail, or another app. That is the fastest built-in way. But there are several other methods depending on what you need, and this guide covers all of them.
Why Saving Voicemails Matters More Than You Think
Most people never think about saving voicemails until it is too late. Here is why you should act before you lose the message:
- Carrier visual voicemail is stored server-side, not locally. If your carrier purges it, it is gone permanently.
- Switching phones or resetting your iPhone does not transfer voicemails automatically.
- Legal and medical situations often require audio records of conversations.
- Some voicemails carry emotional value, like a message from someone who has passed away.
The good news is saving voicemail on iPhone takes less than a minute once you know the steps.
Method 1: Share a Voicemail Directly from the Phone App (Built-In, No Apps Needed)
This is the simplest method and works on any iPhone running iOS 9 or later.
Step-by-Step
- Open the Phone app on your iPhone.
- Tap Voicemail in the bottom-right corner.
- Find the voicemail you want to save and tap on it to expand it.
- Tap the Share button (the box with an arrow pointing up).
- A share sheet appears. Choose where to send it:
- Save to Files saves it as an .m4a audio file to iCloud Drive or local storage.
- Mail or Messages lets you email or text it to yourself or someone else.
- Notes embeds it directly in a note.
- Voice Memos is not a default option, but you can save to Files first and move it.
- AirDrop sends it wirelessly to another Apple device nearby.
That is it. The file saves as an .m4a, which plays on almost any device including Windows, Android, and Mac.
Where Does It Save?
If you chose Save to Files, open the Files app, go to On My iPhone or iCloud Drive, and look for the file there. It will be named something like “Voicemail from [number]” with a date stamp.
Method 2: Save Multiple Voicemails to iCloud Drive at Once
If you need to archive several voicemails, doing them one by one from the Phone app is tedious but still straightforward. There is no batch export in the native iOS interface, so you repeat the share process for each message.
Tip: Create a folder in the Files app called “Saved Voicemails” before you start, so all of them land in one organized place.
Method 3: Record the Voicemail Using Voice Memos (Works as a Backup)
If the share button is greyed out or missing (which can happen with carrier-stored voicemails that have not fully downloaded), you can record it the old-fashioned way:
- Open Voice Memos on your iPhone.
- Play the voicemail on speakerphone.
- Tap the red record button in Voice Memos simultaneously.
- Stop recording when the voicemail ends.
The audio quality is lower since you are capturing room sound, but it works when nothing else does. This is also useful if someone leaves a voicemail on a landline and you need to transfer it.
Method 4: Use a Third-Party App for Automatic Voicemail Saving
Several apps integrate with visual voicemail or carrier services to automatically archive messages:
| App | Platform | What It Does |
|---|---|---|
| HulloMail | iOS | Transcribes and stores voicemails in the cloud |
| YouMail | iOS | Replaces your carrier voicemail with smart storage |
| Google Voice | iOS | Gives you a separate number with permanent voicemail storage |
| Rev Voice Recorder | iOS | Manual recording with transcription |
YouMail is worth highlighting. It acts as a full voicemail replacement service. Every voicemail sent to your number gets stored in YouMail’s cloud indefinitely, and you can download them any time from the app or web dashboard. It is free at the basic tier.
Google Voice is another strong option if you are willing to use a separate number. Every voicemail is stored permanently in your Google account, downloadable as an .mp3.
Method 5: Back Up Voicemails via iTunes or Finder on a Mac/PC
This is worth knowing, though it does not give you easy individual file access. When you back up your iPhone to iTunes (Windows) or Finder (Mac), voicemails stored locally are included in that backup.
The catch: You cannot easily extract individual voicemail files from an iTunes backup without a third-party extraction tool like iMazing or PhoneView.
If you go this route, tools like iMazing (available at imazing.com) let you browse your iPhone backup as a folder system and export voicemails as .amr or .m4a files. This is the best approach for someone doing a bulk archive of all voicemails before a phone upgrade.
Method 6: Save a Voicemail to Your Email Directly
This is underrated. Emailing a voicemail to yourself creates a permanent record in your email inbox, which is searchable and accessible from any device.
- In the Phone app, tap Voicemail and select the message.
- Tap the Share icon.
- Choose Mail.
- Address it to yourself and tap Send.
The voicemail attaches as an .m4a audio file. Open the email on your computer and download it from there for a proper desktop backup.
Common Problems and Fixes
The Share Button Is Greyed Out or Missing
This usually means the voicemail has not fully downloaded from your carrier’s server. Tap the play button once and let it buffer for a few seconds. Then try sharing again. If you are on a weak signal, switch to Wi-Fi first.
Voicemail Shows “Not Downloaded”
Some carriers throttle voicemail downloads. Go to Settings > Phone > Change Voicemail Password (even if you do not change anything, this sometimes refreshes the voicemail connection). Then try downloading the message again.
Cannot Find the Saved File
Open the Files app, tap Browse, and look under both On My iPhone and iCloud Drive. If you saved it via Mail, check your Sent folder. Search for “voicemail” in the Files app search bar.
Voicemail Was Deleted Before You Saved It
Unfortunately, once a carrier deletes a voicemail from their server, it is gone. If it was stored locally on your phone (downloaded voicemails show a speaker icon), check your recently deleted voicemail list by scrolling to the bottom of the Voicemail tab. Some carriers maintain a “Deleted Messages” section there for a short period.
How to Transcribe a Voicemail on iPhone
Since iOS 17, iPhones with the A16 chip or newer can automatically transcribe voicemails live as they come in. To check if this is enabled:
- Go to Settings > Phone > Live Voicemail.
- Toggle it on.
For older iPhones, the carrier visual voicemail system (available on AT&T, Verizon, T-Mobile, and most major carriers) provides transcriptions in the Voicemail tab, though accuracy varies. Third-party apps like Rev and YouMail offer better transcription quality if precision matters.
For professional transcription with high accuracy, Rev.com offers human-transcribed voicemail audio for a per-minute fee, which is useful for legal or business recordings.
Best Practices for Managing Voicemails Long-Term
| Scenario | Recommended Method |
|---|---|
| One-time important voicemail | Share to Files, save as .m4a |
| Regular business voicemails | Use YouMail or Google Voice |
| Legal evidence | Email to yourself + save to Files |
| Sentimental message | Save to Files + back up to iCloud |
| Bulk archive before phone upgrade | iMazing + iTunes backup |
| Poor signal, share button greyed out | Voice Memos recording on speaker |
A Note on iCloud and Voicemail
iCloud does not automatically back up individual voicemails as accessible files. When you do an iCloud backup, voicemail data is included in the encrypted backup blob, but you cannot retrieve individual files from iCloud without restoring the entire backup to a phone. This is why the share-to-Files method is more reliable for long-term individual file access.
If iCloud Drive is your preferred storage location, the best habit is: as soon as you hear a voicemail you want to keep, immediately share it to Files > iCloud Drive. It will then sync across all your Apple devices and stay accessible even if you lose the phone.
Conclusion
Saving a voicemail on iPhone is quick once you know where to look. The built-in share button in the Phone app covers most situations, sending the voicemail as an .m4a file to wherever you need it. For automatic saving, YouMail or Google Voice are the most reliable long-term solutions. For bulk archiving, iMazing combined with an iTunes backup gives you full control.
The main thing to remember is act fast. Carrier voicemails have a shelf life, and the moment you hear something you need to keep, that is the moment to save it. It takes 30 seconds and can save you from losing something you cannot get back.

- How to Clear Cache on Windows 11: Quick Guide in 2026 - February 23, 2026
- Top 10 Trending AI Apps in 2026 You Should Actually Be Using - February 22, 2026
- Top 10 AI Based Resume Makers in 2026 That Actually Get You Hired - February 22, 2026